Shabby Chic Cabin and HSTs

Wednesday I decided to try machine stitching one of the little 5″ shabby chic log cabin blocks and was pleasantly surprised at just how well it turned out.  In fact, I think it looks better than the one I had previously hand-pieced.

The back looks wonderful too.  The one thing that I can’t get used to is the amount of pressing that machine piecing entails.  When I hand piece, I usually leave the pressing until the end but with this I found I was jumping up to press after each little log was added.

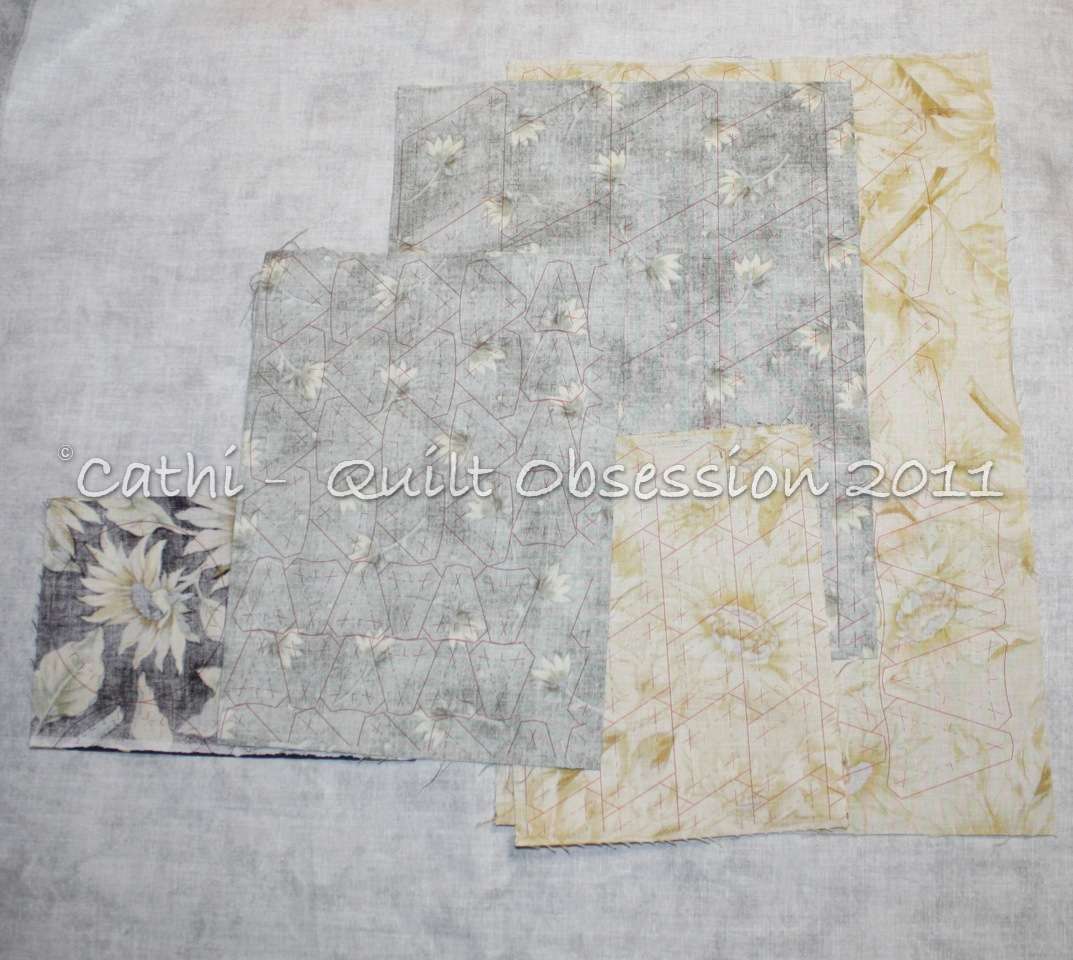
When I was cleaning up my stitching area I found these 2.5″ half-square triangles I had made quite a while ago using Inklingo.  For these, I had printed the triangles on the back of the cream fabric and then stitched on the lines.  When cut apart, I had perfect HSTs but that was as far as I went.  I decided to try joining them into a couple of rows using the machine and was again pleasantly surprised.  This time I decided to try stitching without all the pinning and, while a few of my joins aren’t perfect, it’s good enough for a small doll’s quilt — and a great learning tool for me.  I’ll keep making the rows and joining them until I’ve used up all the HSTs and then will decide what, if any, border to add.

One of the things I found at the Creativ Festival was the Grace Company TrueCut My Comfort Cutter.  I’m really impressed with this cutter — it’s very comfortable to hold and use and doesn’t set up any pain in my wrist or hand.  The ruler is interesting as it has a slight lip on which part of the cutter rests and rides along as you cut and makes it easy to get perfect cuts.  The best part to me is that the rotary cutter takes any blades on the market.  I hadn’t even heard of this cutter before seeing it at the Festival.

Smudge loves to lie at Mr. Q.O.’s feet.  Wednesday night he was having quite a dream and was growling in his sleep.  That’s the first time we’ve ever heard him growl while dreaming.  Normally he only growls if he sees a dog at the vet’s office.

Snuggly Stars

The baby quilt which I named Snuggly Stars, thanks to a suggestion from Karen Dianne, was finished Friday night.  After cross-hatch quilting the two stitching books, I decided I’d cross-hatch quilt the baby quilt as well.   I started quilting it around noon on Friday and by the time the evening was over, I had finished the quilting, put the binding on and tacked it down. All that was left was to add the label, which I did Saturday morning before I left to go to the Creativ Festival.  The little quilt finished at 24 x 36 and was totally machine pieced and quilted.

Sunday morning we threw it in the wash, which was a bit of an adventure.  Mr. Q.O. took it up to the laundry room to put it in to wash and, when I went up to transfer it to the dryer, the machine had seemingly malfunctioned.  Rather than draining the soap suds, it seemed to be making more and more.  We think someone had put detergent in the machine previously and then not used it so that, when we used it, it had much more than recommended amount of detergent.  When it finished the final spin, I couldn’t even see the little quilt for all the soap suds.  I was holding my breath when I opened the door.  As soon as I did, there was an avalanche of suds on the floor.  I finally fished out the little quilt and put it in another washing machine with no soap to let it run through an entire cycle with just water as I figured that was the only way to get all the soap out of it.

We made a decision on Friday that, as we don’t want to leave Smudge alone for too long,  Mr. Q.O. would stay home on Saturday while I went to the Creativ Festival on Saturday and I’d stay home while he went to the baby shower on Sunday.  By the time it finished its second run through a wash and then dried, there was just enough time to put it in the gift bag before Mr. Q.O. had to leave.

Saturday the rain poured down for most of the day.  Sunday we had snow.  It didn’t stay on the ground, but there were a few times I looked out the window and couldn’t believe how heavily the snow was coming down.  Smudge decided the best thing to do was have a snooze.

Red and White Again

One more of the red and white blocks was finished late last week for a grand total of four so far.  I was going to set them with plain white 6″ squares in between, but now that I see them side by side I rather like the effect.  A lot more blocks need to be made before I make that decision.

I couldn’t resist making a red and white 6″ sunflower block.  This is definitely a favourite block to make for me.  Putting the ring of diamonds and triangles together takes no time thanks to continuous stitching.  Who knows?  Maybe I’ll end up with sunflowers as the alternate block for the other blocks.

The back of the little sunflower.

A close-up of Smudge relaxing on the couch Wednesday evening.

Baby Quilt

Late last week, Mr. Q.O. informed me that we had been invited to a baby shower this coming Sunday.  Of course, I immediately thought about making a quilt but in such a short time span?  It obviously wasn’t going to be hand pieced or involve small blocks. Only 4 of the blocks are visible as Smudge clearly is insistent on participating in showing quilt blocks if they’re on the floor.

Out came the books as I searched for an idea.  I finally settled on the 12″ star blocks shown. They’re even entirely machine pieced!   I used the 4″ HSTs and squares found in the 12″ Storm at Sea Inklingo collection collection as that way I knew I’d have no issues at all making the HSTs.  Just print, stitch on the stitching lines, cut apart and they’re done.  No cutting down to size, no dog ears, no paper to tear away.  Just perfect HSTs each time.  And, thanks to the stitching lines, I was able to consistently get a scant quarter-inch seam so that my blocks finish at 12″.

The little quilt will finish at 24 x 36 and will be machine quilted with 1″ cross-hatching.  I’ll have it sewn together and basted  and the binding made by tonight, will start the cross-hatching Wednesday and finish it Thursday, get the binding done on Friday, wash it on Saturday and it will be done in time for the baby shower on Sunday.

Making this baby quilt has been a learning experience of me on a couple of fronts. One, that I can manage to machine piece accurate blocks.  Second, and more importantly, that there really is nothing wrong with simple blocks for some quilts.  I had to battle with myself about making the blocks because, as they are so large and involve so few pieces, somehow it felt like I wasn’t making something appropriate to give.  Then I thought about it, talked to a friend about it and realized that it was just fine for a baby quilt.

Once this is done, however, I’m going right back to a Feathered Star or Sunflower block.  I need some hand piecing with small pieces to keep me happy.

Smudge is clearly missing his brother, as are we.  He has never been an only kitty, so I suppose this is a huge adjustment for him.  For now, we’re trying to make sure one of us is home with him most of the time.  Hopefully, he will adjust but, in the meantime, he’s making sure he can keep us within his sight.

Red and White Blocks

After seeing so many pictures on various blogs of gorgeous red and white quilts from the exhibition in New York City over the past few days, the urge to start a red and white quilt proved irresistible.  I have a feeling I’ll be making more than one red and white quilt as I’ve identified a number of patterns that I’d love to make.  These blocks will be used in the quilt together with an alternate block.  They finish at 6″.  I was inspired by a photo of one of the quilts.  Using various Inklingo collections, I printed the HSTs and squares I needed for the block and was stitching in no time.  And yes, I’m hand piecing them.

The back of one of my blocks.

I saw this video on YouTube on Sunday and was absolutely entranced.  I cannot imagine what it must have been like to actually see all the beautiful quilts in person.

Pat Sloan has put together a list, which can be seen here, of blogs and Flickr pools with photos of the quilts from the exhibition.

Lester has taken a bit of a turn for the worse.  We’re trying syringe feeding for a couple of days to see if that helps.  We got this picture of him last Thursday.

Smudge is back to being super finicky about food.  We picked up a variety of different types from the vet’s office last week and so far he seems to like most of them.  This photo was taken after he polished off another bowl of food on Sunday and was settling in for a nap.

Spectacular Sunflower, Day 3

My first sunflower block turned out as wonderfully as I had hoped.  I used shapes from both the 6-inch and 12-inch collections so that I could make the double sunflower.

While I was stitching, I was taking pictures of the continuous stitching sequence that I’m using but unfortunately none of them turned out well enough to post.   I’m going to make a second block and Mr. Q.O. will take over the photography duties so that the photos are clear.  I will post them either on the weekend or on Monday.

It presses like a dream and the block lies wonderfully flat.

The block finishes at 12″.  I’m going to make one more block using these fabrics and then play around with some border ideas using shapes from the collections.  And then?  Well, then I’m going to make a sunflower variation using perhaps some batiks or maybe I’ll make a red and white quilt.  The possibilities are endless.  I’m glad I decided to make these blocks first as it has made it easier to sort out think about the design I’ll use for a larger quilt.

Two kitty close-ups .  First Lester.

Then Smudge.

Spectacular Sunflowers

Two new collections were released yesterday for Sunflower — a 6 and a 12-inch version.  With the permission of Linda Franz, the inventor of Inklingo, I grabbed the above shot, which can be seen at the  Sunflower Gallery of Quilts — it’s just one of many options shown on that gallery and they’re well worth looking at.  These shapes really are exciting to me as the design possibilities with them are seemingly endless. I know I’ll be making more than one quilt using these shapes.

As soon as the collections were released and I had a few minutes to review the Sunflower Design Book , which is absolutely fabulous, I had my fabrics picked out and had printed the shapes for two blocks.  The design book is, for now, free and is well worth downloading as it’s absolutely stuffed full of great tips about techniques to stitch a sunflower.  If you click on the above picture to enlarge it, you can see the printed stitching and cutting lines and the matching points.

I started making the first of the two circles of diamonds and triangles and can’t wait to play with the design possibilities with other fabrics.  The diamonds in this circle are .74″.   Lots and lots of continuous stitching possibilities and, of course, curved piecing.  I couldn’t ask for anything more. The ideas are just flying through my mind!

It presses like a dream too — the back of what I’ve done so far.  It’s going to be so exciting to put the first block together that I can’t wait to finish it.

Smudge was not so impressed until I sat down on the couch and he could drape himself over my legs while I started to stitch.  Then he was happy.

Lester looks as though he was studying the design, watching as I stitched.

Rouenneries Drunkard’s Path Blocks

All the little Drunkard’s Path units were made by Sunday and I started putting them into blocks of 4.  So far I have about 18 or 20 of the blocks done, so it won’t take too long to get them finished.   I’m really looking forward to seeing this one together, and am planning the border for it already.

The weekend was one of extremes.  Extremely cold temperatures – wind chills of -15 seemed rather outrageous for late March.  Extremely different outcomes from quilt-related endeavours on Saturday and Sunday.

Saturday I started to make a large stitching book and realized that one of the applique blocks I was planning to use hadn’t even been finished.  There were still a couple of pieces that had been back basted, but never actually appliqued on.  The block had been sitting for at least 5 or 6 years.  There were other blocks, so that wasn’t a huge issue.  Cut the backing for the stitching book and cut it too small.   Pressed the backing for the Ferris Wheel quilt, started to lay it out to baste and realized I had washed and ironed the wrong piece that wasn’t the right size.  Then I got out the other piece of the backing, washed it and decided quit at that point before something else went wrong.

Sunday was a totally different story.  Stitching book put together and basted, just needs to be quilted.   Binding for the stitching book made and ready.  Ferris Wheel basted and ready to quilt.  Sorted all the little drunkard’s path units and have stacks of the 4 units needed for each block all ready to stitch.

I’ve been avoiding the computer as much as possible since Thursday.  I seem to have a pinched nerve that makes using the keyboard for any length of time uncomfortable. I owe responses to a few comments from last week still — and will try to get through them slowly.   I’m thankful that this isn’t making stitching difficult.

Smudge, sound asleep.

Lester in his newest favourite spot, under my desk.

Saving My First Quilt

When I began quilting I clearly jumped in at the deep end, making a top like this. Some of the stars have holes in the middle through which a truck could be driven. Well, okay — that might be an exaggeration, but there are definite holes that I cannot close.  Over the years, I’ve tried.  I’ve had the top tucked away now for years, trying to decide how I could save it.  Buttons in the centres was one idea, but not one that I was crazy about.  Appliqueing on some shape was clearly the best idea, but what shape?  Now I think I finally have a solution.

On Thursday, a new Inklingo collection of circles was released.  The combination of Karen Kay Buckley’s Perfect Circles ® and Inklingo Circles means perfect circles with virtually no fabric waste at all.  This way I can pick my circle size to applique over the centres of the stars and finally finish that first quilt.

It’s not a perfect quilt by any stretch, but it’s one I want to see finished and in use. The other goal I have in mind for this quilt?  I’m going to mark some quilting designs on it and see how well I do quilting by machine.

Thursday we woke up to a new dusting of snow.  But there was also a sign that spring isn’t too far off.  For the first time in months, we saw grackles out on the roof garden.  Soon Lester will have lots to watch out the window.

Thursday evening Lester decided it was his turn to curl up by the heating pad.

Smudge gets into one of the round kitty beds and immediately sets to kneading it into the oval shape he prefers.

The Making of a Finger Pincushion — Lots of Photos

I’ve been having fun putting these finger pincushions together and have had a few questions about the method to make them, so thought I’d do this quickie tutorial. Lester is alert and ready to watch.

Start with a 4.5″ square.   Because you’re going to be wearing this on your finger, next to your skin, I think it’s really important to wash the fabric first and get rid of the residual chemicals from the fabric manufacturing process.

Fold it in half, into a triangle shape.

Set your machine to a short stitch length.  In my case I used a 2.  Start stitching at one end of the triangle, carry on to a quarter of an inch before the end of that side, pivot and start down the other side for about an inch.  Secure and cut your thread.   Leave an area of approximately 1.5″ open and then begin sewing again and go right to the end.  This is what your triangle will look like.

This next step is optional, but I think it helps a lot when stitching the pincushion closed at the end.  I fold the two sides over, where the opening is, and then press them.  I find it makes it a lot easier and faster to do the final stitching by hand to close the pincushion.

Gently turn your triangle right side out.  Use something like That Purple Thang to push out the corners and tip.   This is what it will look like at this stage.

After some experimentation, I’ve found that using a combination of batting scraps torn up and some polyester filling to stuff the little pincushions makes them firm but not too firm.  Using only batting scraps can result in rather lumpy pincushions.  I start out with a large handful of the polyester fill and some batting scraps.  Almost all of what’s showing in this picture will be used to stuff this pincushion.

Start by putting some of the polyester filling in, and push it down to both ends of the triangle.  Keep adding polyester filling until it’s about 1/3 full.  Then start adding some batting scraps, bit by bit.  Push them down into the polyester filling.  Then add more of the polyester filling and keep adding it and the batting scraps and pushing them down to ensure a firm pincushion.  Bear in mind that you will have to stitch up the opening in the seam and fold the ends over to make the ring, so make sure that you don’t fill it too full.  This is what mine looks like after I’ve finished stuffing it along with the few remaining scraps of batting that I didn’t use.

Using a very small ladder stitch or your favourite applique stitch and a thread colour to match your fabric, stitch the opening closed.  The final step is joining the two ends of the triangle together to form the ring.

Although it’s awkward, try overlapping the ends on your finger before you start stitching them together so you can get a rough idea of  how large a ring you need to leave to make it comfortable to wear on your finger.  Then just stitch to secure.

It’s a bit difficult until you get the first 3 or 4 stitches in, and then becomes much easier.  Overlap the two ends and start stitching by once again using a thread that matches your fabric.  I make a quilter’s knot, and then bury it in the pincushion stuffing, much like you’d bury your knot when beginning to quilt.  Bring the needle out at one of the ends and start stitching them together.

Try to stitch around both ends; the one that ends up on top and the one beneath it. It’s rather difficult to get a decent picture of the joining, but I hope you can see that I’ve basically tacked the ends down by stitching around them.

Next step?  Start using and enjoying your new finger pincushion.  But make yourself a couple because, once you get used to using these, you will never want to be without one.  You might just want to make a few for friends too.

Or you could contact Just Jennifer, and buy some of these pincushions directly from her.  I understand that her company will have a booth at the Paducah show in April.

Smudge found the whole thing so relaxing that he stretched out!