
It took a while, but I finally got all the seams of the ribbon flower blocks graded. I had graded the seams on just about half of the blocks, other than the final seams from adding the background fabrics. I was sure I’d only graded the seams as I went for about five or six of the blocks so that was definitely a nice surprise!

I started out with an empty Mason jar and put all the little pieces from the grading of the seams of the ribbon flowers in it. This is what I ended up with.
This is a piece from grading a seam. It’s only about 1/16th of an inch but the difference that little bit makes in a block with lots of seams or many points intersecting in the centre is huge. When I picked up the stack of ribbon flower blocks after I finished grading all the seams, I could feel the difference in the weight and could definitely see the difference in how they look. Although it’s impossible to show in a picture, the difference in the centre of the blocks is quite marked. There are no issues with “volcanoes” in the centres due to the bulk of the fabrics meeting in the centre once the seams are graded.

I tried to pick out a block that had fabrics with the most contrast to show how one of the ribbon flower blocks looks after the seams were graded.
I am still looking for a setting fabric for the Garden Gone Wild blocks. I love the idea of a leaf print of some sort but don’t think I’ve got anything in my stash that will work, but I’m going to keep looking.
There had to be some fun sewing to look forward to while doing all that grading of seams – yet another reason to make sure I grade seams as I go from here on – so I decided to pull some fabrics and make my version of the Willyne Hammerstein Capriccioso quilt from Millefiori Quilts 3.
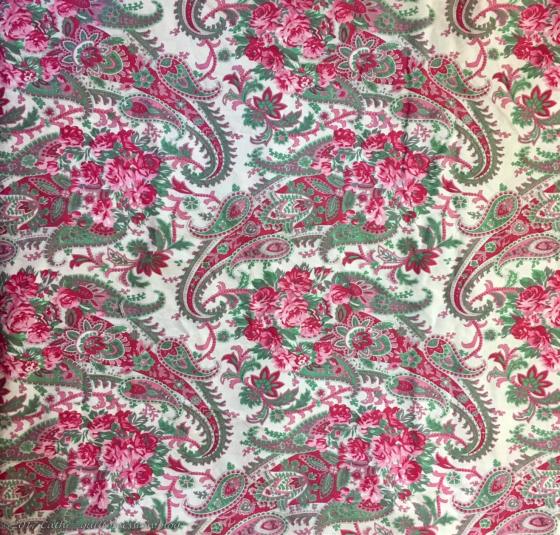
I’ve had this fabric in my stash for ages. I bought it with the thought it would work perfectly for some fussy cutting/printing, but up until now nothing worked. Then I tried putting a window template of the kites in the original size Capriccioso Inklingo collection on it and that was the perfect shape/size for this fabric.
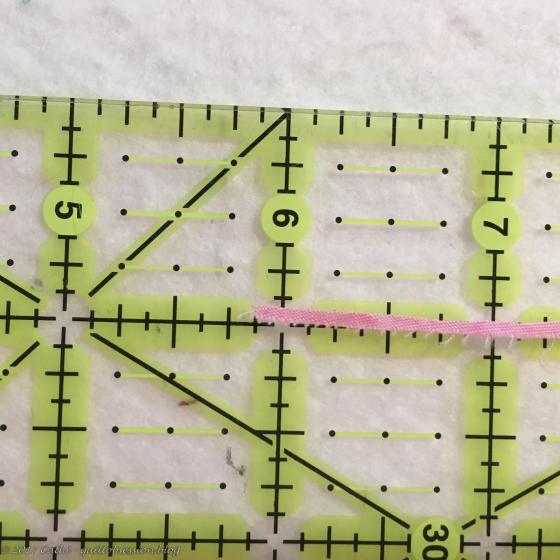
Then I got busy printing shapes. I’m using the Inklingo no-waste fussy cutting/printing method with the paisley so I can make my little stars kaleidoscope stars. I darkened the photo to show the lines on my fabrics after printing. I sometimes want a refresher on the no-waste fussy cutting/printing method, even though I’ve done this lots and lots with various Inklingo shapes, and that blog post from Linda’s blog is my go-to place for that refresher.

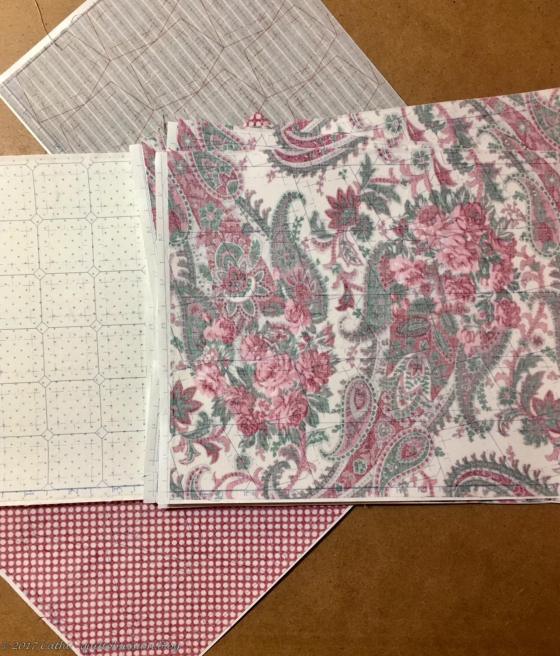
And cutting – this is one of the two project boxes being used and has only some of what has been printed and cut.
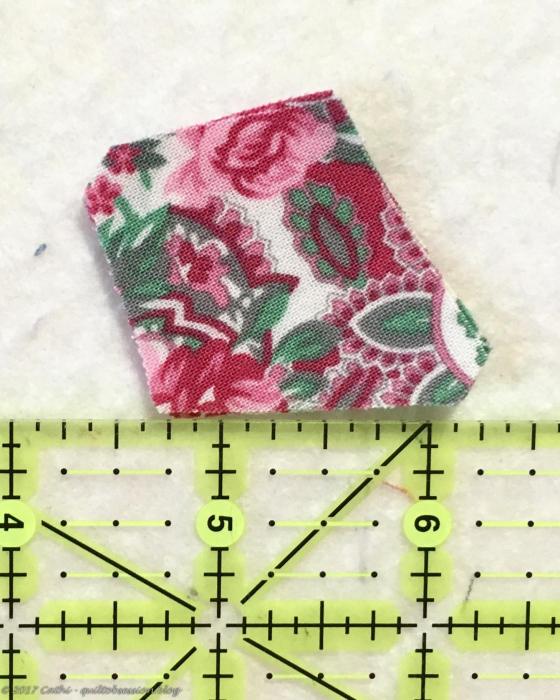
These are the little kites that are used in the quilt.

I wanted to make sure I did like how the fabrics I’d pulled for this worked together, so the first thing I did was make one of the stars and surround it with the pentagons, triangles and squares. This is not the way the quilt is constructed – if, that is, I follow the designer’s instructions which I may or may not do. I’ll look to see if I can come up with something that will be more fun and involve lots of continuous sewing as I go so that, when I finish sewing, it’s done.

Then I made some of the different little units called for in the pattern. First this one, which I think of as the little bow tie.
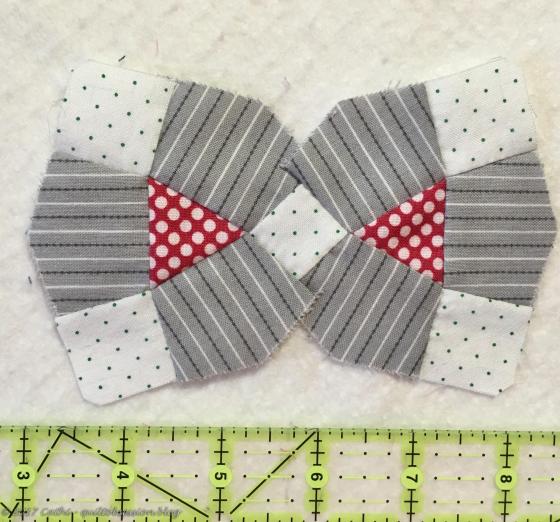
And the big bow tie.

Then a couple of stars.

And a star with pentagons on two sides.

And some partial stars.
Now I’m trying to figure out what I’ll call my version of this quilt. The stripes and dots in the fabrics I’m using make me think of Morse code – but a floral paisley and Morse code? I’ve not come up with a name that I like yet.
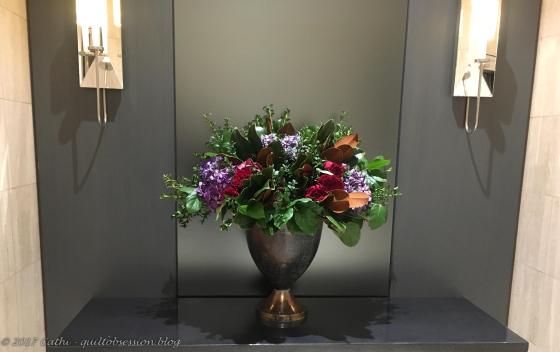
Our elevator lobby flowers this week have been a wonderful touch of colour as we have now descended into the gray months of late fall/winter.

“Seam Grading”

I cracked up when I saw that I had managed to capture this photo of Jake.

Baxter and the toy basket. This has become his favourite spot lately.


I love the stripe fabric paired with the paisley – such great colors and patterns together.
LikeLike
You will have your quilt finished by Christmas! It’s a show stopper! I can’t wait to see….I do think a leaf or fern print would be pretty! However, whatever you choose will be fabulous! You have an eye for it.
Exciting to see that you are tackling this new quilt! I can’t wait to see it unfold in the coming year!
Love the toon and beautiful kitty photos.
LikeLike
I like the new Stars and Stripes quilt but that name may not be Canadian enough. Love the elevator lobby flowers and the kitty pictures as well as the clever ‘toon.
LikeLike
Two suggestions:
Have you ever seen the zig-zag setting? I have some sample blocks I plan to set this way. With the right leafy fabric this might work for you, and it’s a bit unusual:
https://goo.gl/r5n2nF
(Awhile back I suggested a green/leafy setting or sashing fabric. I think I was unclear because you thought I meant to use green fabrics for the block backgrounds. But I agree with you that a green fabric will set off these flowers perfectly.)
In regard to the name for your Capriccioso quilt: As you know the name for the Paisley design comes from the town of Paisley in Renfrewshire’ Scotland where the patterned fabric was produced. How about “Scottish Caprice” or “Renfrew(shire) Caprice”.
I so enjoy seeing your work. Thanks for sharing with us!
LikeLike
The ribbon flower is still my favourite, and ferns or leaves would be lovely, And the ‘toon, as always, so fitting for your words!!!When will he publish a book, ‘ toon on one page, and a photo of the accompanying block on the opposite.!
LikeLike
You have been one busy lady.
LikeLike
Love the block. As for a name, the first thing that came to me was Dot Dash Mish Mash.
LikeLike