Another Snow Crystal on a …

… day on which we saw snowflakes!?? How can this be? It’s only October! It has been very windy and quite cool all day and around 4:00 this afternoon I looked out and oh, no!!! Little white flakes were flying by the window. I am NOT ready to deal with the idea of snow. No way. Not yet. It’s much too early. Sheesh, I haven’t even taken my winter coat in for cleaning. Guess I’d better do that sooner rather than later.

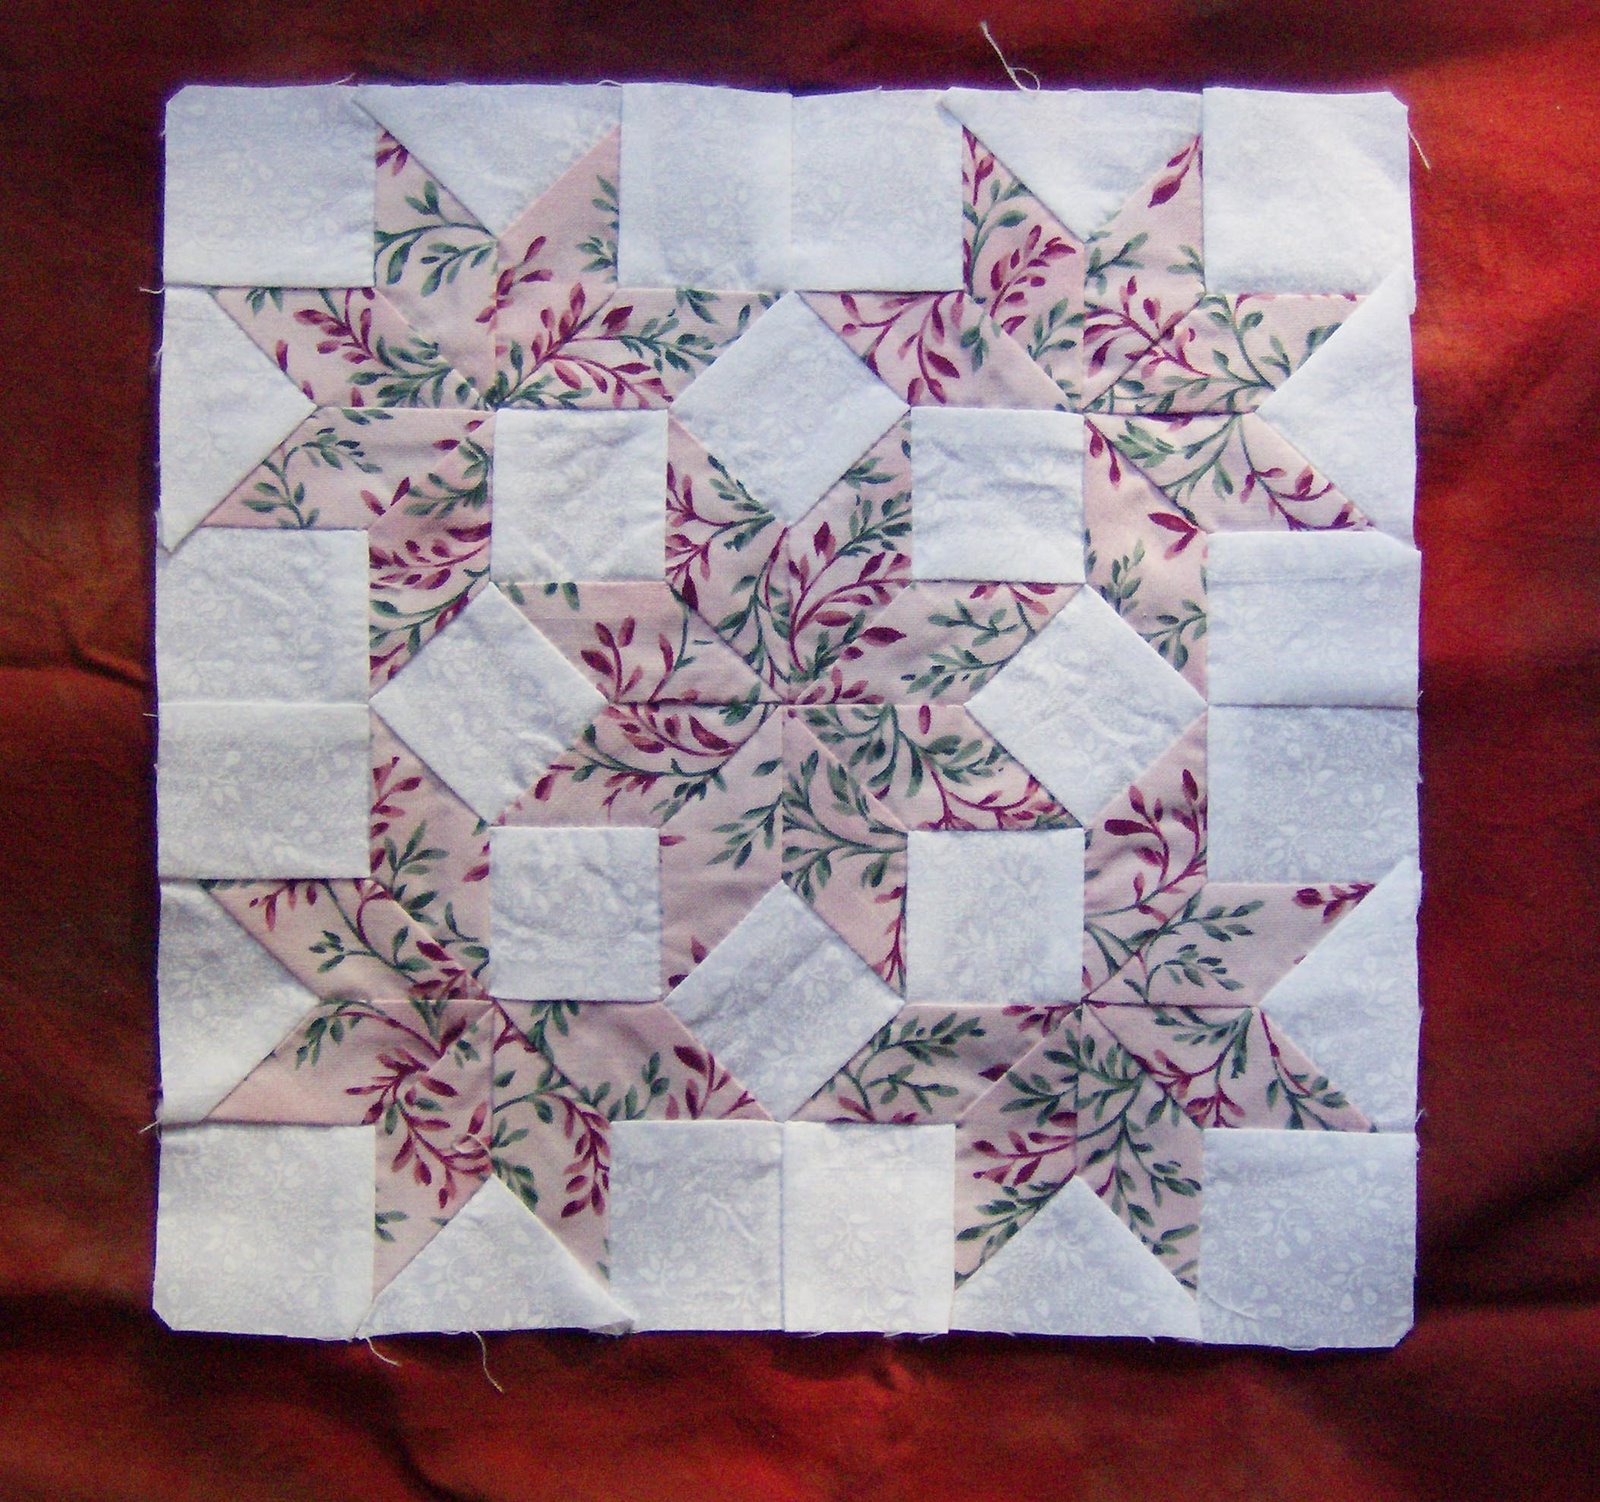
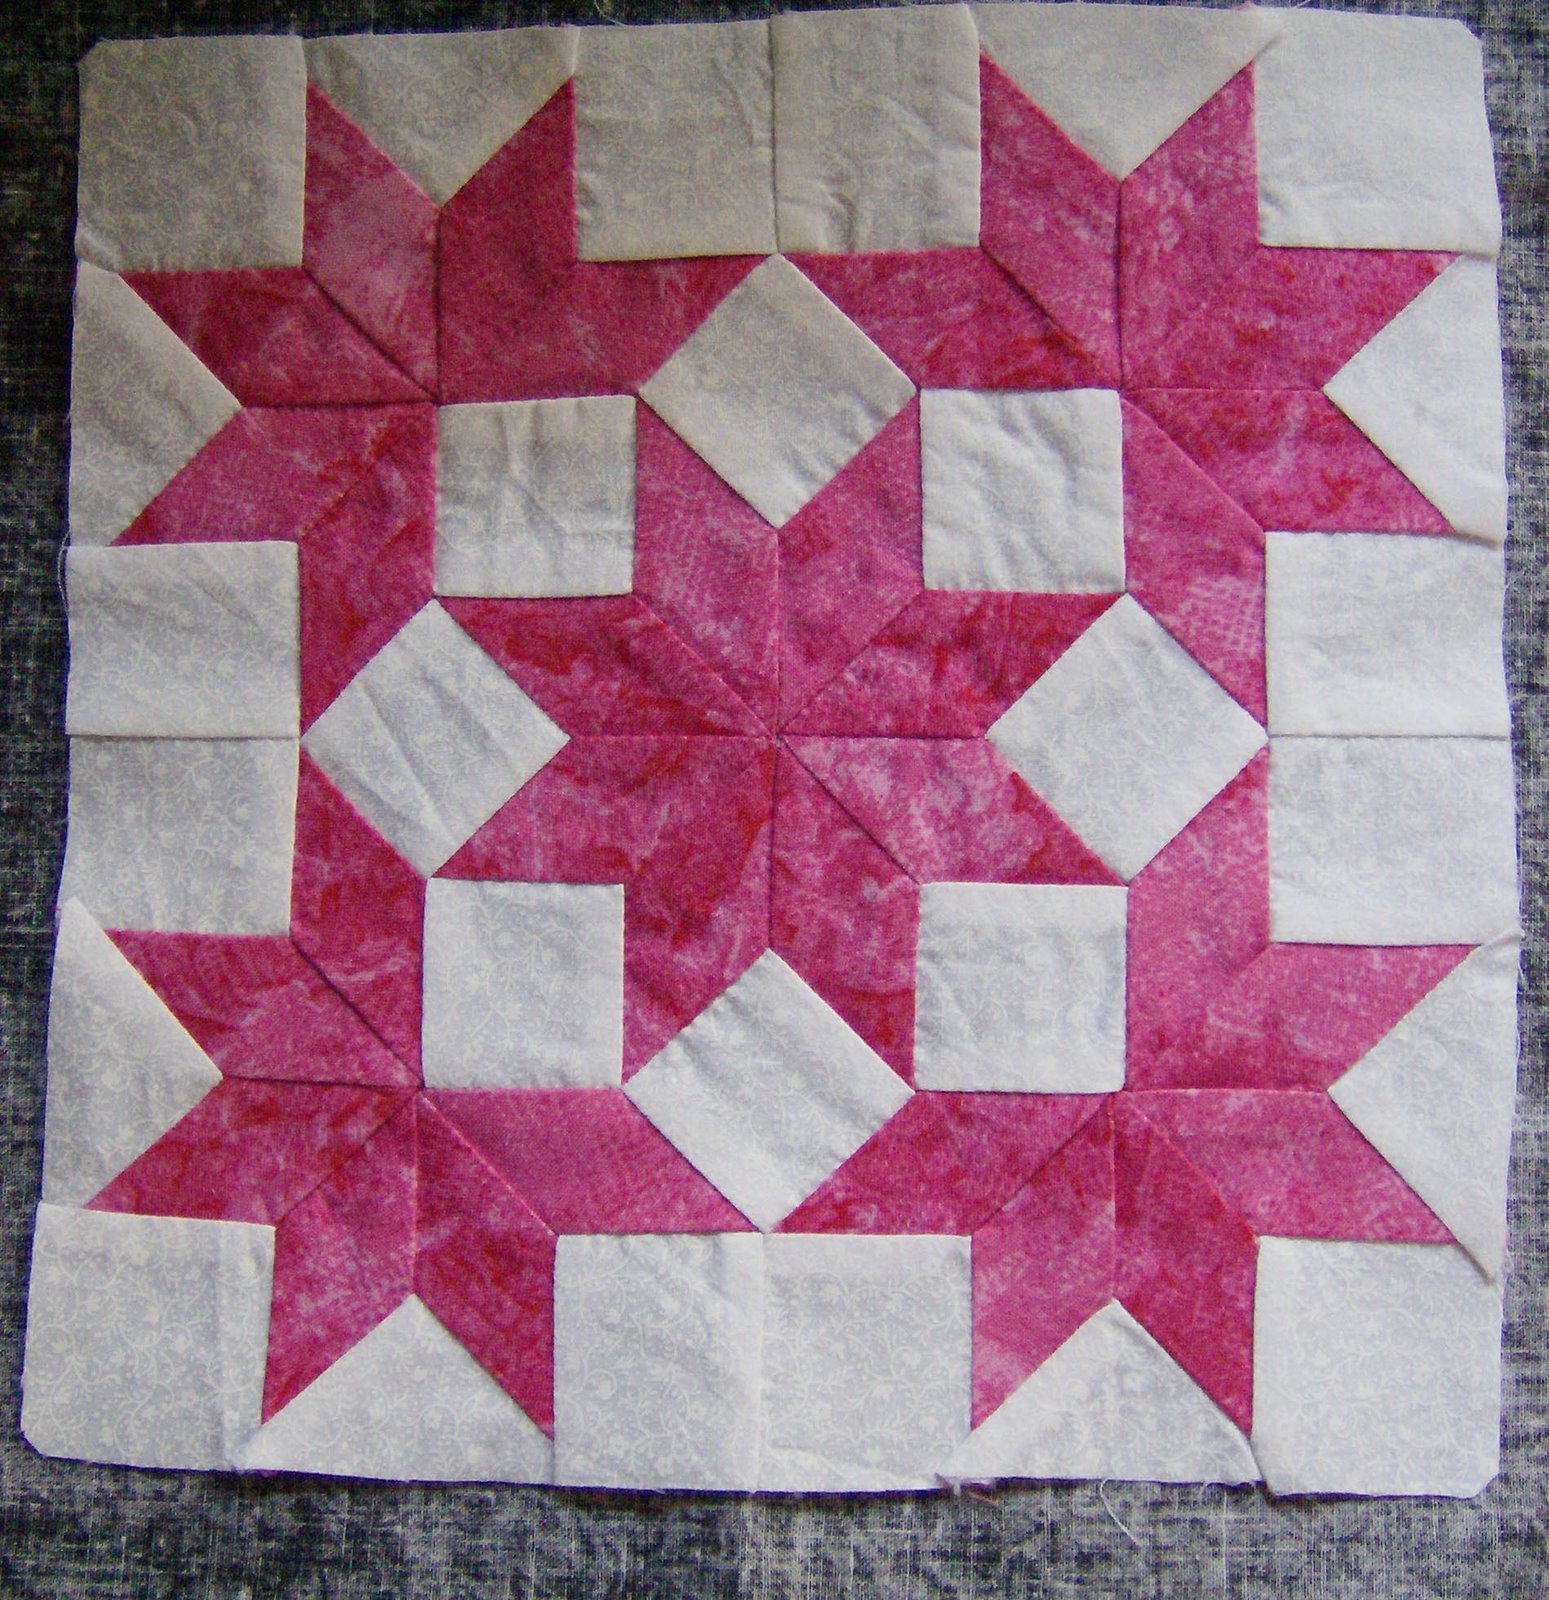
The only good thing about having the flu is that I had prepped all these pieces beforehand so I can curl up on the couch and stitch. This Snow Crystal block is now finished and the next one is about to be started. Definite silver lining to not feeling great.

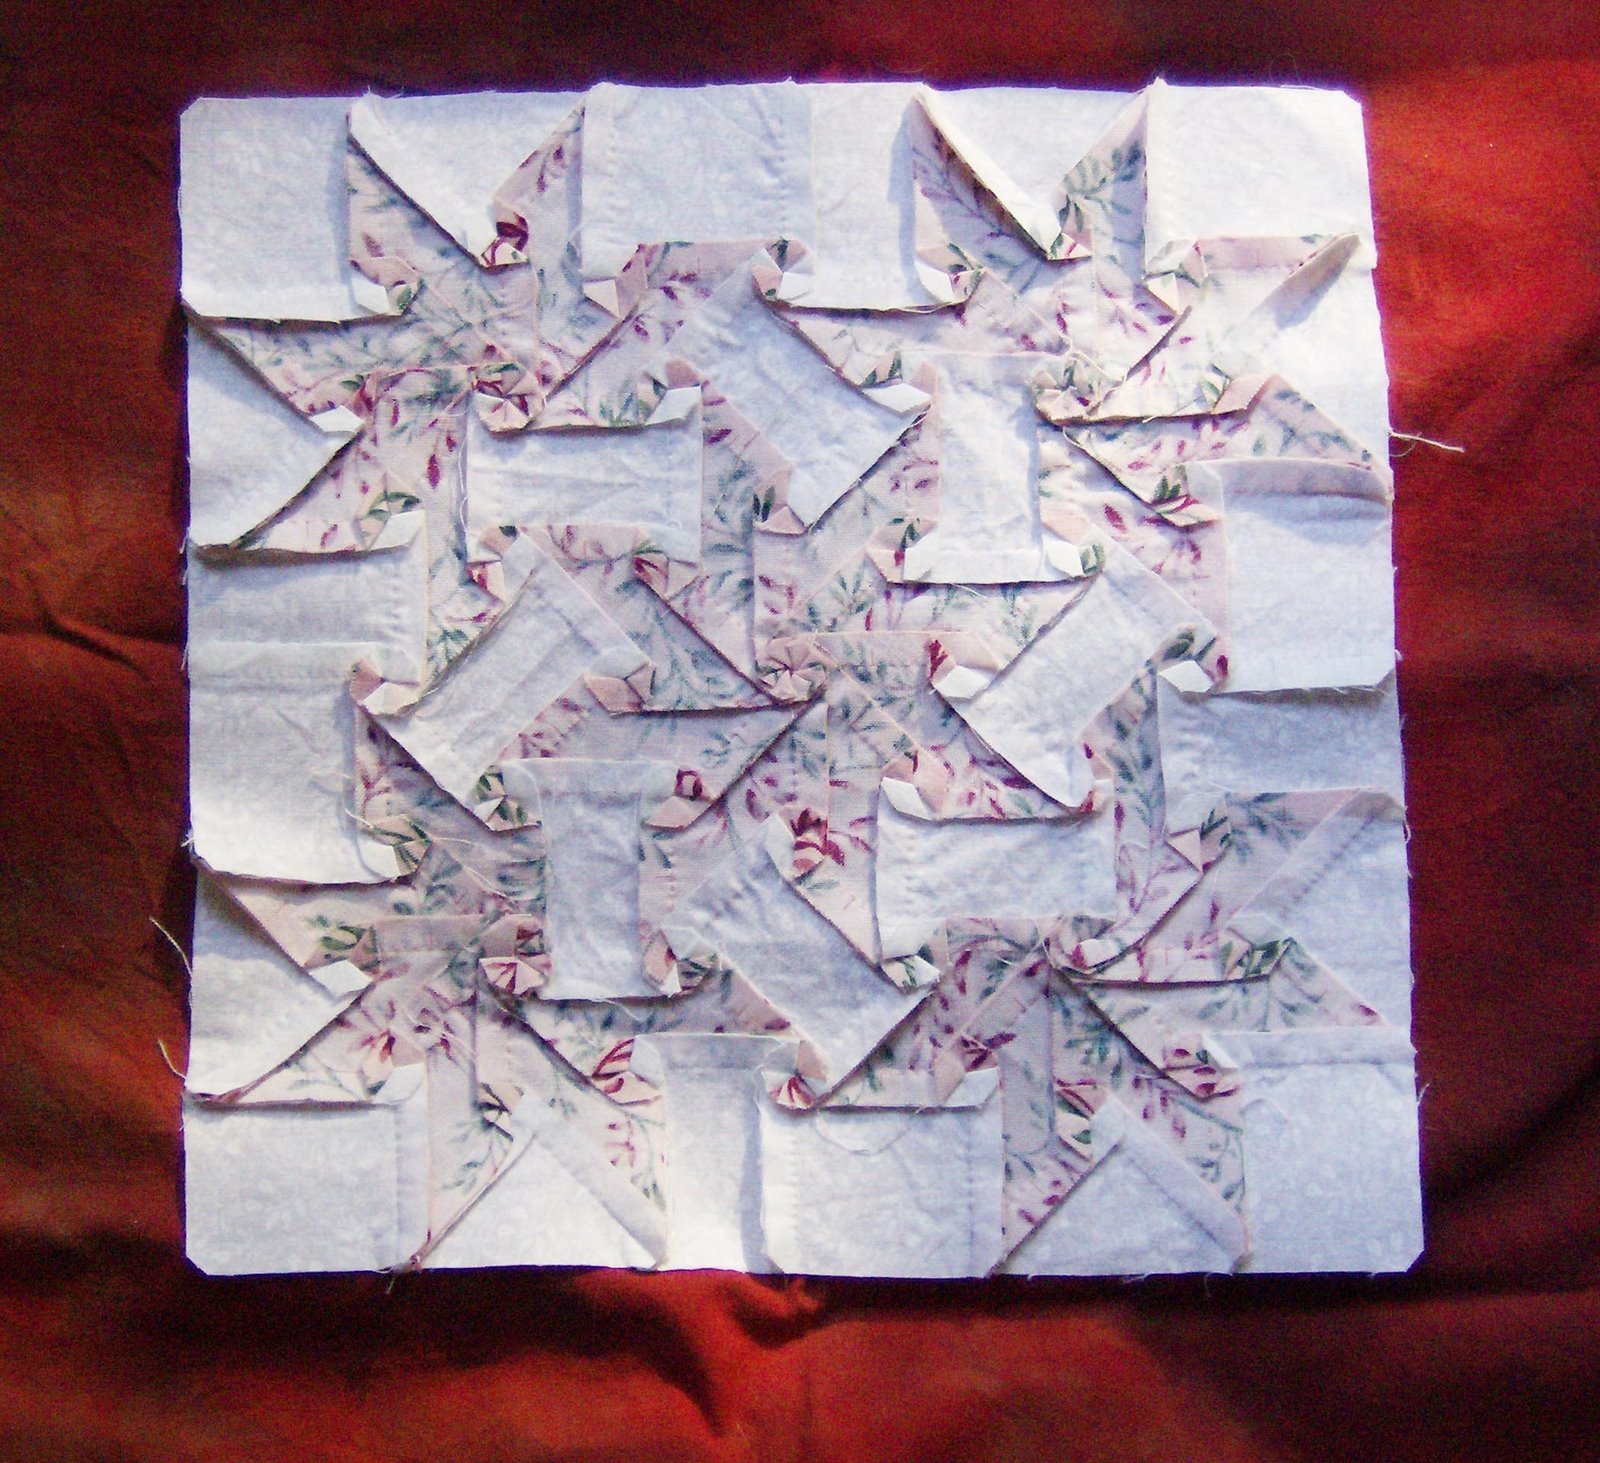
I’ve found a trick that makes pressing the back a whole lot faster. As I join each round, as I do these in rounds, so to speak (which I’ll explain in a minute), I finger press the seam intersections in that round. That way, when I get the whole block finished and head for the iron it’s really a matter of quickly pressing each little seam intersection.

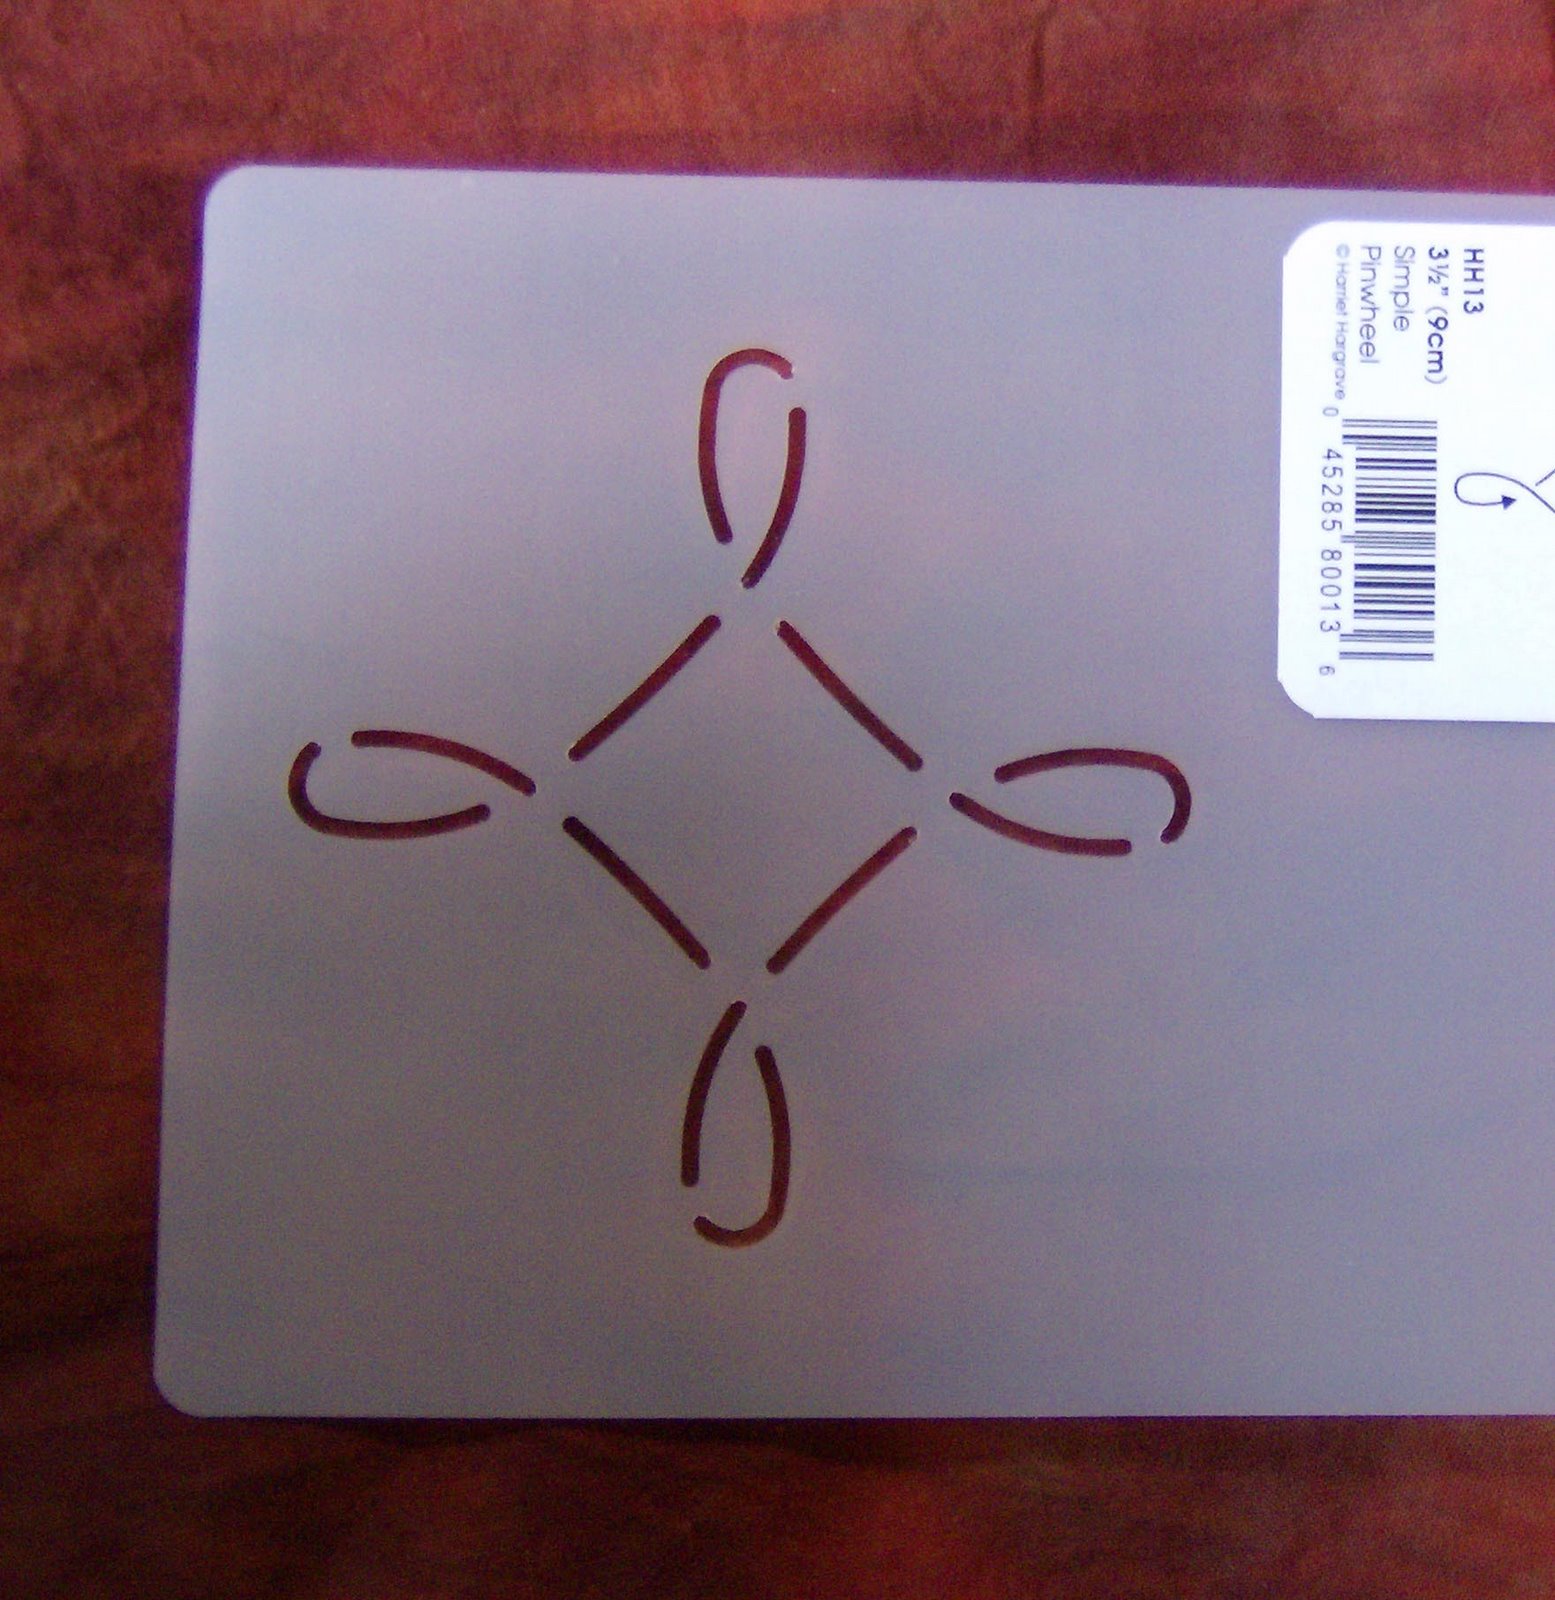
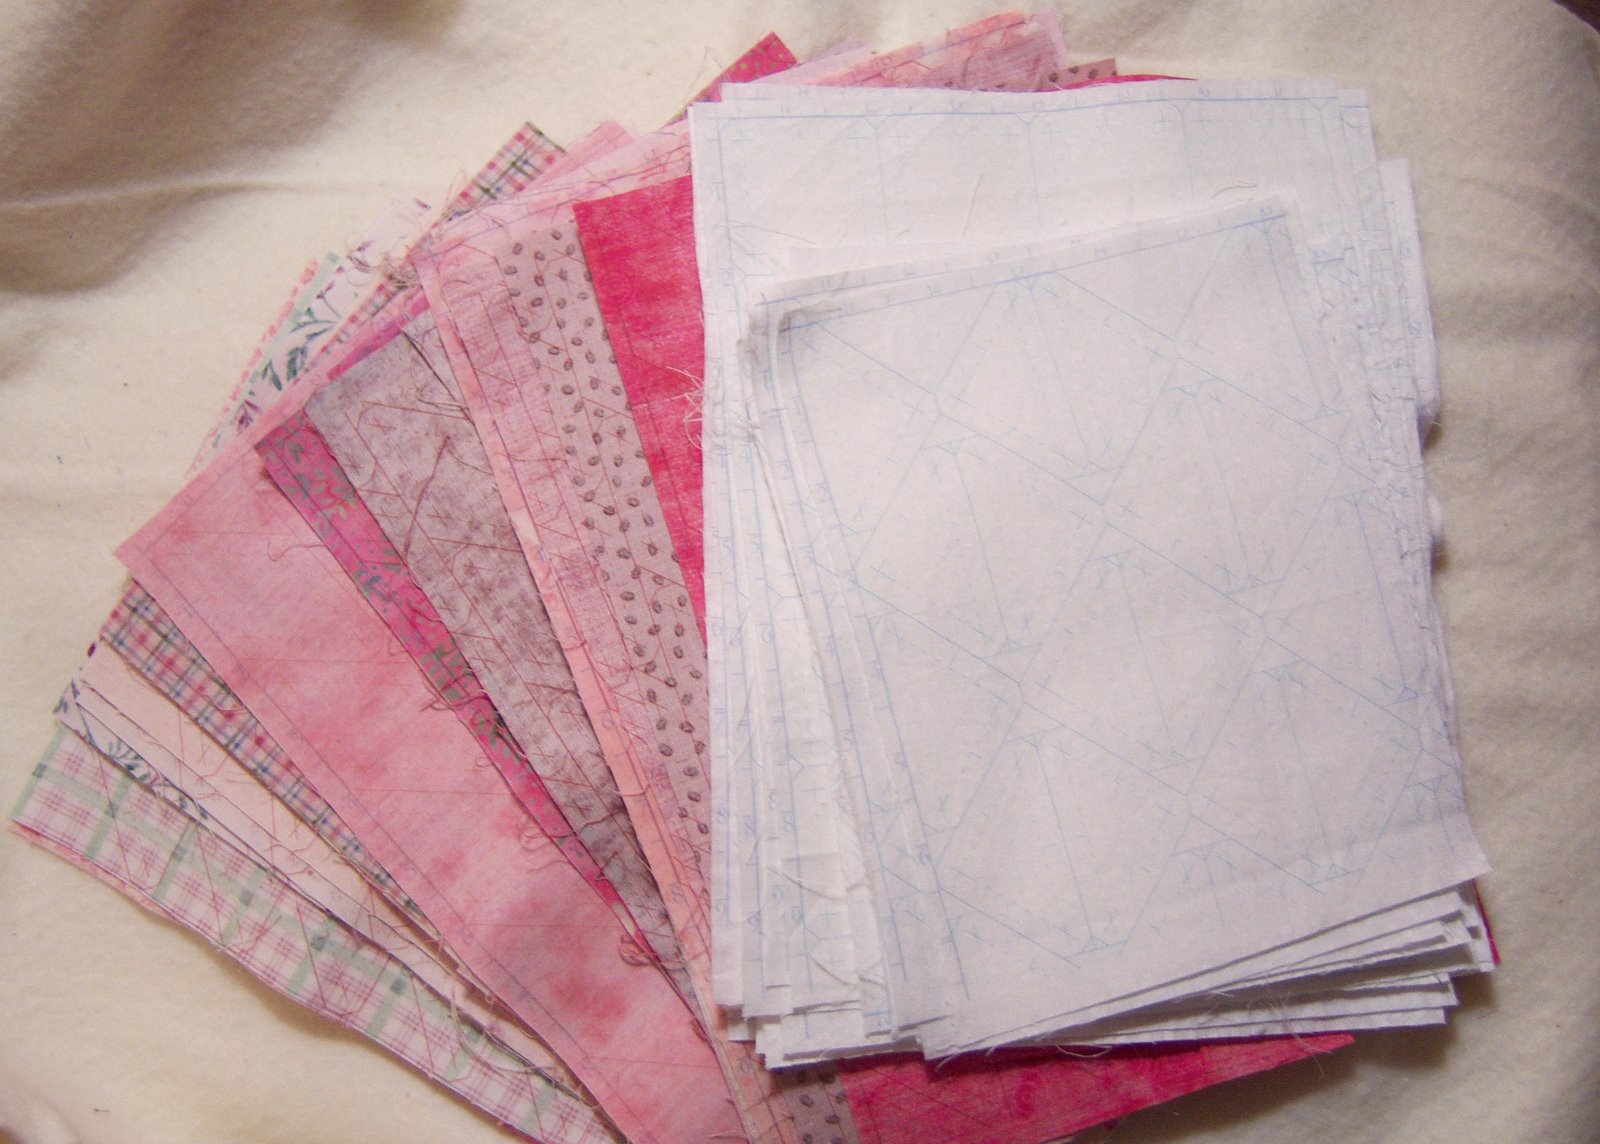
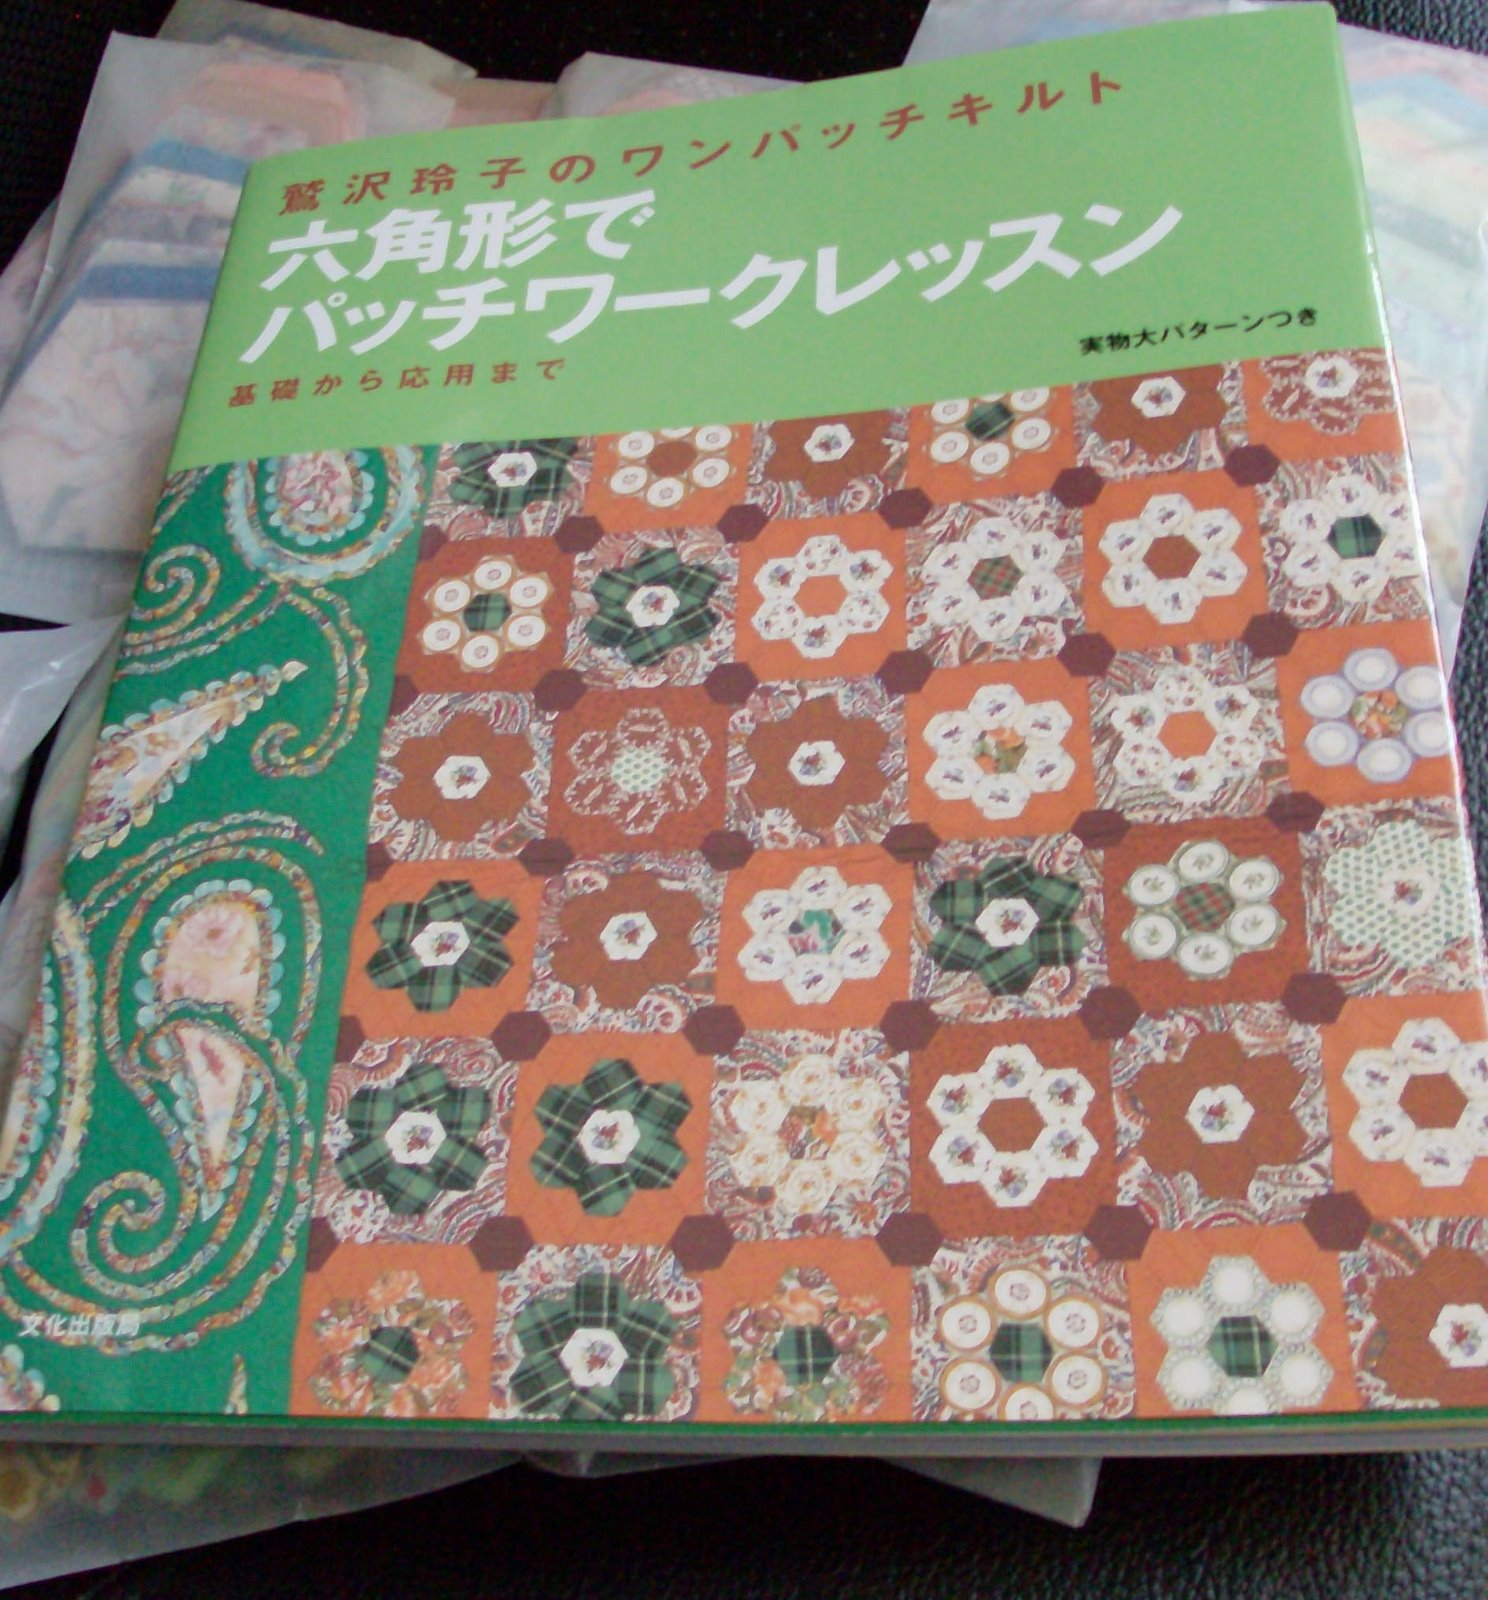
I was asked in an e-mail by Cheryl about the method I use to make these blocks. Sorry, Cheryl — I did try to respond by e-mail but AOL seems to be bouncing e-mails from our ISP. So here goes. I’m hand piecing these, using the templates in the free Inklingo downloadable collection which has all the shapes for this block. The block finishes at 9″.

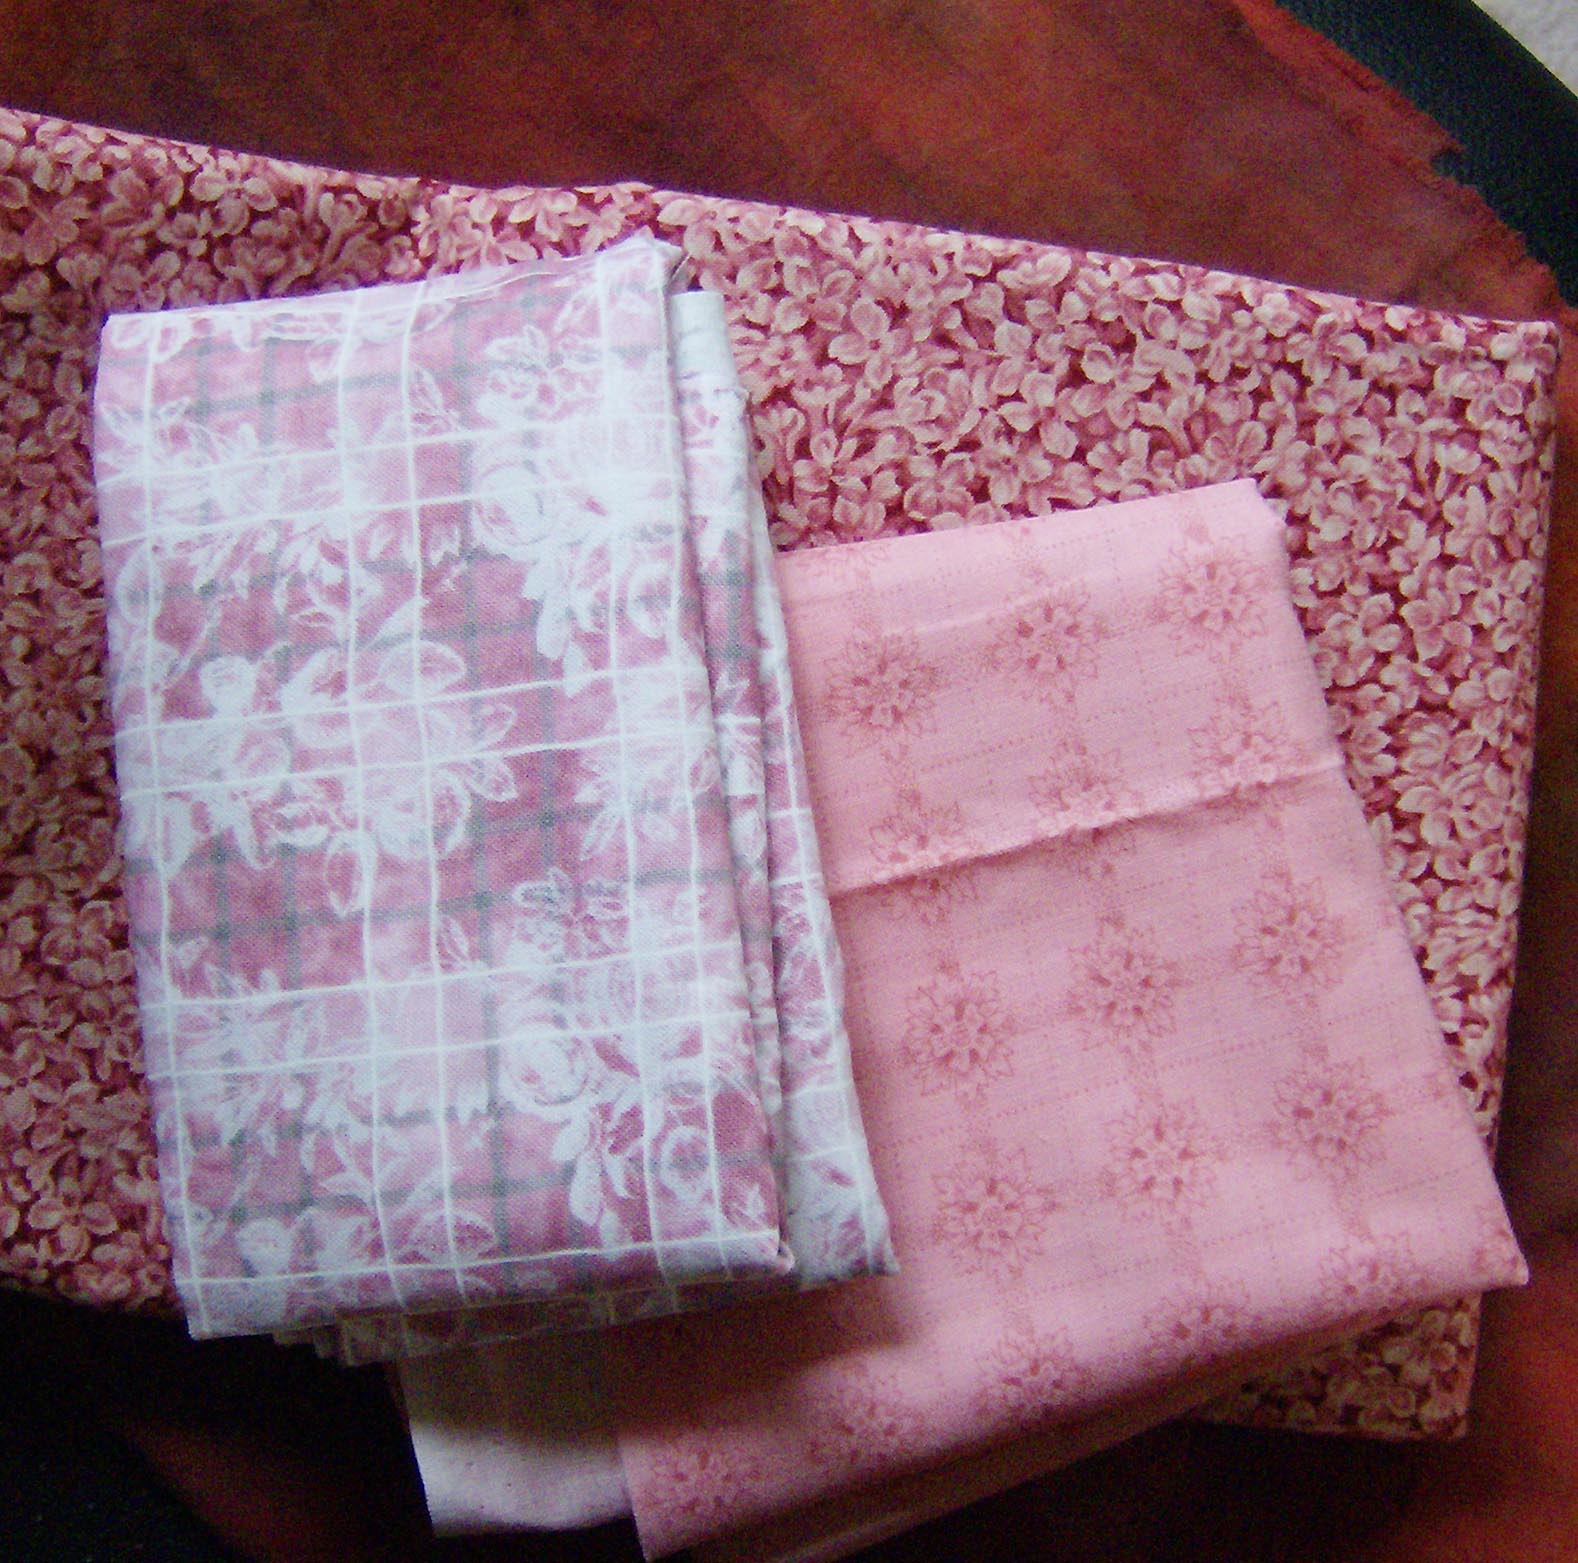
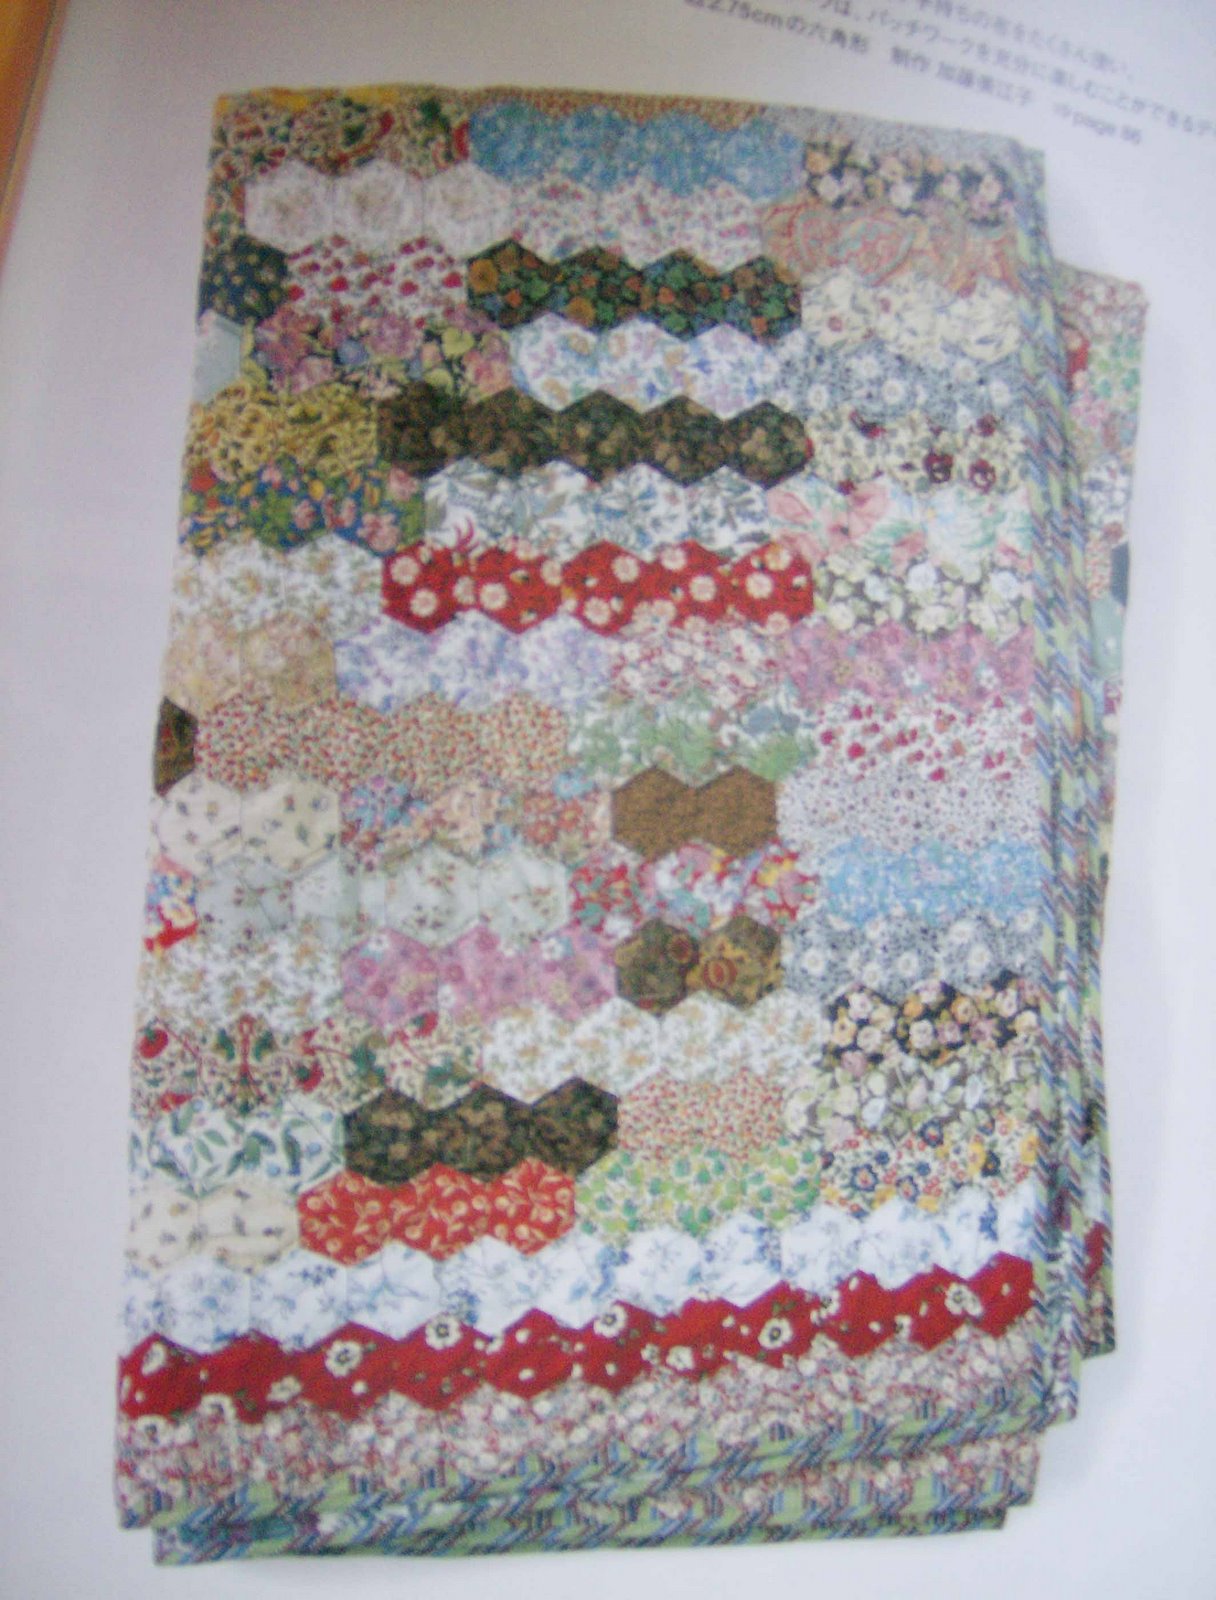
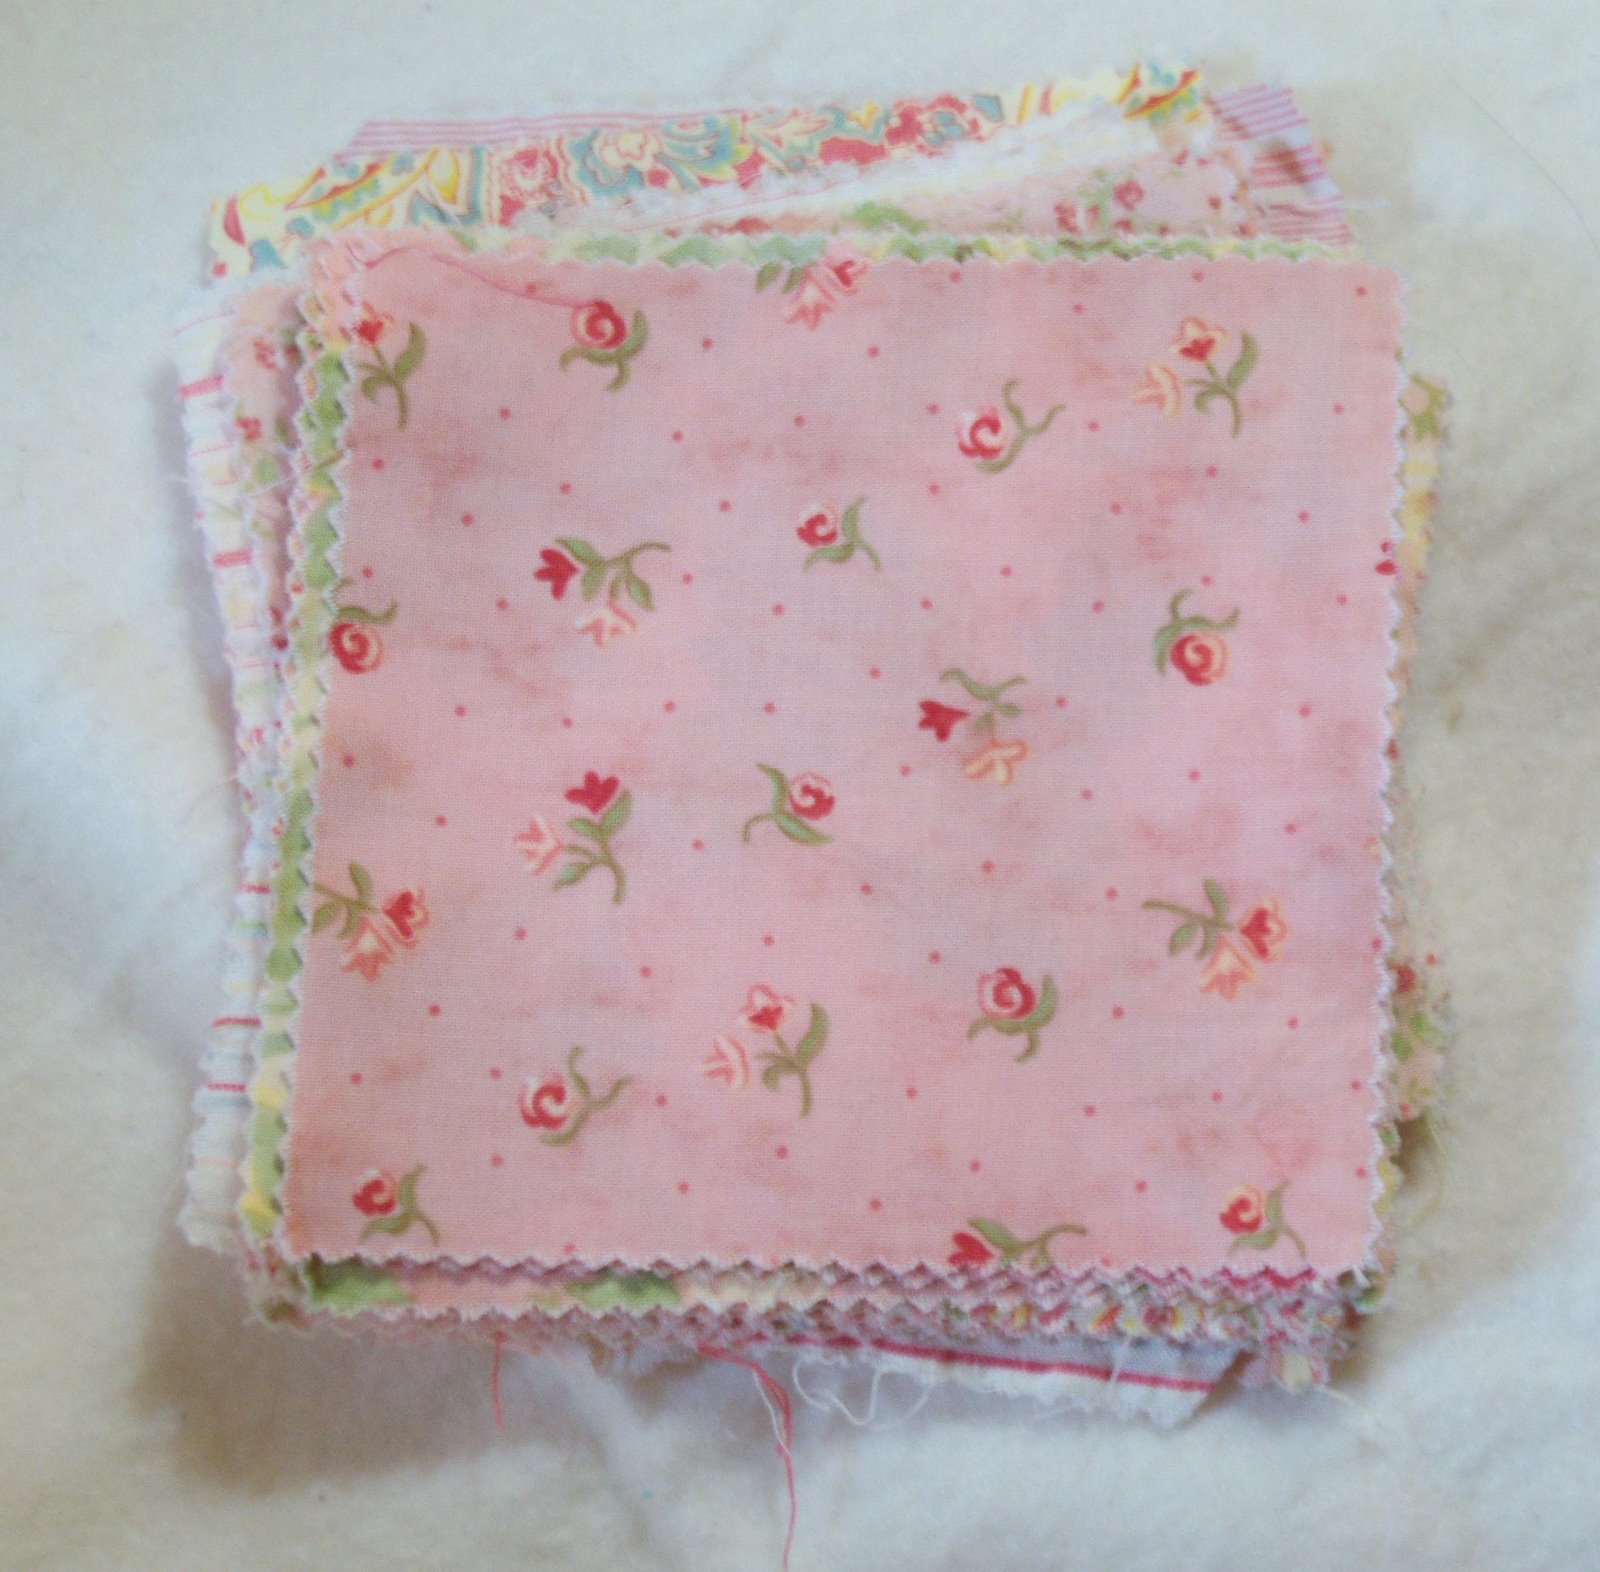
I had no pattern but had seen a picture of a quilt made of these blocks and as soon as the Inklingo collection with these shapes was available, I knew I had to make my pink and white quilt with this block.

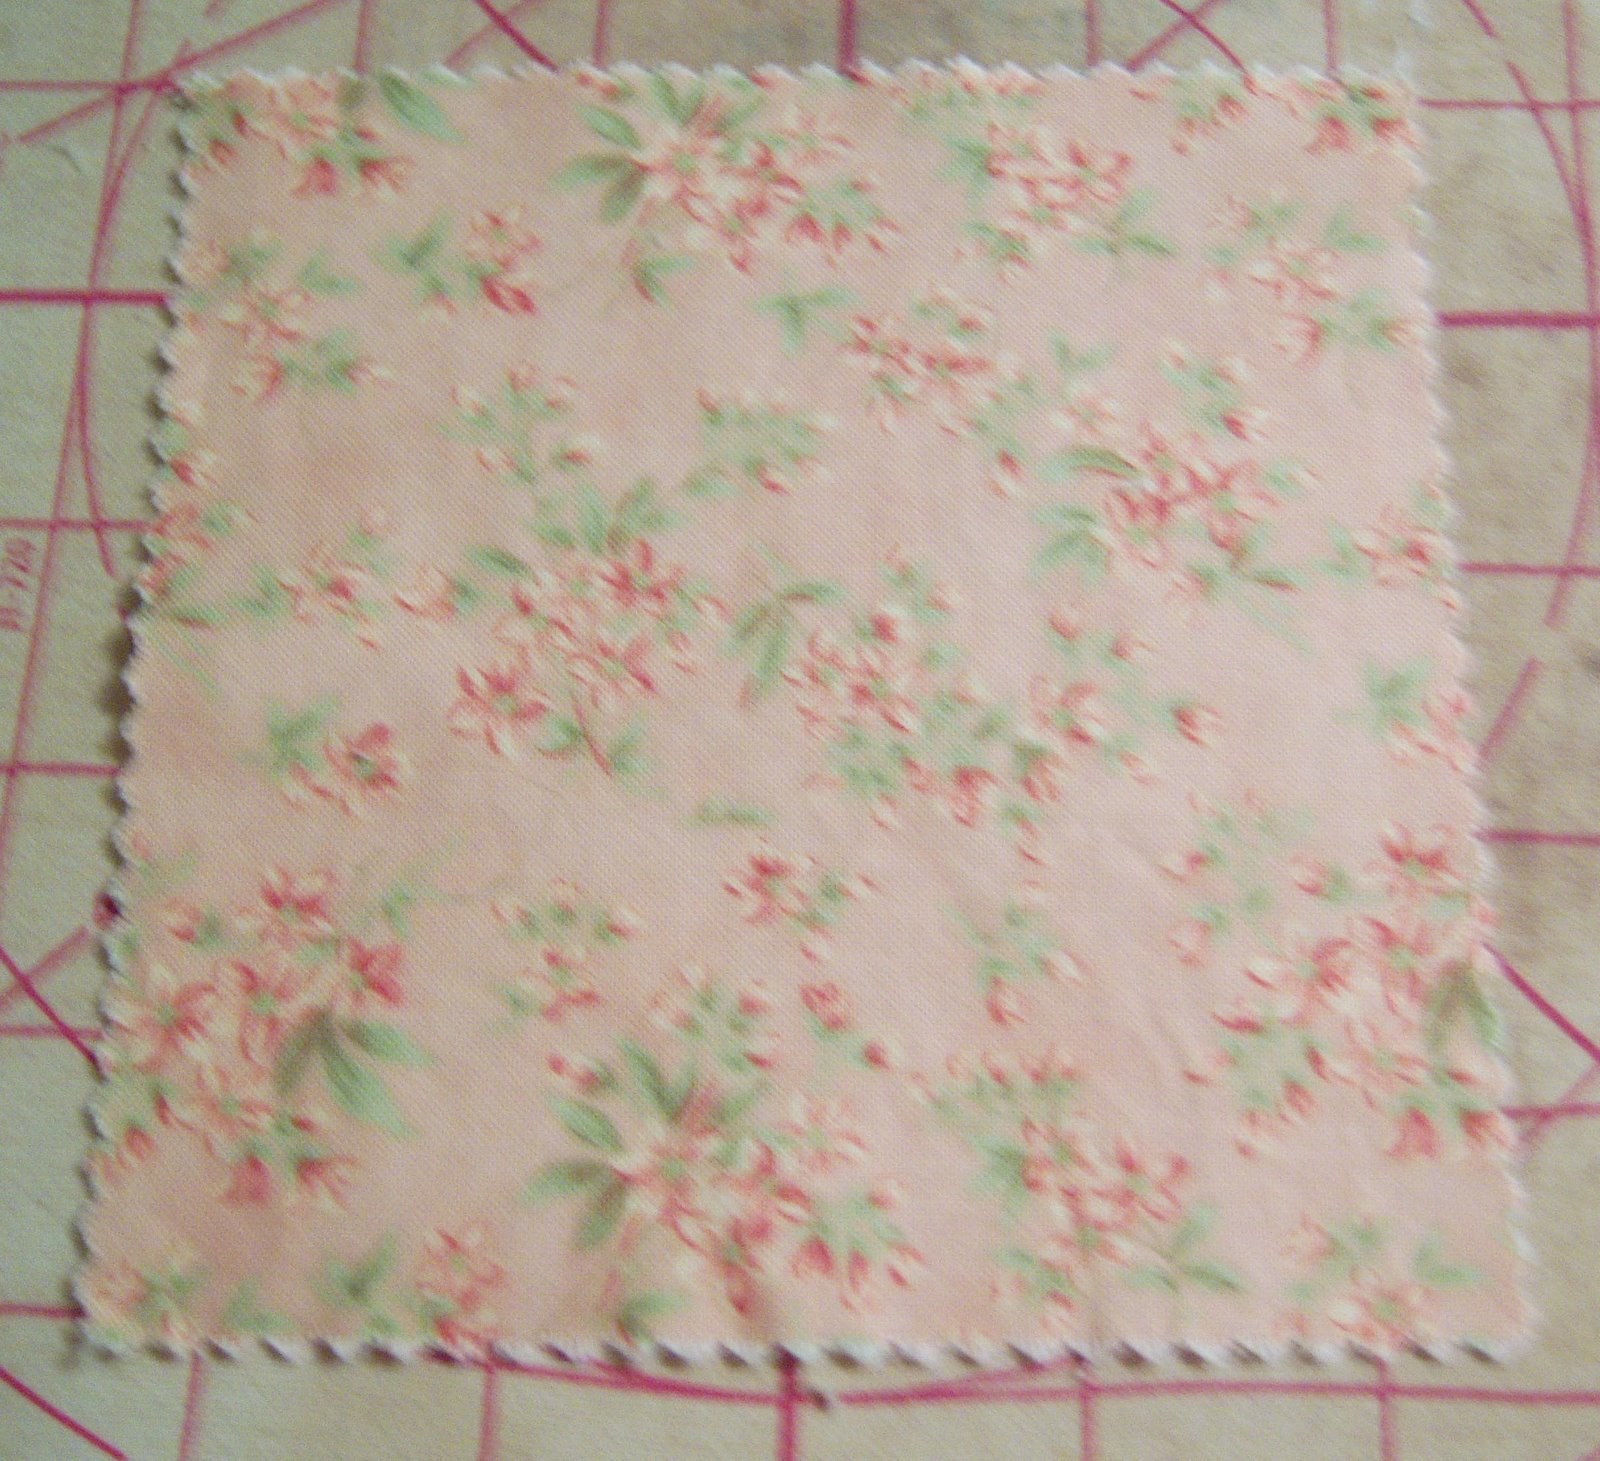
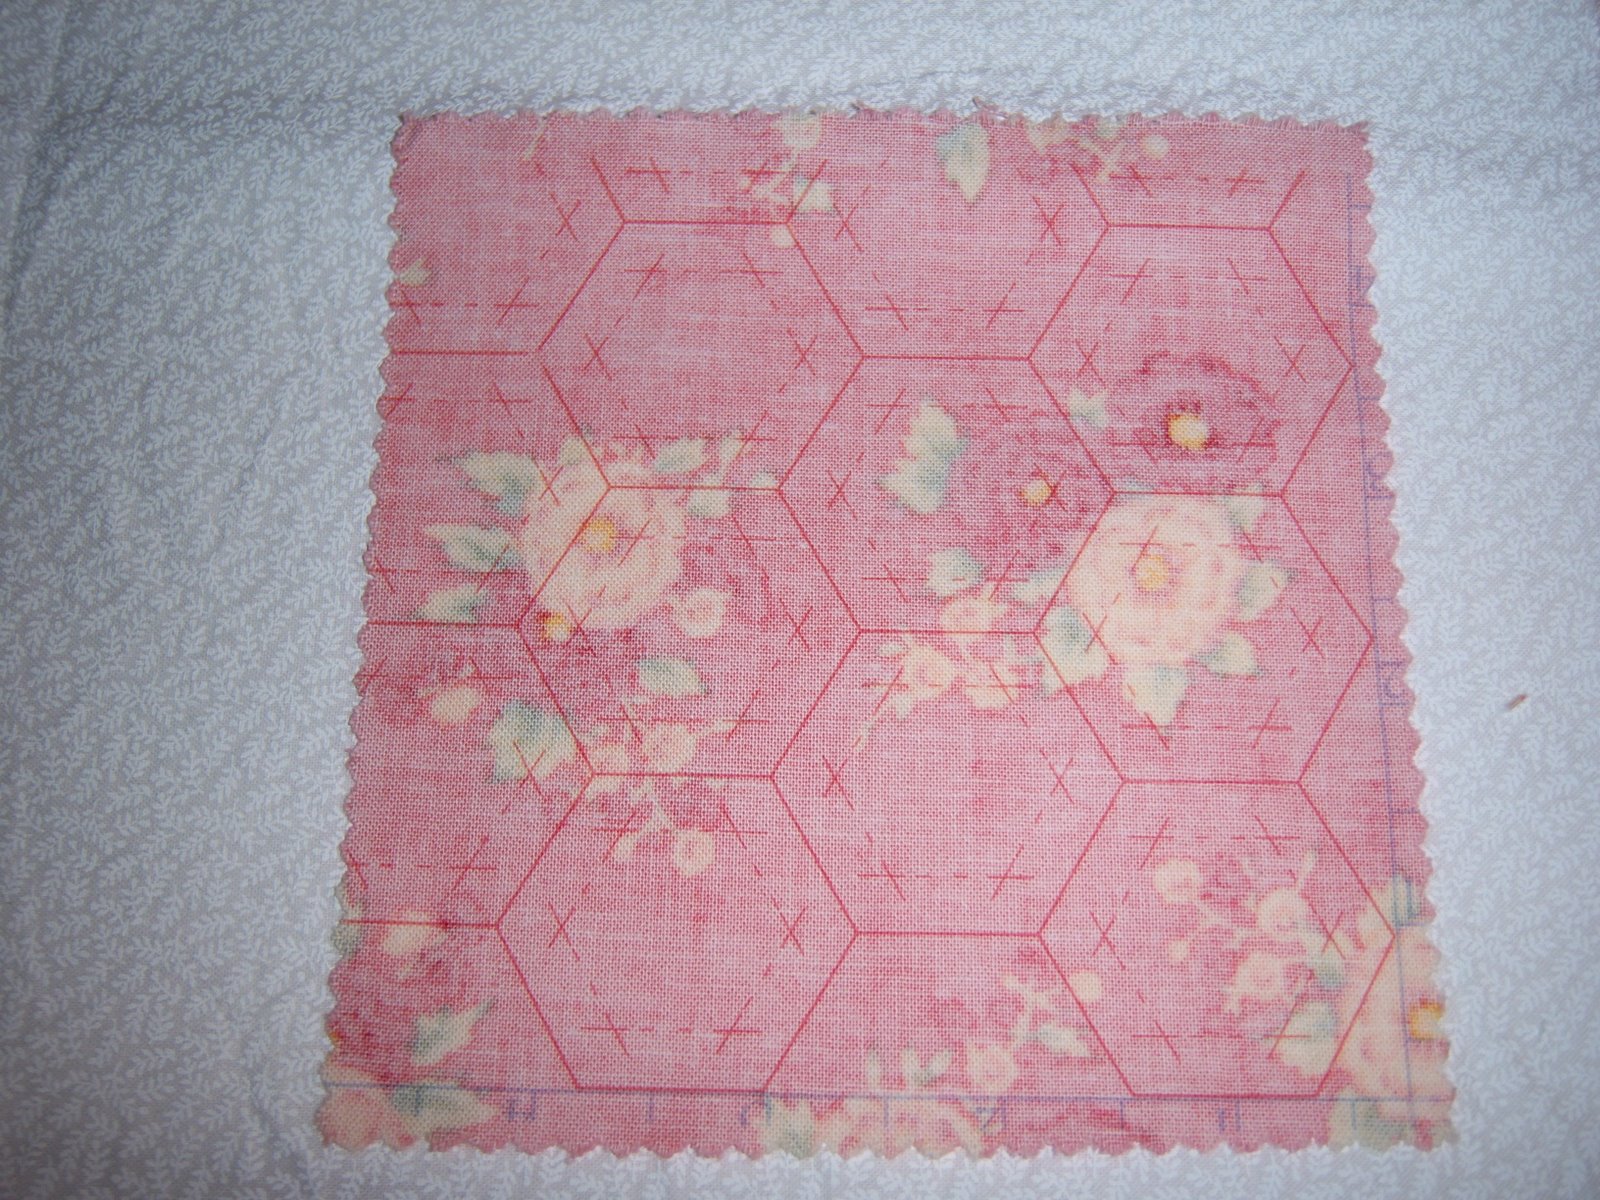
The shapes are printed on to the back of your fabric and you end up with perfect precise shapes every time. If you’re curious about it, there’s a video you can watch here and the free downloadable collection can be found here. Downloading the collection is dead easy, especially if one takes the time to read through the download instructions found in the drop-down support menu — one could even print them before starting the download.

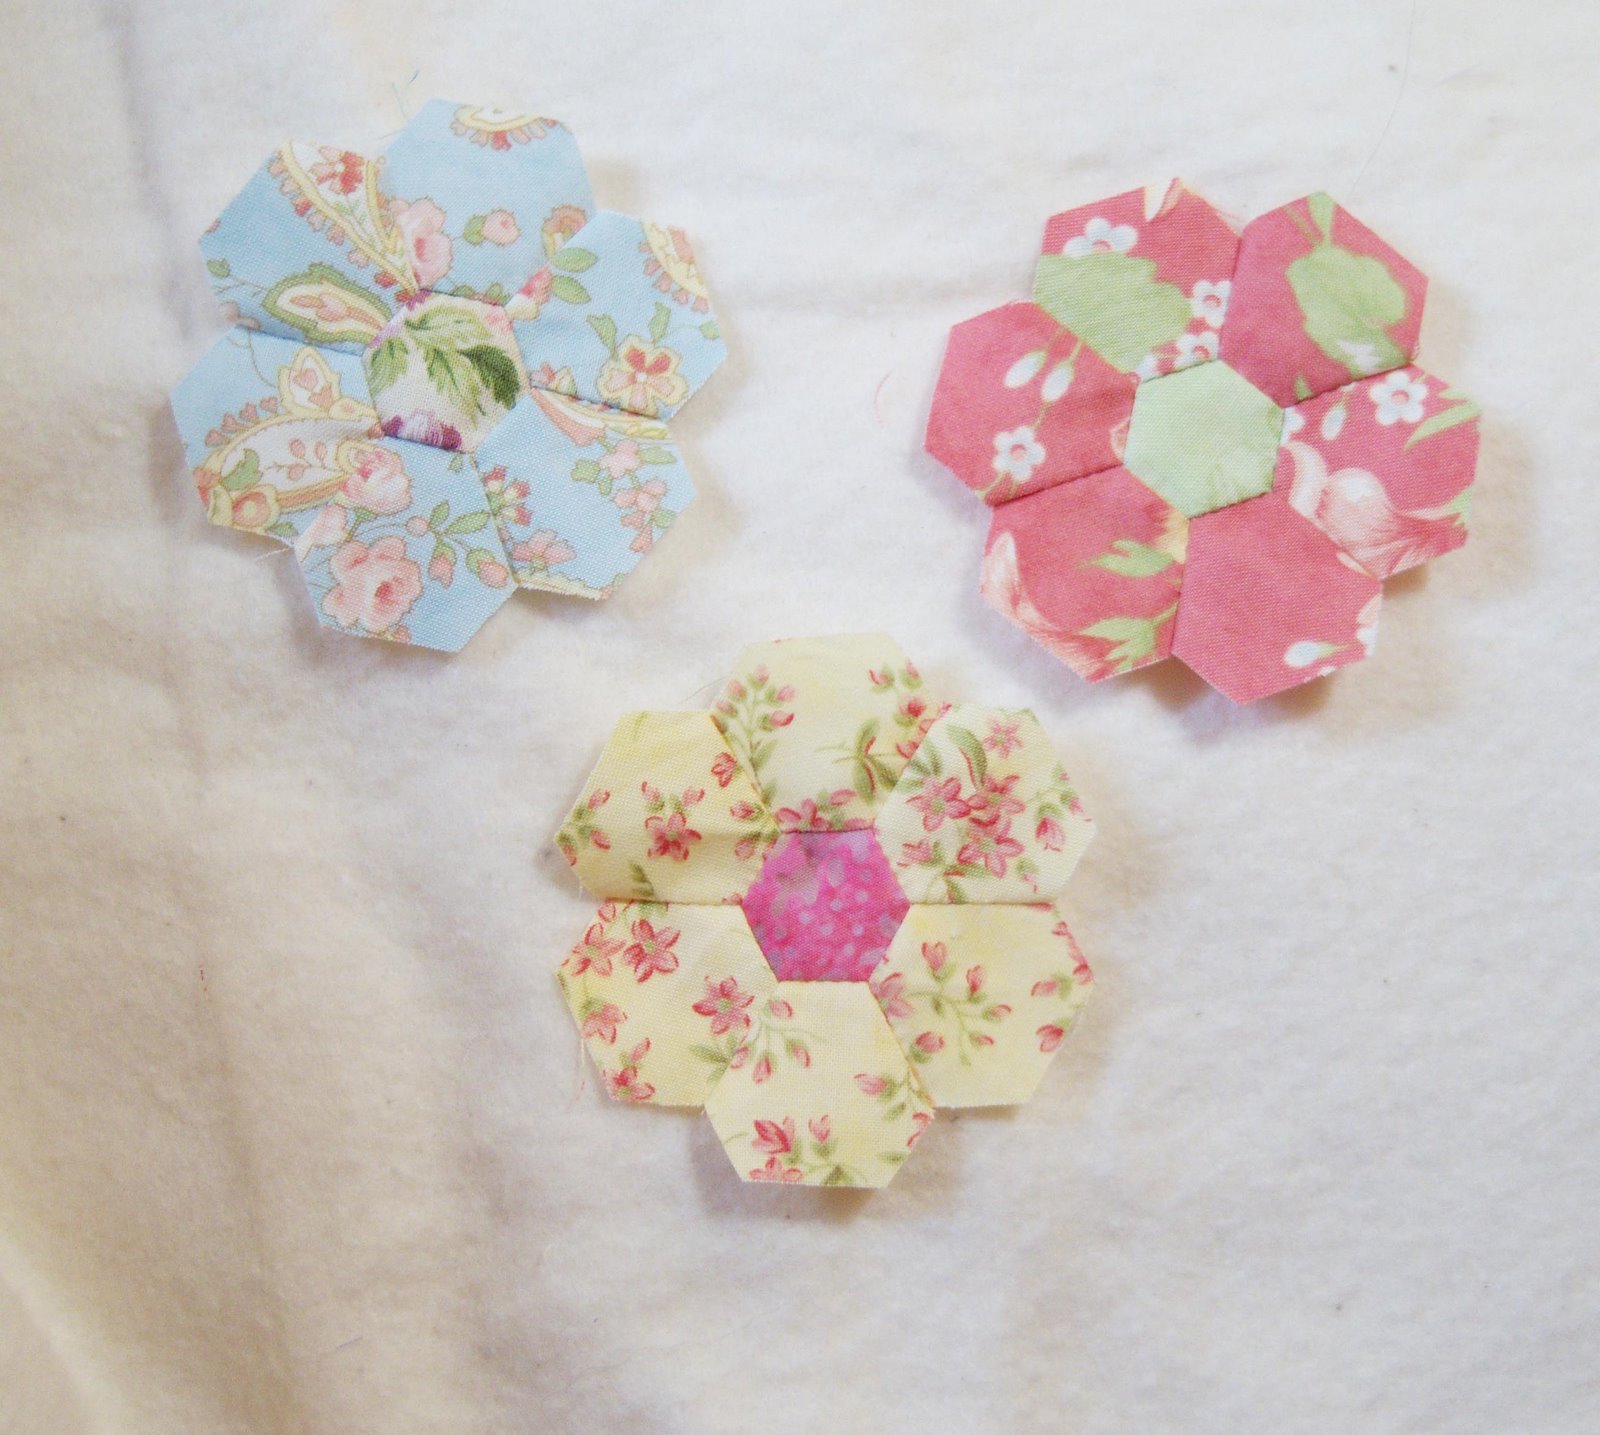
My method for constructing the block is simple. I make the 8-point centre star and the four corner 6-point partial stars. Then add the 8 squares around the centre star, then add the four 6-point partial corner stars and finally add the remaining 12 squares and 8 triangles to finish the block off. Each block is composed of 32 diamonds, 20 squares and 8 triangles. Printing the pieces I need for each block takes seconds. Because the lines are so precise, cutting the shapes apart takes very little time and I’m stitching almost immediately. No basting, no whip stitching, no papers to remove.

I love this picture of Smudge — he’s so alert and wide-eyed in it!

If today is any indication, I don’t think Lester will be sitting on the windowsill too much for a few months. It’s getting too chilly by the window!!

Those silly little white flakes are still drifting by. This is not good — not good at all. I am really having trouble accepting that there is snow, however short-lived, so early. Yuck!

Another Snow Crystal & The Creativ Festival

Another Snow Crystal block has been started. This one is using a very pretty pale pink — the variety of pinks for these blocks is fabulous. Each one is so different!

The four partial stars for the corners are ready to stitch on to the centre with lovely continuous stitching and then it’s just a matter of adding the final squares and triangles and another block will be completed!

I went to the Creativ Festival on Sunday. Whilst stuck in traffic on the way there, we got a couple of shots of the flowers in the median. This is in front of Union Station in Toronto.

I love the reflection of the sun on the metal sculptures that are part of this planting.

After the two hours I spent at the guild booth, I went off for a wander at the various vendors’ booths. I was rather shocked at some of the prices — $15 for a charm pack seemed quite a bit higher than last year! And these were just charm packs, not charms in a tin.

At my favourite booth, Sew Sisters, I found some wonderful pinks at some fabulous prices.

Just about every time I go to the Festival, I pick up a quilt stencil. This time it was this little one.


I was glad to come home. I was beginning to feel not great — think I’m fighting a flu or cold. The sore throat and aching muscles are sort of a tip-off. So it’s on to the New Zealand honey and Vitamin C and lots and lots of water for me for a few days and see if I can ward this off.

Thankfully, I have lots of pink diamonds printed so can make more Snow Crystal blocks. I certainly have next to no energy!

Lester really does love the windowsill. It’s very easy to take 20 or 30 photos of him in next to no time as he poses.


Another Snow Crystal

This block was finished Friday night. Each block is going to be in a different pink fabric so the sashing and binding for this will be important — I’m playing with the idea of a pink and charcoal stripe if I can find one that works, but that’s far off in the future.


I even love the back of these blocks. Pressing them is amazingly simple — start with one seam intersection and they all follow. I need to go over a couple of spots on this block again, but it lies so wonderfully flat once pressed this way!

Lester, in one of his “thinker” poses.

And a huge treat for us — the two boys curled up together. We rarely see them do this.

I’m off to the Creativ Festival today and will be on the lookout for some more pink FQ’s for the Snow Crystal blocks. No cameras are allowed, so I won’t be coming home with pictures to share.

Pink and White

I spent part of Wednesday afternoon getting these fabrics ready to print and then printing them. Now I have all the bits necessary for about a dozen Snow Crystal blocks and I’ve printed a bunch of extra diamonds for the swap.

It’s almost addictive, printing the templates on to the fabric. Sometimes I wonder if perhaps I didn’t have enough time as a child to play with paper dolls or something!


This is one of the silliest photos of Smudge we’ve got yet. This one makes me laugh out loud every time I look at it.


And then there’s this one of Lester. I love this. Not sure what we did to the camera to get this effect, but I love it! Of course, he has his favourite toy under his paw.


Snow Crystals

Remember this Snow Crystal block that I made when testing the new Inklingo free 4.5″ LeMoyne Star collection? Well, there are going to be more of them! Stay tuned! This may well be the beginning of my pink and white quilt. I’m doing a one-on-one swap with Martha, another Inklingo’er, of the pieces for these wonderful little Snow Crystals and can’t wait! Rather fitting, I suppose — getting ready to do Snow Crystal blocks as we go towards winter. πŸ™‚


Yet another shot of Lester on — where else? — the windowsill.


And Smudge — look at the size of that paw!


The Never-Ending Quilt Label

First came the 18 little GFG’s.


Then I began joining them all together. I love the effect of the little flowers in the border and the room in the centre will be perfect for all the names and places of residence of those involved in the group quilt. The label will finish at about 13.5 x 18.5 inches. The pattern came from the Inklingo .50″ hexagon collection.


I thought I’d gotten away with it — but my photo helper/fabric biter had to make an appearance! I managed to whisk away the partially completed frame of GFG flowers before he could bite any of them.

I can’t believe how hard it is to get a good photograph at this time of year! None of these colours are true at all. Guess we need to get a proper light set-up. When the label is finished, I’ll try to get a better shot of it.

Lester, the other night. I suppose he was making sure that Cappy wouldn’t escape while he was sleeping!


Hexagons, Hexagons … and Cats

I just couldn’t resist starting to put those long strips of hexagons together! This will be an incredibly scrappy quilt — and a lot of fun to look at, I think. So far 6 of the rows are done. For me this is the perfect way to use the hexagons from our latest swap. I think I may surround the main body of the top with one colour, just to calm it down a bit but will make that decision when I have the rows all done.


As I was laying them out, Smudge decided he needed to help. This picture may look angelic — but when he was biting the hexagons I was less than impressed!

Just about all the leaves on the trees on the roof garden are still green. A few have turned, but not many. Lester has been very busy watching the antics of all the critters and birds out on the roof garden.


Cooler Weather Stitching

The cooler weather seems to be here for sure. We even had to turn the heat on today! 😦 Turning the heat on is always the beginning of the winter lament for me — that dark tunnel we go into until just after Christmas when, thankfully, each day gets a tiny bit longer.

Nothing much quilty, other than I started putting together the hexagons from the last Inklingo swap. I debated making traditional GFG’s with them but decided to do a quilt like this:

The picture is from this book. So far I have 4 strips of 30 or 31 hexagons done. They go together amazingly fast. I go through this book over and over and want to make almost everything in it so I suppose this is a start. The goal is to get a really quick lap quilt done with these. I think I can get the strips done within 10 days and then another 10 or 15 days to put them all together. However, I’m sure I’ll be missing the little hexagons and will be back to working on Insanity later this week.

Lester, looking so contemplative — until he did something goofy. πŸ™‚

Printing on Charms

A question was asked re how I stabilized my little charms to print the hexagons for the Insanity quilt. There is a great video at the Inklingo Web site that is free to download and watch.

To give a really short explanation of how to stabilize fabric for printing — first I iron the charm. This is the charm, right side up.

Iron a piece of freezer paper to the right side of the fabric so that the wrong (back) side is what will be printed on.

Feed it through the printer, peel off the freezer paper — and you have perfect hexagons printed and ready to cut apart and stitch. I printed using a darker colour than I would normally on this charm so that it would show up well in a photograph. If you click on and enlarge it, you will easily see the cutting lines (solid lines), the stitching lines (dotted lines) and crosshairs where seams intersect.

If you’re curious about using Inklingo, right now there is a free collection available at the Inklingo Web site for download here (scroll down to the downloadable collections and you will see the free one) with all the shapes necessary to make a 4.5″ LeMoyne Star block. It also includes the first chapter of the new handbook, which gives you all the information you need to start printing and using Inklingo. Be warned — it is truly addictive!! LOL

Smudge with one paw hanging out of the kitty bed — temperature control maybe?


More Insanity

Not a lot of stitching has got done this week, but a LOT of printing has been! I can’t even begin to imagine making this quilt without Inklingo — no basting, no whip stitching, just lovely quick running stitching. Makes it all so quick and so incredibly accurate!

All these charms have been printed with the .50″ hexagons and cut, ready to turn into a hexagon diamond.


These are the charms I have left to print, which will be done this weekend. Then all I need to print are a bunch of white hexagons and another shape as I’m thinking of amending the pattern a bit. And then it’s just all lovely hand piecing till they’re done! πŸ™‚

One part of the pattern I definitely won’t change is the fact it needs some little GFG flowers so I started making a couple of those this week too. I’m using YLI Heirloom thread and I absolutely love how it just sinks into the seams. Perfect thread for these little pieces.


While I may be working with colours that look like spring, Smudge is definitely into fall mode curled up in one of the cat beds.