Festival Report – Part 1

We went to the Creativ Festival on Saturday. Even though there was an unexpected strike by the transit workers at midnight Friday, which meant traffic was going to be a nightmare, we headed out yesterday morning.

I don’t think the transit strike stopped many people. It seemed as though the crowd was pretty much what one would expect at the Festival on a Saturday. I was a little disappointed that there appeared to be no U.S. vendors, but found some great fabric and notions!

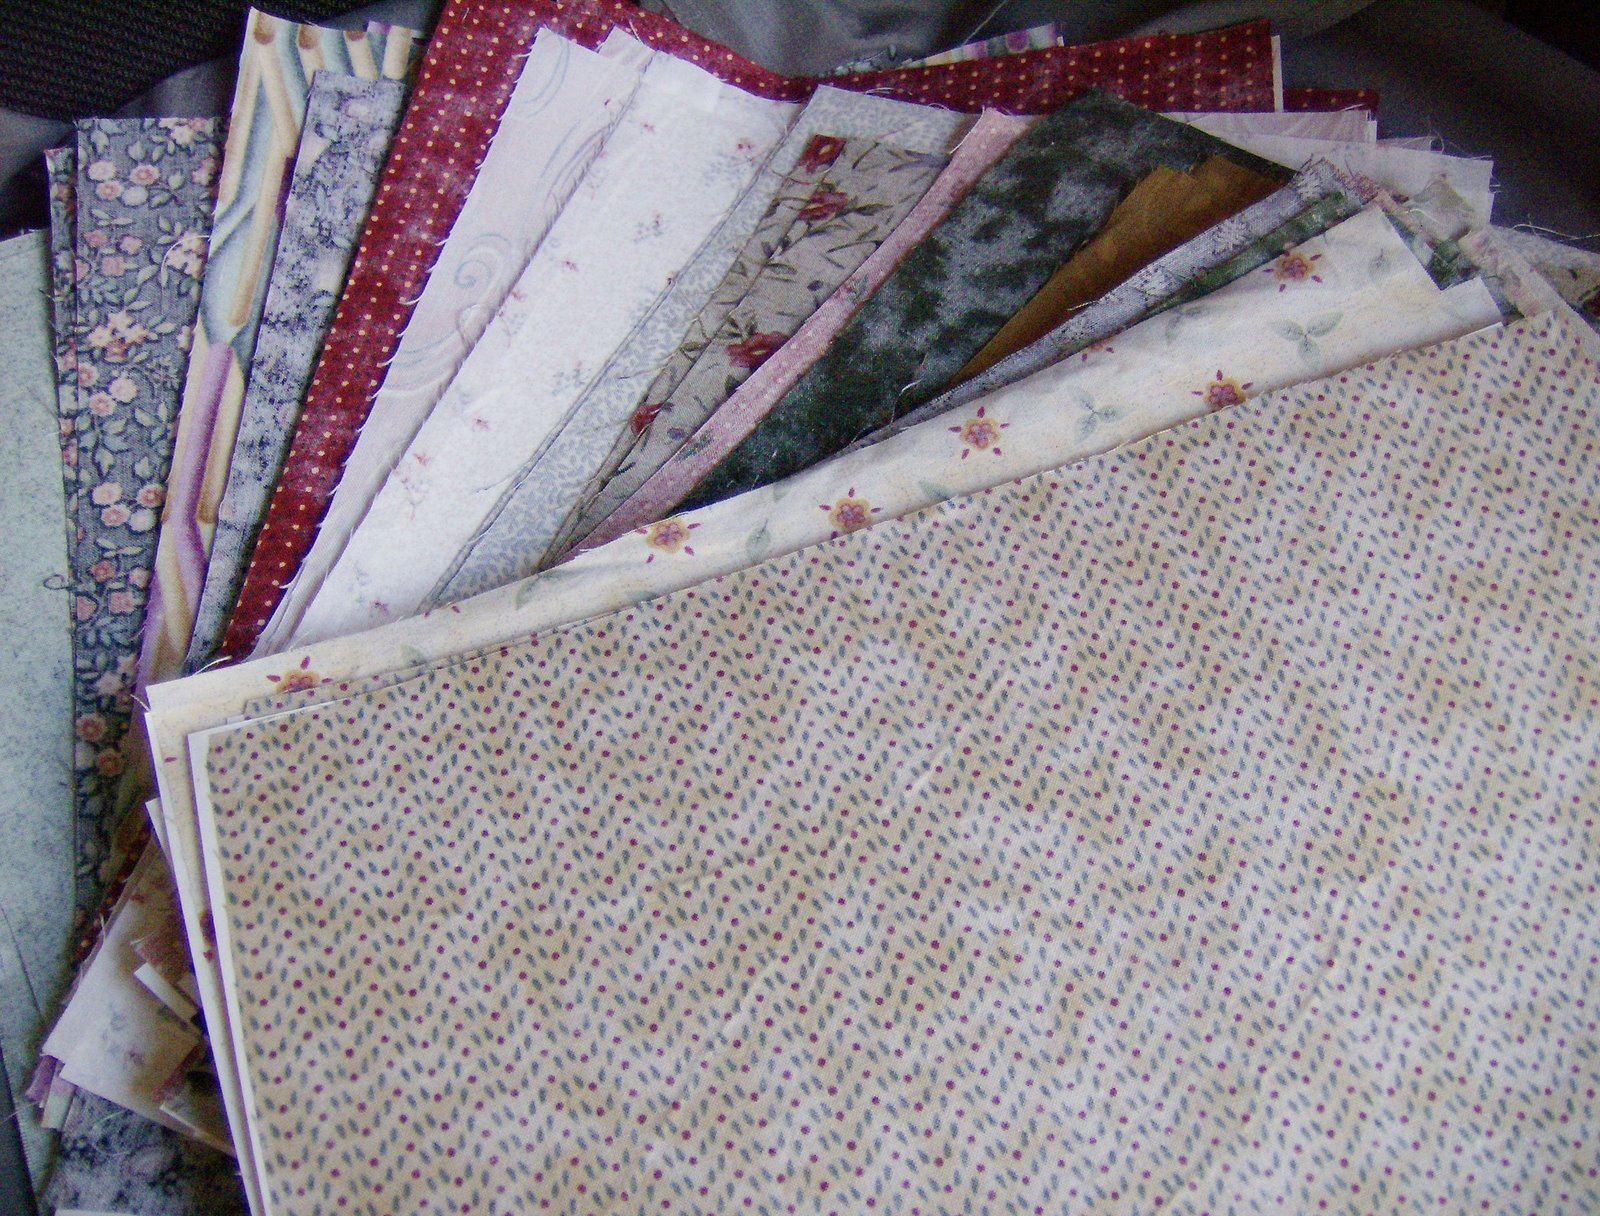
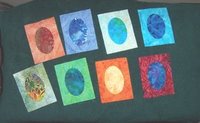
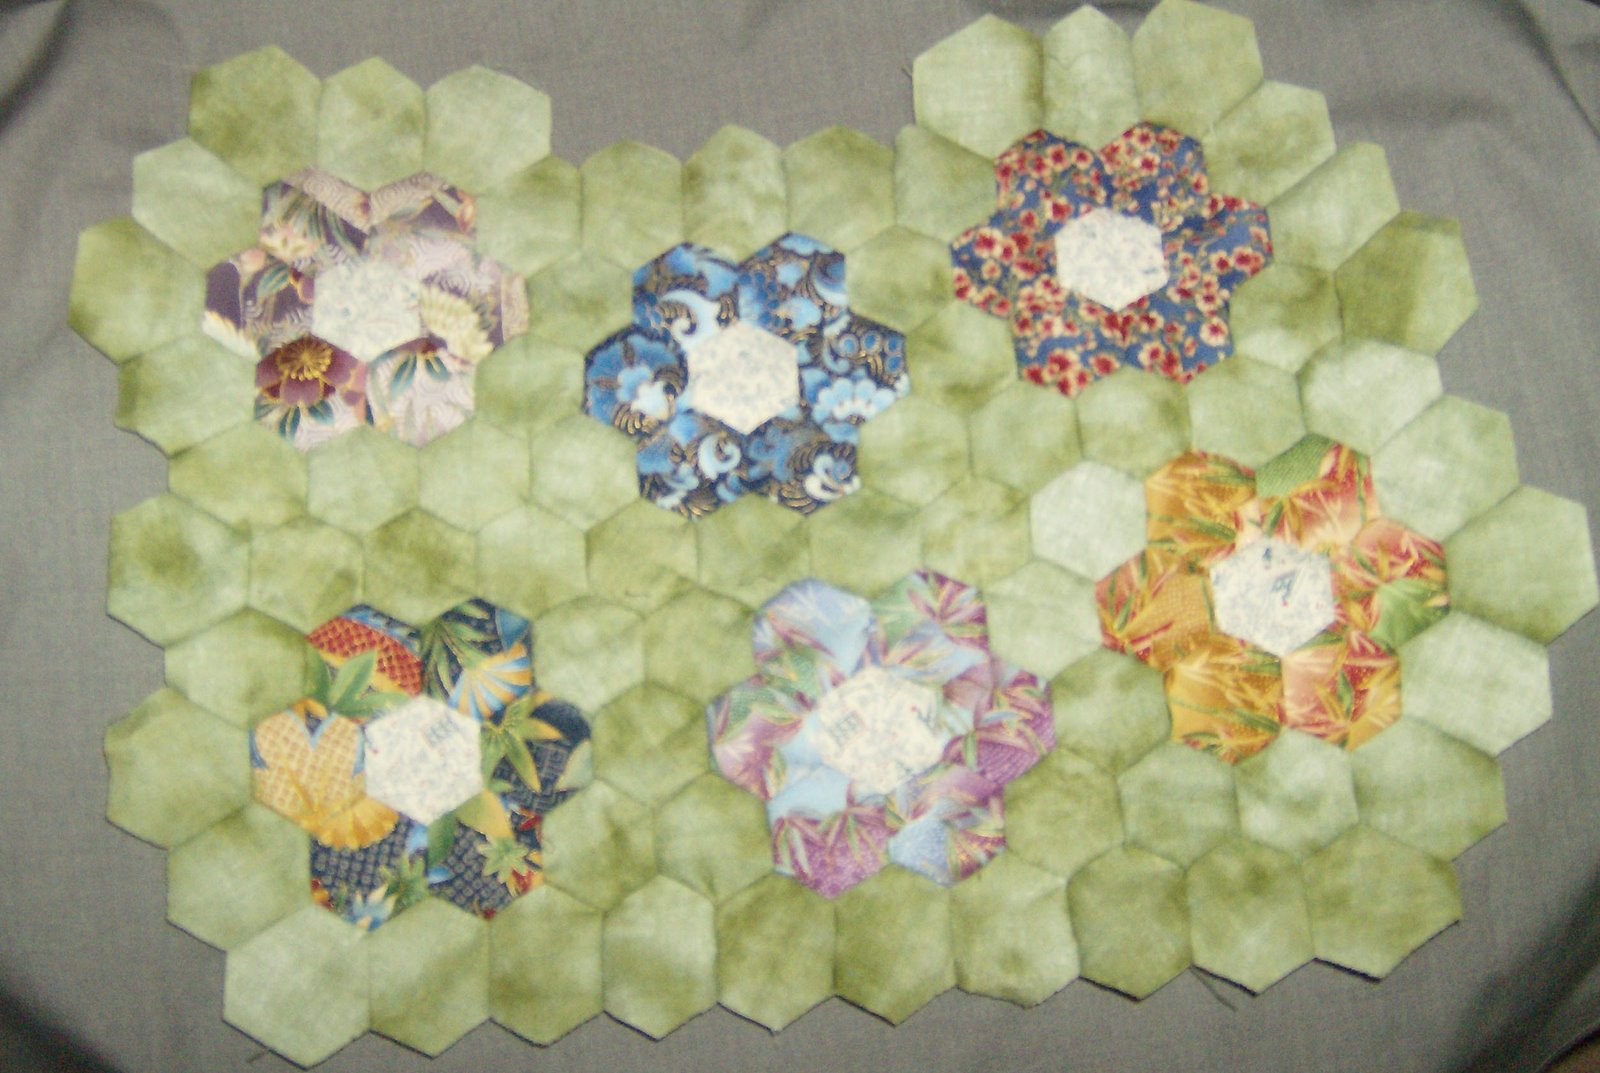
First of all, this set of 5 FQ’s for Insanity and other shabby chic projects. The top floral may be a bit too large for the pieces in Insanity but it will make a wonderful border for a little quilt.


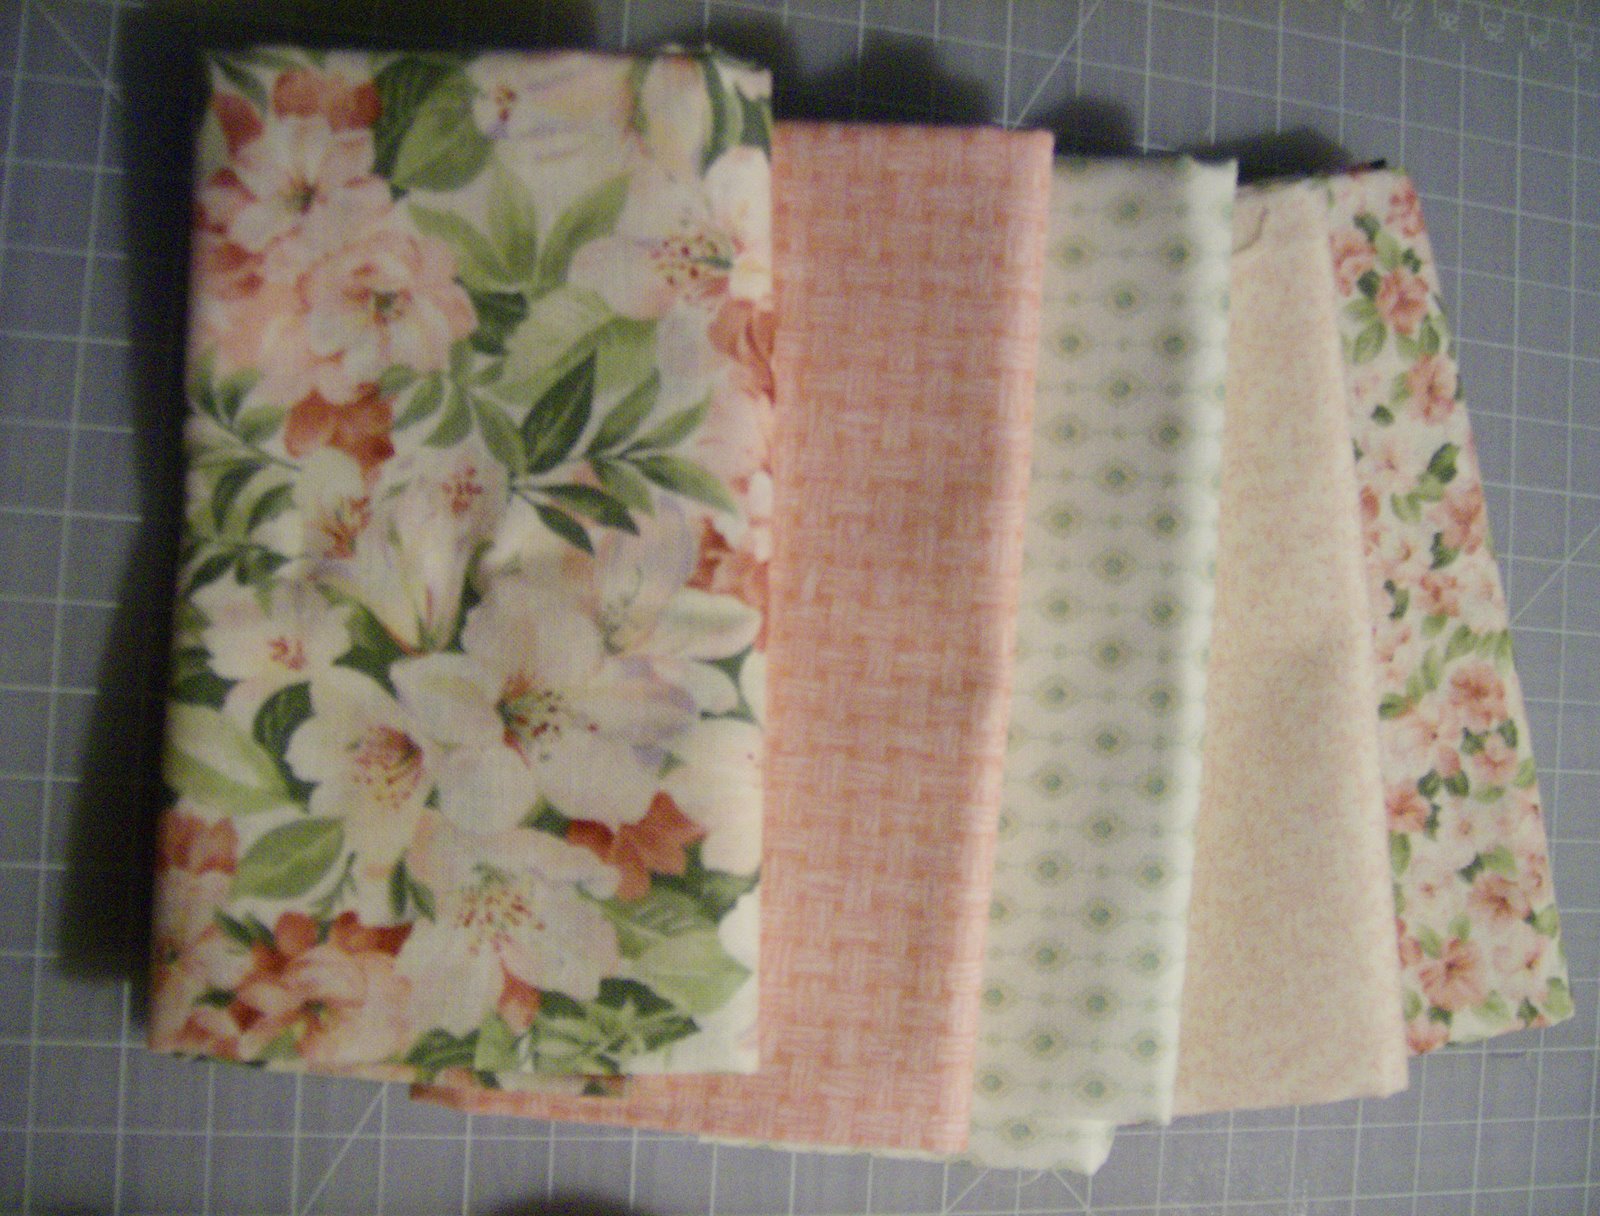
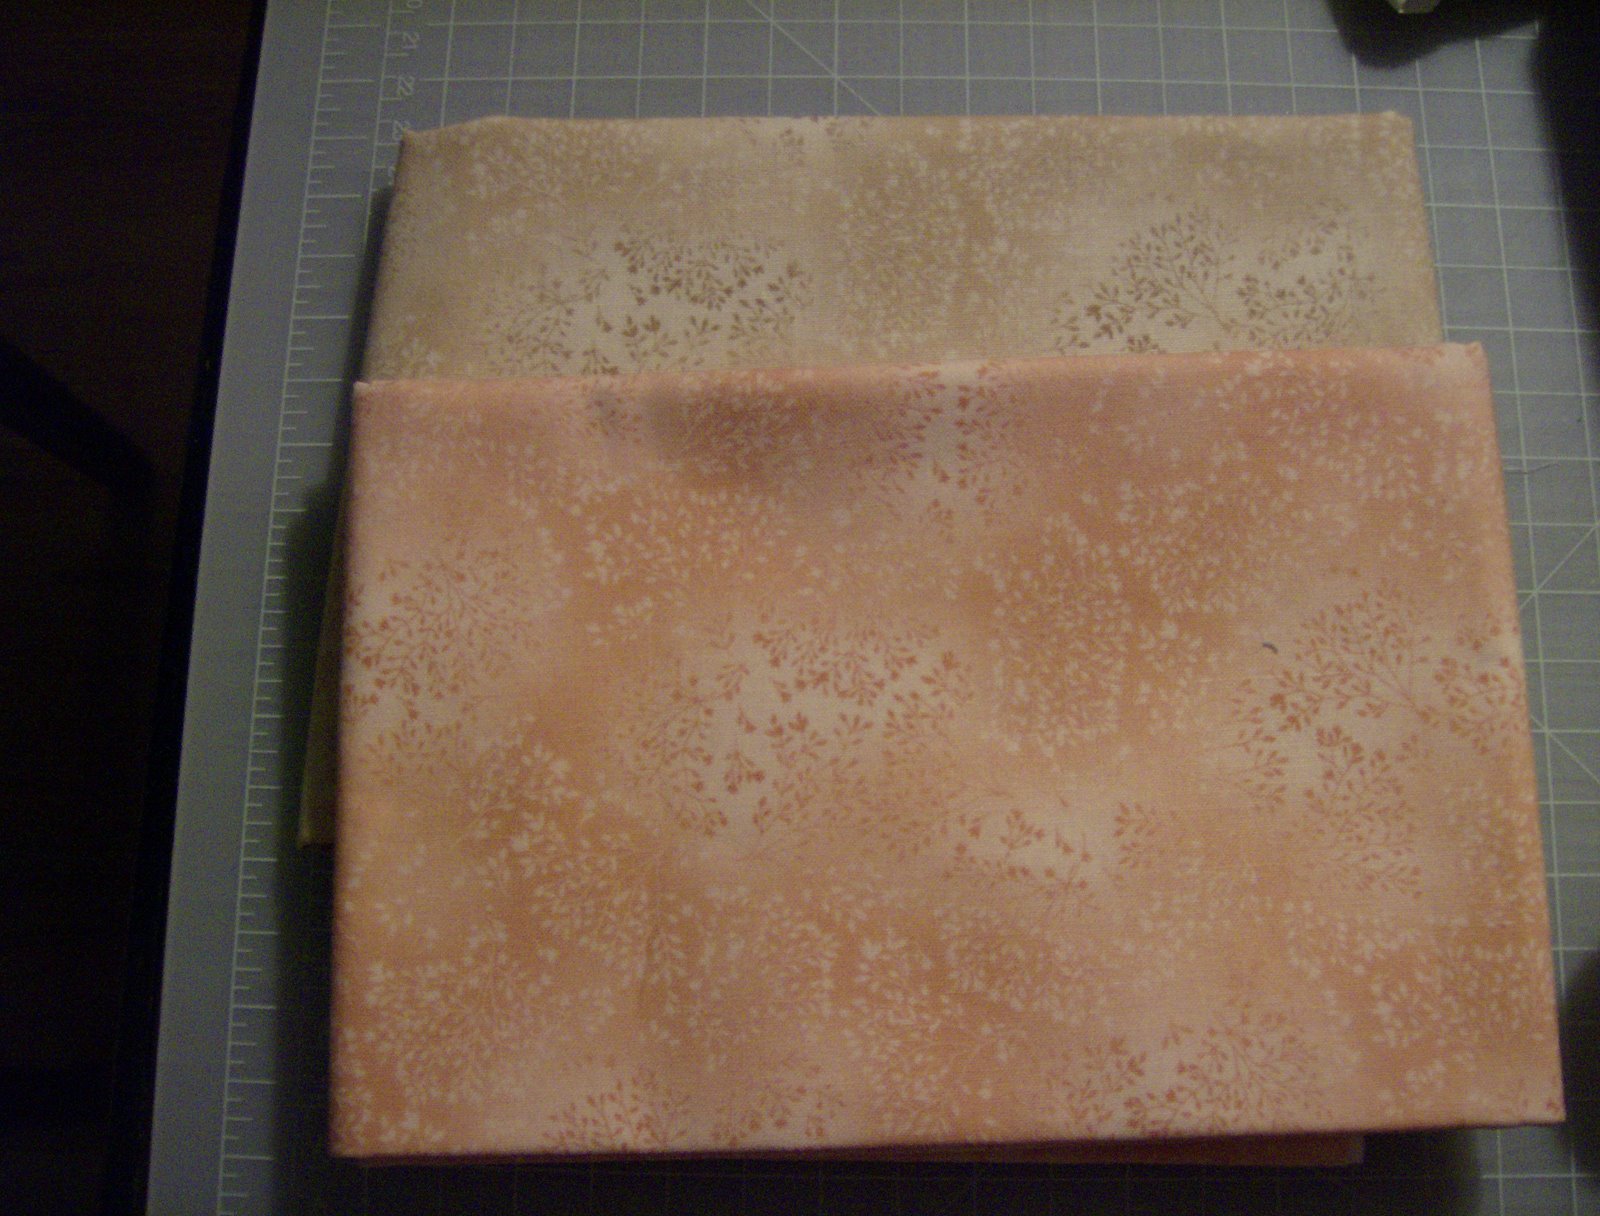
Two half-yard cuts of the Kaufman Fusions I found. These fabrics seem to go with everything — and I love working with them. I’d love to get the whole line of them! A bit of each of these two will find their way into Insanity, I’m sure. 🙂

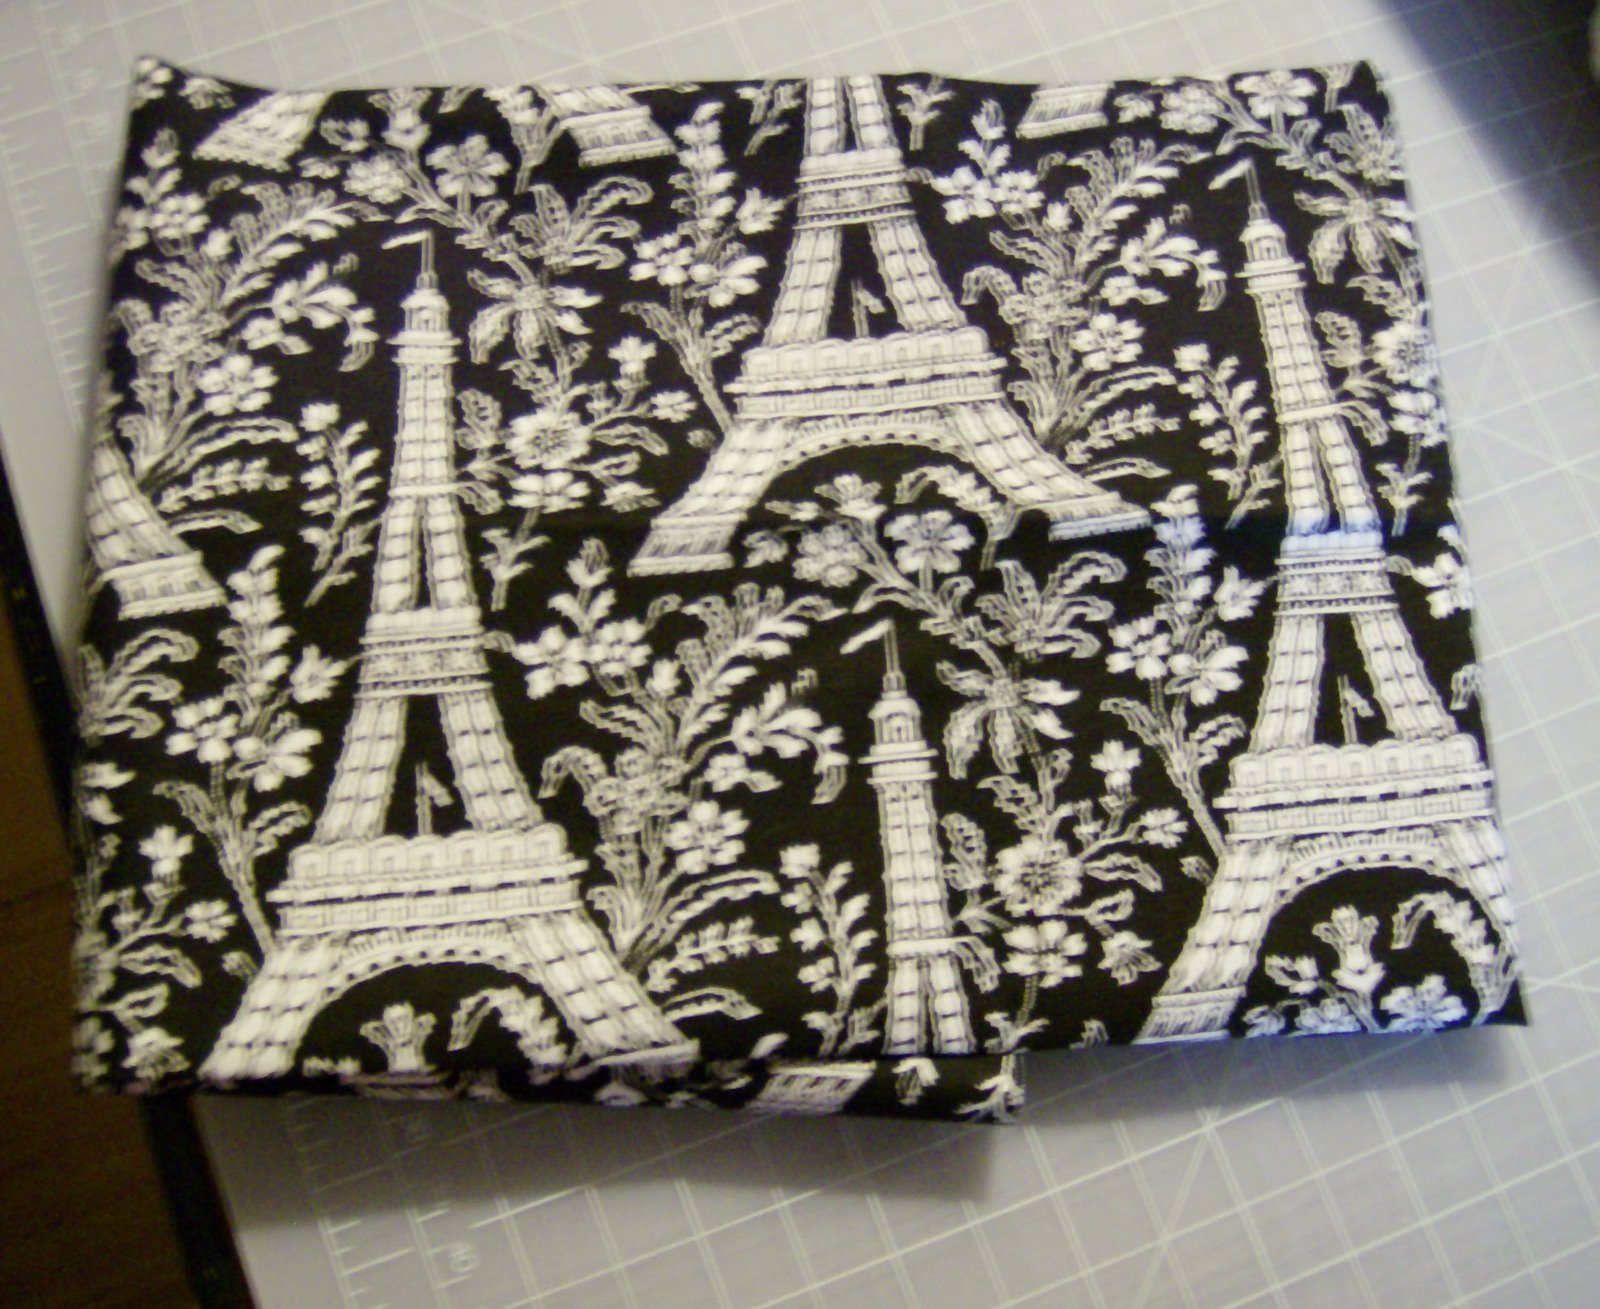
Some great white on white FQ’s, which have been set aside for Insanity. And another black and white print for the little black and white stars. Thanks to a friend, I have been able to get together quite a nice little collection of these black and white prints. I’m thinking now that I may make the tiny star rectangles into a small quilt rather than a large quilt, as originally planned, but I have other plans for the black and white fabrics. 🙂


This was, to me, the find of the Festival. I love using YLI Heirloom thread for piecing (and applique in some instances) but it is next to impossible to find here. When we wandered into the booth that had these and then found out that the vendor is here in Ontario — well, I was so excited you would have thought I’d won a lottery. I immediately scooped up a couple of each colour shown here. That thread absolutely melts into seams and is super for working with tiny pieces, imo. Of course, some of it is being set aside for Insanity as well.


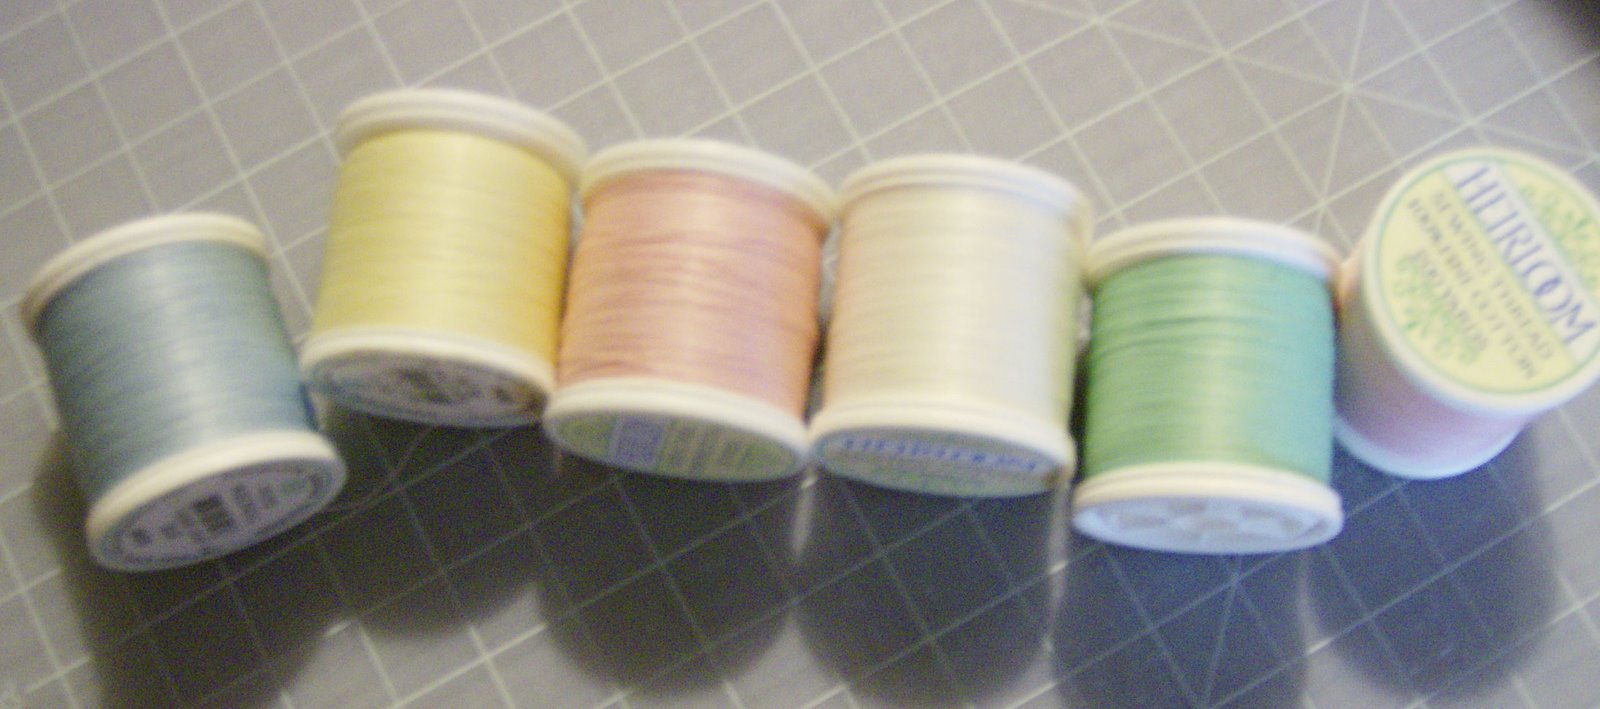
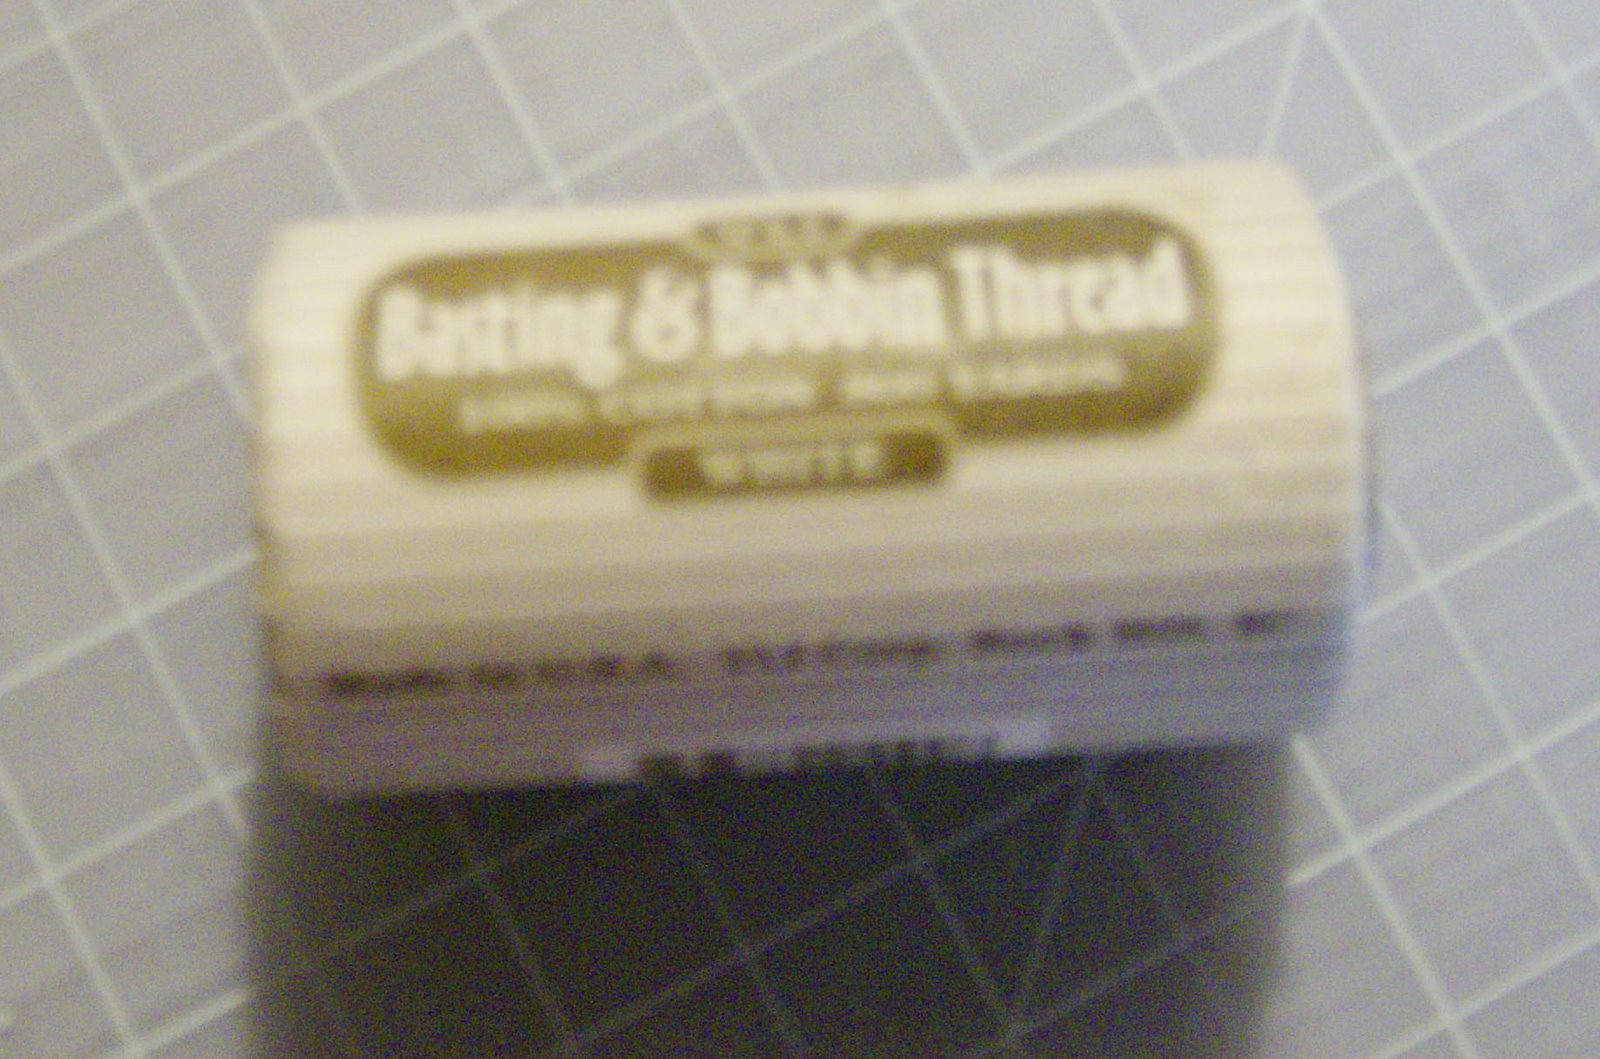
I’ve never used the YLI Basting & Bobbin thread but have heard that it’s quite good for piecing as well. Figured I’d buy some and give it a try!

There’s more to come in the next post.

Posted in Uncategorized Tagged

Beginnings of a New Project

Have you seen the cover of Vol. 16, No. 6 of Australian Patchwork & Quilting? There is an absolutely gorgeous quilt, which is called “Insanity”, composed of over 10,000 half-inch hexagons. I’ve been staring at it and staring at it and have given in. I’m starting to put aside fabrics now that I’ll use in it, but I’m waiting for an Inklingo collection that has half-inch hexagons! There is no way I’m stitching together over 10,000 hexagons any way but the Inklingo way! I am fascinated by this quilt and know I have to make it. Have to. What a wonderful long-term hand piecing project this will be!

These are some of the fabrics I’ve set aside so far.

I have about 200 shabby chic charms too and I’m thinking that I’ll be able to get at least 8 hexagons out of each one. They’re all washed and waiting. I’m not sure when the collection with half-inch hexagons is going to come out, so I’m going to segregate the fabrics I want to use for the hexagons now and set them aside in a project box.

Edited to add: Debbie at Pieces of Treasure is making this quilt as well using English paper piecing.

Lester this morning:


Smudge, last night — he really knows how to relax!

The Creativ Festival starts tomorrow. I’m not sure which day we’re going, but I can’t wait!

Getting Ready for Another Swap

There’s another swap on the Inklingo list so on the weekend I printed about 300 hexagons, cut them apart and packaged them. Stamp collectors’ glassine envelopes are perfect for packaging charms for these swaps.


I still need to print a lot of one-inch diamonds as we are also swapping out strips of 6 one-inch diamonds. I have my fabrics prepared and ironed on to freezer paper. Now it’s a matter of printing them. My goal is to have these all printed, cut apart and packaged by the end of the week.


This is the latest in a series of swaps we’ve had of those shapes. There are definitely the makings of some great scrap quilts in the pieces we’ve received so far. I have a plan, I think, for the one-inch hexagons.

I need help! My iron has some sort of sticky residue on the sole plate. It’s not one of the Teflon-coated sole plates but rather a very shiny, smooth surface. I think it may be from the freezer paper. I’m not sure what to use to get it clean again and am worried about scratching it.

Edited to add: I used a Magic Sponge and it truly was magic. All the sticky mess is gone and the sole plate looks brand new again!

And just because, a picture of our gorgeous big golden boy having a snooze.

A Lament for Trees

Yesterday, the tree butchers came. I refuse to dignify these guys with the name tree surgeons! What they did to the trees on the roof garden is appalling!!

There are 3 trees in front of windows at our end of the roof garden — lovely, mature trees with tons of foliage. Oops — make that they had lots of foliage, as you can see by this shot of Lester in the window. We won’t get any shots like this again!


As a result of the shade from those trees, the grass below the trees hasn’t been growing well. This is not a big deal to most of us because it has seemingly stopped the nosy ones from getting too close to the building and trying to peer in windows. However, management apparently decided they want luxurious grass. Grass instead of leaves on trees, which help the environment so much more than grass. Grass that will get wrecked by the window washers anyway when they pour their window washing pails out on the ground, rather than in the drain that’s there.

Back to the tree butchers. They cut off huge limbs as well as many, many branches. The difference it is going to make to us is enormous. In the past, during hot days when it hit 105 and was humid as can be we haven’t needed to put on the air conditioning because we had so much shade from the leaves on the trees. This year?? This year I bet we have to put the air conditioning on a lot.

Trees are so environmentally friendly and do so much to help clean the air that I just cannot believe they did this for some silly cosmetic reason like grass. My bet is that grass will look nice till the window washers have arrived (which will be soon) and then it will be horrible once again. And this in a city that has pollution alerts every summer and fall? Makes absolutely no sense to me at all.

I shall be in the management office tomorrow morning to register my displeasure with what happened this weekend. If they dare say anything about doing things for Earth Day on Tuesday, I will remind them what they did against Earth Day! What an absolutely vile example to set!

To keep this somewhat quilt related, last night I finished back-basting the batik ovals. This will be my summer stitching, I think. If I head out to the roof garden, I’ll just grab a few blocks, a pair of thread snips, some thread and needles. If I do that consistently through the summer, I should have all the blocks appliqued fairly quickly.

Back-Basting the Batik Ovals


This week I’ve been working on back-basting the last of the batik ovals so they’re ready to applique. By the time the week is over, I’ll have the final 100 of the approximately 250 blocks basted. This is going to be an interesting quilt.

When I decided to start this quilt, I knew the only way for me was to use the back-basting method. So I traced the oval on to the wrong side of the batik rectangles.


That’s it. That’s all the prep work I need to do before settling down with needle and thread other than cutting the batiks, of course. Once the tracing is done, I simply pin the smaller rectangle on.

Then I baste, working from the wrong side and following the traced line, using small stitches, button thread and a slightly larger needle than I would normally use. Once the basting is done, I cut the piece to be appliqued to a rough 1/8 of an inch turn-under allowance and generally let the piece sit for at least 24 hours, although frequently that time is much much longer. This picture shows the back and front of 2 blocks basted and ready to stitch.

When I’m ready to start working on a block, I simply snip about every fourth stitch of the basting. I pull out the first couple of sections of thread, start to applique and it’s magic. Because of the perforations from the basting, the piece to be appliqued turns under right on the line. This is the best applique method I’ve tried. I get great placement, even on complicated blocks with lots of pieces to be appliqued, and there’s no fiddling with freezer paper, pins or glue or dealing with an overlay that has to be rolled up and held out of the way.

It’s always amazing to me, when I turn a block over after it’s completed, and see that my applique stitches are exactly where I had traced the shape. All one needs to do is take the time to trace the pattern as carefully as possible. If your basting stitches are right on the lines you’ve traced, the applique will be as good as your tracing was. Pure magic with very little effort!

And, for the requisite kitty photo, Smudge treated us to yet another of his poses.

Applique Choices

Have you seen the two-applique patterns from Pacific Rim Quilt Company? I’ve done one and have another ready to backbaste. Then I have these two waiting. The fabrics are washed and ready, so it’s solely a matter of tracing the patterns on to the wrong side of the background fabrics and then backbasting them.


I think the time of year when I get to these will be the deciding factor on which one I do first. If we’re getting close to Christmas, then I’ll do the Candlelight one. I think it will look wonderful as a wall hanging at Christmas. The Peacock pattern, though, is the one I am really intrigued by right now.

Backbasting makes applique so simple and such a joy for me. Once the pattern is traced, I quickly baste the focus fabric on to the background. I use very large stitches and just stitch around the perimeter of the focus fabric to hold it in place for the backbasting process. The next step is to stitch, using a thick thread and a large needle, on the tracing of the pattern. I usually use button thread or quilting thread and a larger needle for that part. That’s the backbasting — one is stitching along the pattern lines on the back of the background. Once that’s done, I generally let the piece sit at least 24 hours, and sometimes a whole lot longer than that, before I begin the applique.

When I’m ready to start appliqueing, I snip a few of the backbasting stitches at the point where I want to begin. After that, it’s a matter of simply starting to cut away the focal fabric about 1/8 of an inch from the basting line of stitches, turning under that amount and, thanks to the perforations caused by the basting, getting really accurate placement of the applique. The placement is as good as the tracing. If I’m careful with the tracing of the pattern, then I get a fabulous result; one that is much better than I would ever have been able to get with an overlay or freezer paper or any of that. There’s no fiddling with pins or freezer paper or keeping an overlay out of the way.

Smudge poses for photos — we’re sure of it. He will hear the click of the camera being turned on and holds the pose or, quite often, strikes a new pose. Today, he decided to get real close to the camera and this was the result.

Lester, on the other hand, is less of a ham and doesn’t feel compelled to pose for the camera all the time. Right now, with the birds and squirrels out on the roof garden entertaining the boys, the windowsill is one of his favourite spots.

I think spring is well and truly finally here. I have seen and heard robins out on the roof garden, the gardeners are really starting to work on the roof garden and we’re finally getting temperatures in the mid to high 60s during the day. It’s about time after the winter we had!

Flowers and Ribbons for Spring


The Four Seasons spring quilt top is done. Now to sandwich and quilt it. I ended up appliqueing the flower bed on to the border fabric as I really didn’t want to try and match up those curvy stripes! Thanks to the sewing lines of Inklingo, I was able to use a variation on backbasting that made the appliqueing go super quick!

As there are stitching lines on every piece, I just took the thread out of the sewing machine and stitched along those stitching lines on the outside pieces of the flower garden. Then, I quickly basted the flower garden to the border fabric and appliqued it while we watched the Masters. Thanks to the perforations from the stitching, the turning under went really quickly.

I love the backbasting method for applique, so was thrilled when the light-bulb moment occurred and I figured out a way to get the same sort of assistance when appliqueing the flower garden on to the border.

It was cold and rather miserable here for a lot of the weekend. They say spring is coming, but I’m starting to wonder! However, Smudge doesn’t care — he’s comfortable and warm and continuing with his endless poses!

A Flower Garden for Spring

The little flower bed centre of the Four Seasons spring quilt is now done. I used the .75″ hexagons from Inklingo collection 3 and love how these Oriental prints look. Now to finish the outer edges of the flower garden and then attach the border. With any luck this will all be accomplished this weekend and the quilting will get done as well. I’d love to have it to the stage of putting the binding on by the end of the weekend.

I just realized no kitty pics to speak of this week! Here’s one of my favourites of Lester — you’d never know I had just combed his ruff. Within seconds he has it looking rather scruffy!


And Smudge sleeping with his head on the arm of the chair. Normally he’s upside down but this time I caught him sleeping like this.

A Tale of Nine Ducklings

Nothing quilt-related today as I’ve been busy working on the Four Seasons quilt and have no new pictures — yet.

But this is the tale of nine ducklings — and it’s a true story!

Twelve years ago, a mallard duck nested on the roof garden here and had 7 ducklings. At that time, we had a fountain on the roof garden so the ducklings had a place to swim. Over the next couple of years, some major changes were made and the fountain was unfortunately one of the things that was removed.  A theatre complex was built which resulted in a second-level roof garden on to which no one could go.  It was planted with all sorts of ornamental grasses and bushes which made it very attractive to look at and clearly became very attractive to a mallard, even though there was no water in sight.  About halfway down between the two roof garden levels, there was a small ledge.

A year or two after the renovations were complete, so about 8 years ago, a mallard duck again made her nest on the upper roof garden. That year she had 9 ducklings. Our apartment faces out on to the roof garden. One afternoon in late June we heard an incredible amount of quacking. “Quacking??” we wondered. Sure enough — there was the mother duck on the little ledge with her 9 ducklings. How she had got the ducklings there no one knows (or really wants to think about!) but there they all were. We got building maintenance and security personnel to assist in getting the ducklings down on to the main roof garden. Mama Duck wasn’t thrilled with these people handling her babies, but once they were all down on the grass, she was fine.

Over the first few days we all watched as the duck and her ducklings investigated their territory. We made calls and found a place about 90 minutes north of here that carried duckling food so off we went to get bags of that. We contacted a vet at a duck farm north of here who gave us advice about feeding and when and how to start tapering off the feeding. The amount of help we got from people like that vet was wonderful.


It quickly became apparent that they had to have a water source. When the ducklings were still tiny, we had this wading pool out for them. The little white boxes are just plastic storage boxes that we made steps out of so they could get in and out of the wading pool relatively easily.

They grew very very quickly and we soon had to get a much larger pool for them. We drained and re-filled that thing every day for about 2 months. They still liked to play around in the little wading pool, so it was left out as well. We watched as they started testing their wings — and sometimes were holding our breath! We watched as the mother duck would fly off for an hour or two some mornings and then come swooping back to make sure her ducklings were okay.

Shortly before Labour Day weekend the ducks started to leave. Late at night we would hear a few very loud quacks and the next morning there would be one less duck still here. It seemed like I was doing a head count almost every morning. The last duckling to leave appeared to have some difficulty so the Humane Society was called — they came, took the duckling to be checked out and then called us saying it was fine and we were lucky enough to be given the opportunity to take it down to Lake Ontario and release it.

This is a huge building, with an enormous amount of people in it who have access to the roof garden, but that summer was almost magical in that people who did go out on to the roof garden were very careful not to startle or try to get too close to the ducks.

When I look back on that summer, I am absolutely thrilled we had that experience. How many people who live in the middle of the concrete jungle of the downtown area of a major metropolitan area get the opportunity to watch ducklings grow up and learn to fly? We were very very lucky, I think.