Clamshells

For a very long time I have been fascinated by clamshell quilts.  Then I got a copy of Kaffe Fassett’s Museum Quilts book and was sure a clamshell quilt was in my future — somehow.  There is no way my hands will stand up to tracing templates, but I could dream about it.  Then I learned about the Clamshell Club and wanted to join in but knew I wouldn’t be able to do it, so decided I’d just enjoy watching others, like Karen,  make them.

Then, last night, a fabulous Inklingo clamshell collection was released.  Problem solved!!  I’ve joined the Clamshell Club and will be working on a quilt of clamshells now.  Perfect shapes every time and wonderful matching points which make stitching these little gems a delight!  Just a plain running stitch, no basting or stitching over papers for me!  Although there is a page of the shape without seam allowances in the collection that one could print out and use for English Paper Piecing, if wanted.  I had printed out about 400 clamshells on a variety of fabrics within minutes of downloading the collection.

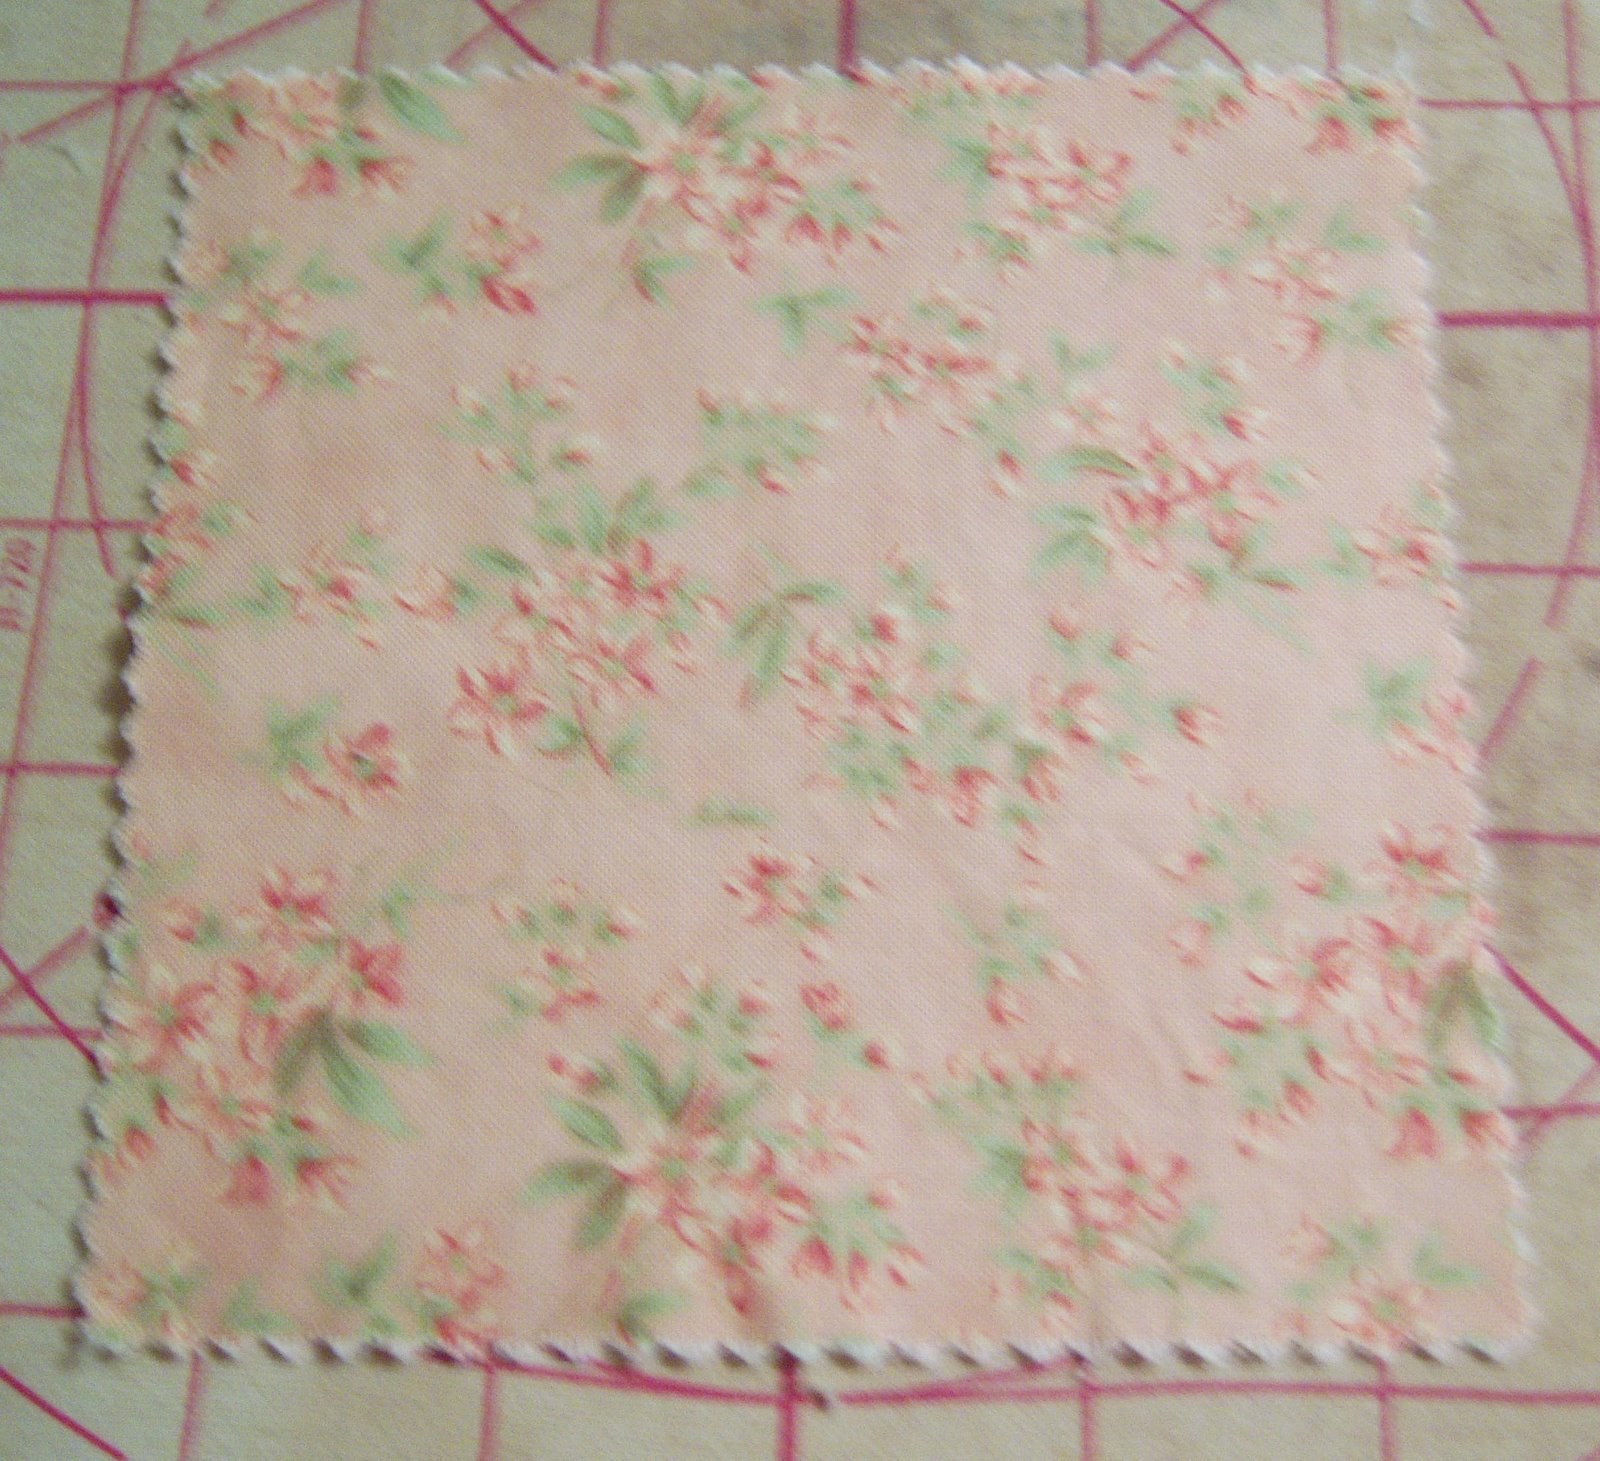
A close-up of one of the printed sheets of fabric which shows, if you click on it to enlarge the photo, the stitching lines and matching points.

They are incredibly quick and easy to stitch thanks to the matching points.  If I had picked out the fabrics for this diamond of clamshells ahead of time, I think I could have finished that first diamond easily.  But I was auditioning fabrics as I went, which slowed me down a bit.  So much for completely devoting my stitching time to the Spring Circles.  As the Clamshell Club officially starts on June 1,  I just couldn’t resist getting a start on the clamshells but they are going to be in the wings waiting until I finish the quilt for my aunt.  I may work on them one evening a week until then, but no more than that.

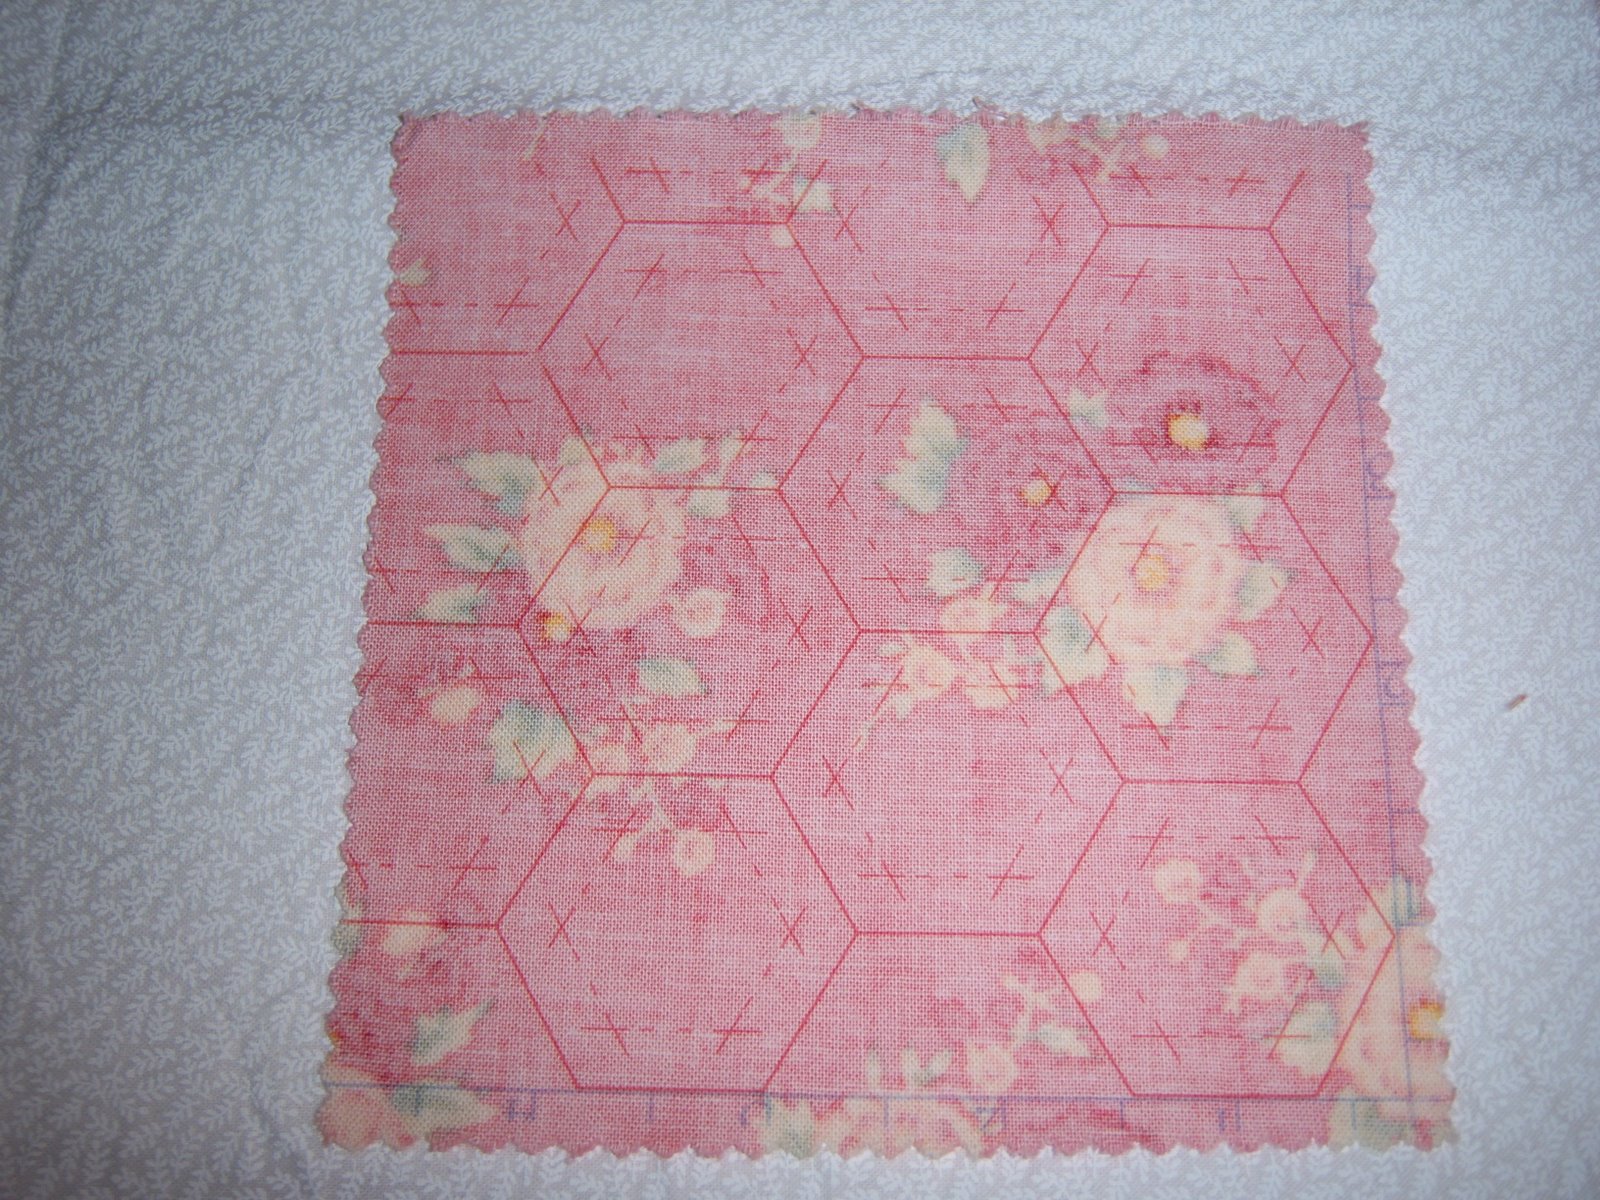
The back of the clamshells I’ve put together so far.  Not the best pressing job I’ve ever done, but I was being extra careful not to distort the shapes as they’re nothing but bias.

Monday was quite hot and humid and I had a migraine that just would not quit.  It finally started to rain late in the evening and the headache started to lift so I was left with just the bruised head feeling that one gets from those.

Lester was enjoying the windowsill and watching the robins and grackles.

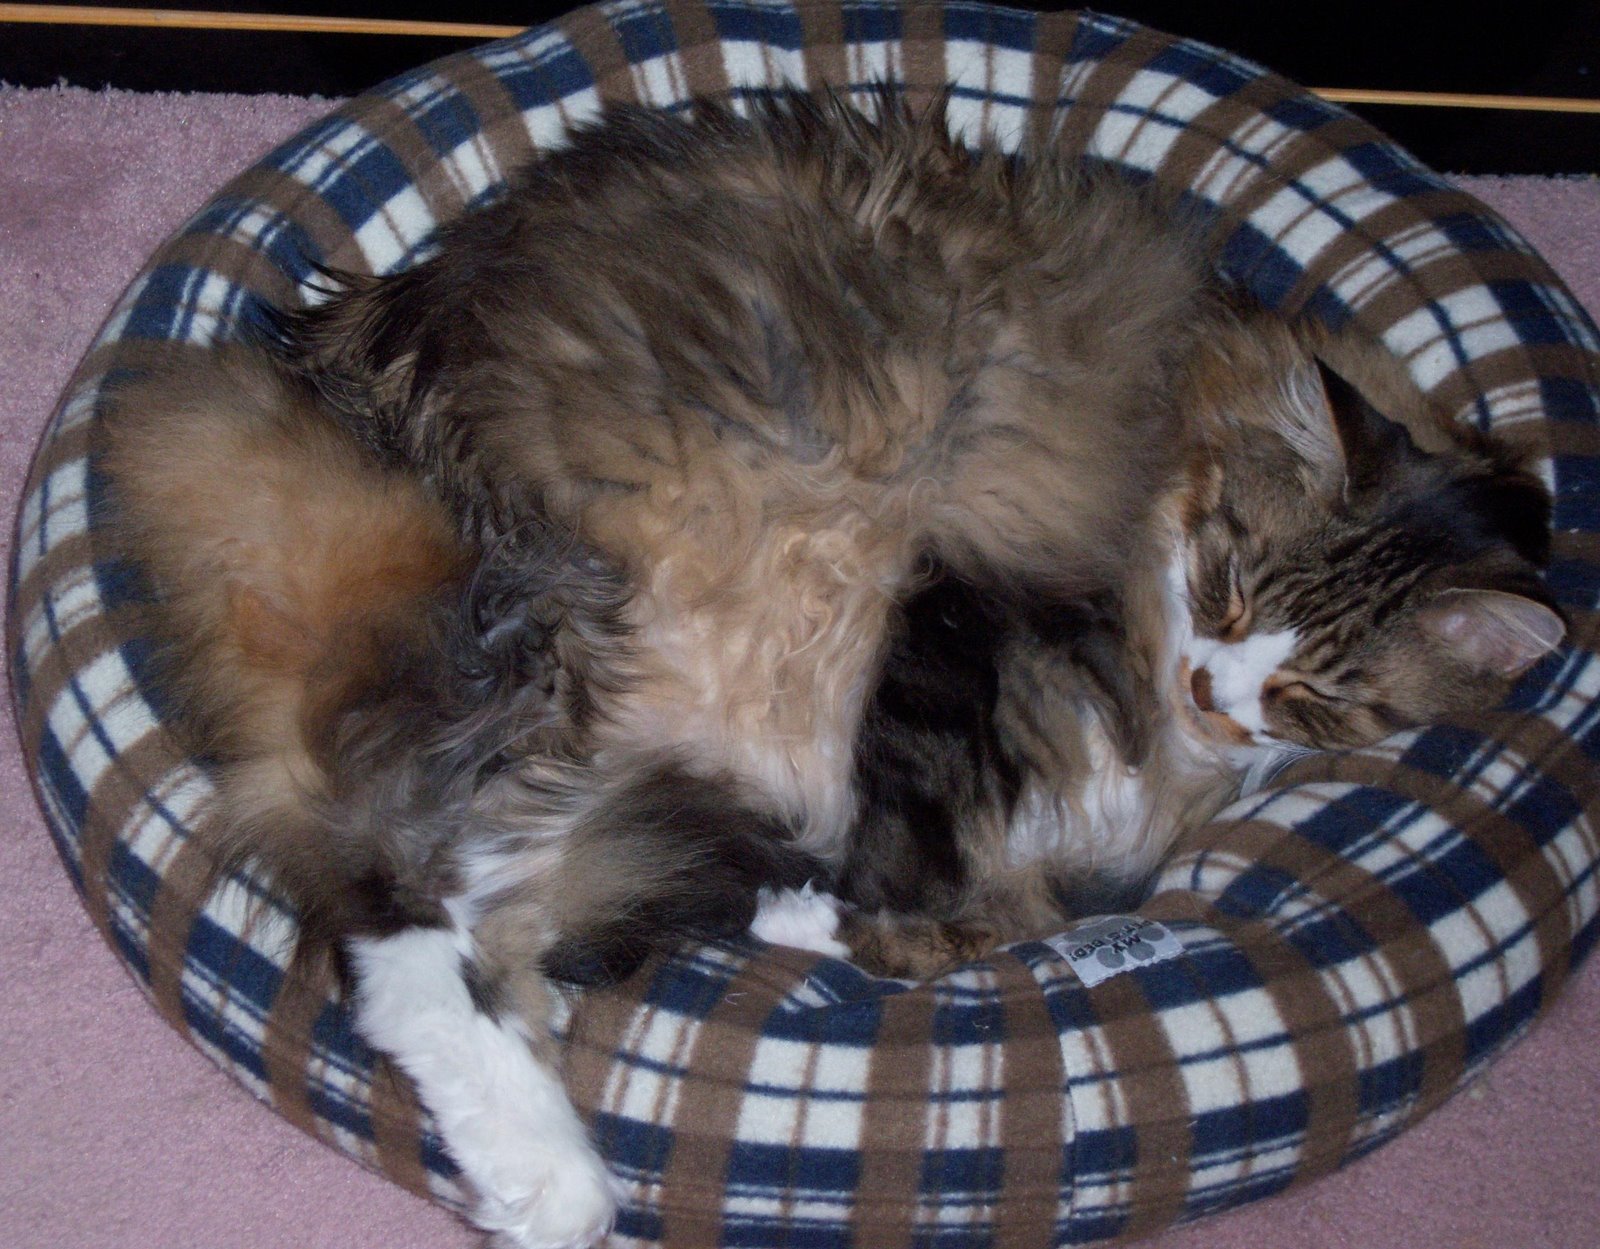
And this is what I wake up to almost every day.  Smudge loves to curl up on my pillow and often will rest either his head or a paw on my head.  Mr. Q.O. got this shot before I even woke up.

Can You See Waves?

These four blue batiks will all be incorporated into my Double Diamond Storm at Sea variation.  Five new Inklingo Collections were released Sunday night for various sizes of Storm at Sea — 4.5″, 6″ ,6.75″, 9″ and 12″ blocks.  There are a couple of extra shapes in each collection too, which really open up some design possibilities.  I already know there are some stars in my future using shapes from these collections.  I know I want to make a quilt incorporating different sizes of the blocks as well.  The free Design Book is a fabulous bonus that contains tons of information, including methods for constructing the blocks, as well as some shaded and unshaded design sheets.  The first thing I did was print out one of the design sheets and sort out what I needed to print for my first block.

I decided to first do a 45″ wall hanging using the 6.75″ templates in the Double Diamonds layout that can be seen at the bottom of the page here but with a twist.  I’m using all four of the batiks in the picture above as well as some white.  It took me only a couple of minutes to figure out my page sizes, cut and press the fabric to freezer paper, print and then start stitching.   I think batiks are my favourite fabrics to work with — and they’re perfect for this design as there are spots where a lot of seams are going to meet.  As batiks are such a fine fabric and press so perfectly, I won’t be fighting too  much bulky fabric at those points.  Here’s my centre square:

The back of my centre square was pressed in  a second thanks to the batiks.

I have the diamonds and their surrounding triangles printed and cut out, ready to go.  The little squares and their surrounding QSTs are printed, ready to cut

Last week Crispy asked about the cutting line, whether it was printed as well as the stitching line.  As I know the ink in my printer will rinse out without any problems, I printed the QSTs on this fabric in a darker red than I normally would use.   If you click on this picture to enlarge it, you can see that both the stitching and cutting lines, as well as matching points, are printed on the shapes.

I had hoped to go to the Etobicoke Quilt Guild show on Saturday but woke up with a monster migraine.  However, I got lots done on my Alabama Beauty blocks and have now got 3 of them put together.  One more block and the first of the circles will appear in its entirety.  I’m not sure how large this will grow but I think it may well end up as a large lap quilt as I want a dozen or more circles in the quilt.

Our weather this week sounds as though it’s going to be wonderful with a forecast that seems to indicate we may well see 70 by Friday.  I can’t wait!!   The nights are still quite cool, but to have days in the high 60s or low 70s in late March and early April?  Huge treat!

Smudge was very busy on the weekend, guarding the toys.  I think he knew I was about to grab them all up and put them back in the basket.

Lester decided it was a good time for a nap.

Printing on Charms

A question was asked re how I stabilized my little charms to print the hexagons for the Insanity quilt. There is a great video at the Inklingo Web site that is free to download and watch.

To give a really short explanation of how to stabilize fabric for printing — first I iron the charm. This is the charm, right side up.

Iron a piece of freezer paper to the right side of the fabric so that the wrong (back) side is what will be printed on.

Feed it through the printer, peel off the freezer paper — and you have perfect hexagons printed and ready to cut apart and stitch. I printed using a darker colour than I would normally on this charm so that it would show up well in a photograph. If you click on and enlarge it, you will easily see the cutting lines (solid lines), the stitching lines (dotted lines) and crosshairs where seams intersect.

If you’re curious about using Inklingo, right now there is a free collection available at the Inklingo Web site for download here (scroll down to the downloadable collections and you will see the free one) with all the shapes necessary to make a 4.5″ LeMoyne Star block. It also includes the first chapter of the new handbook, which gives you all the information you need to start printing and using Inklingo. Be warned — it is truly addictive!! LOL

Smudge with one paw hanging out of the kitty bed — temperature control maybe?