Curved piecing is a lot easier than it looks — at least by hand it is. I have never tried it on the machine, but then we all know how little I use the machine! I’m told it is just as easy on the machine. All the pictures in this post can be clicked on for larger versions so that you can see the detail a bit better.
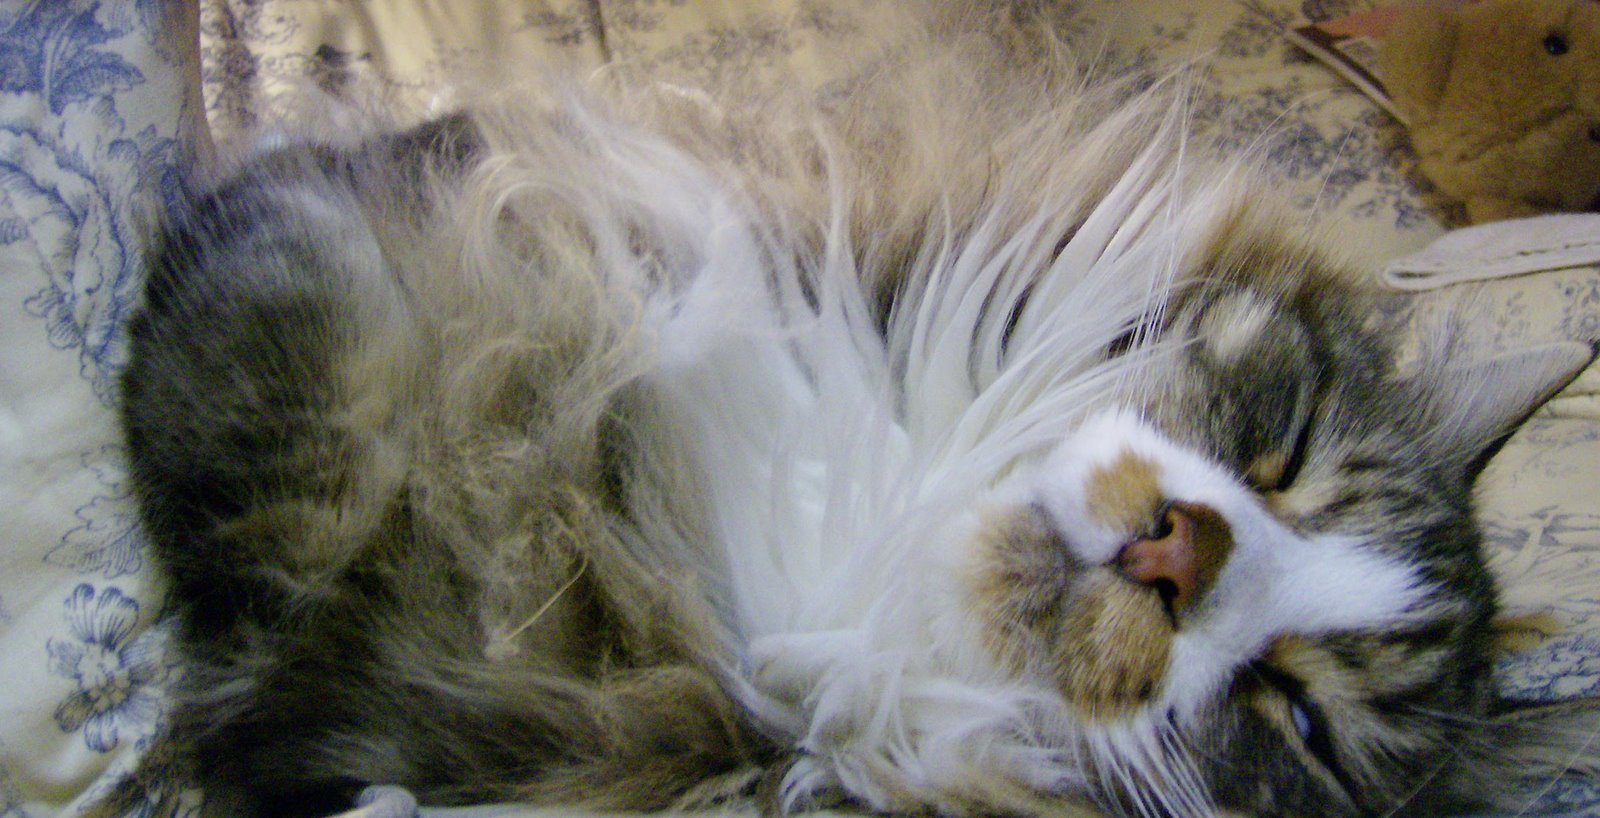
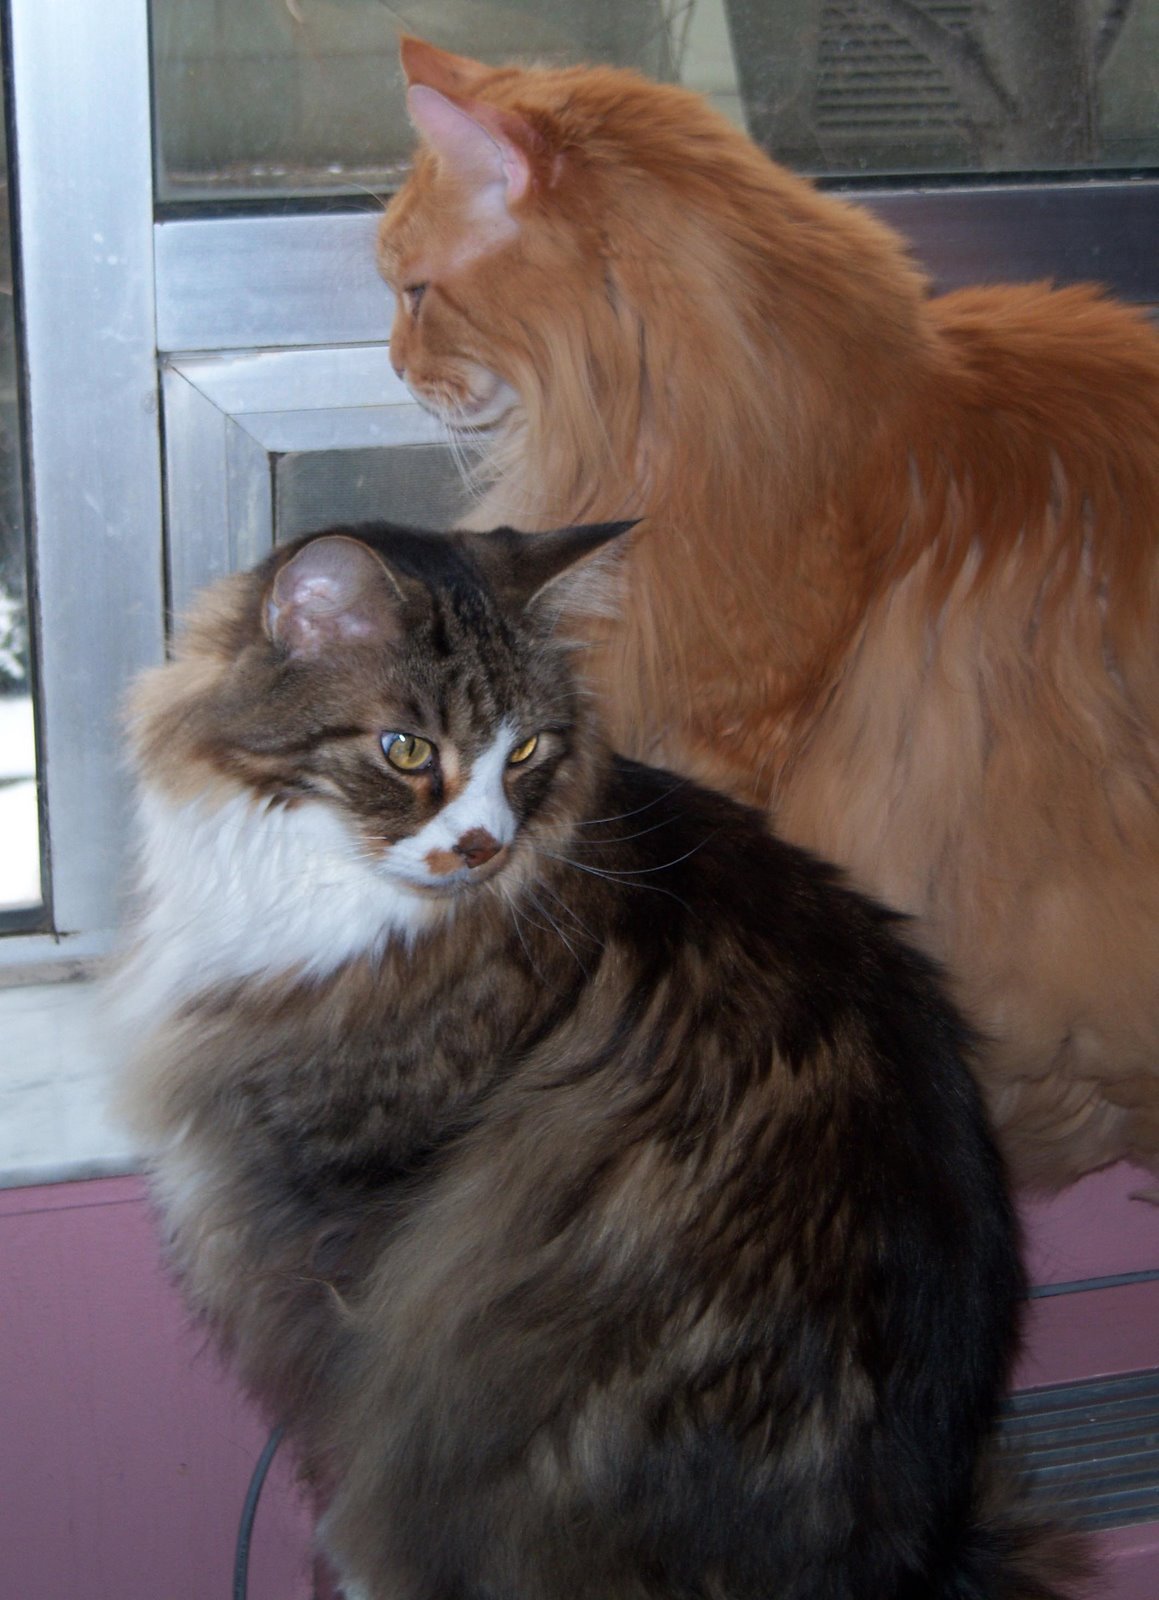
I thought I’d do a little tutorial on hand piecing curves. Lester is here to exert his calming influence.
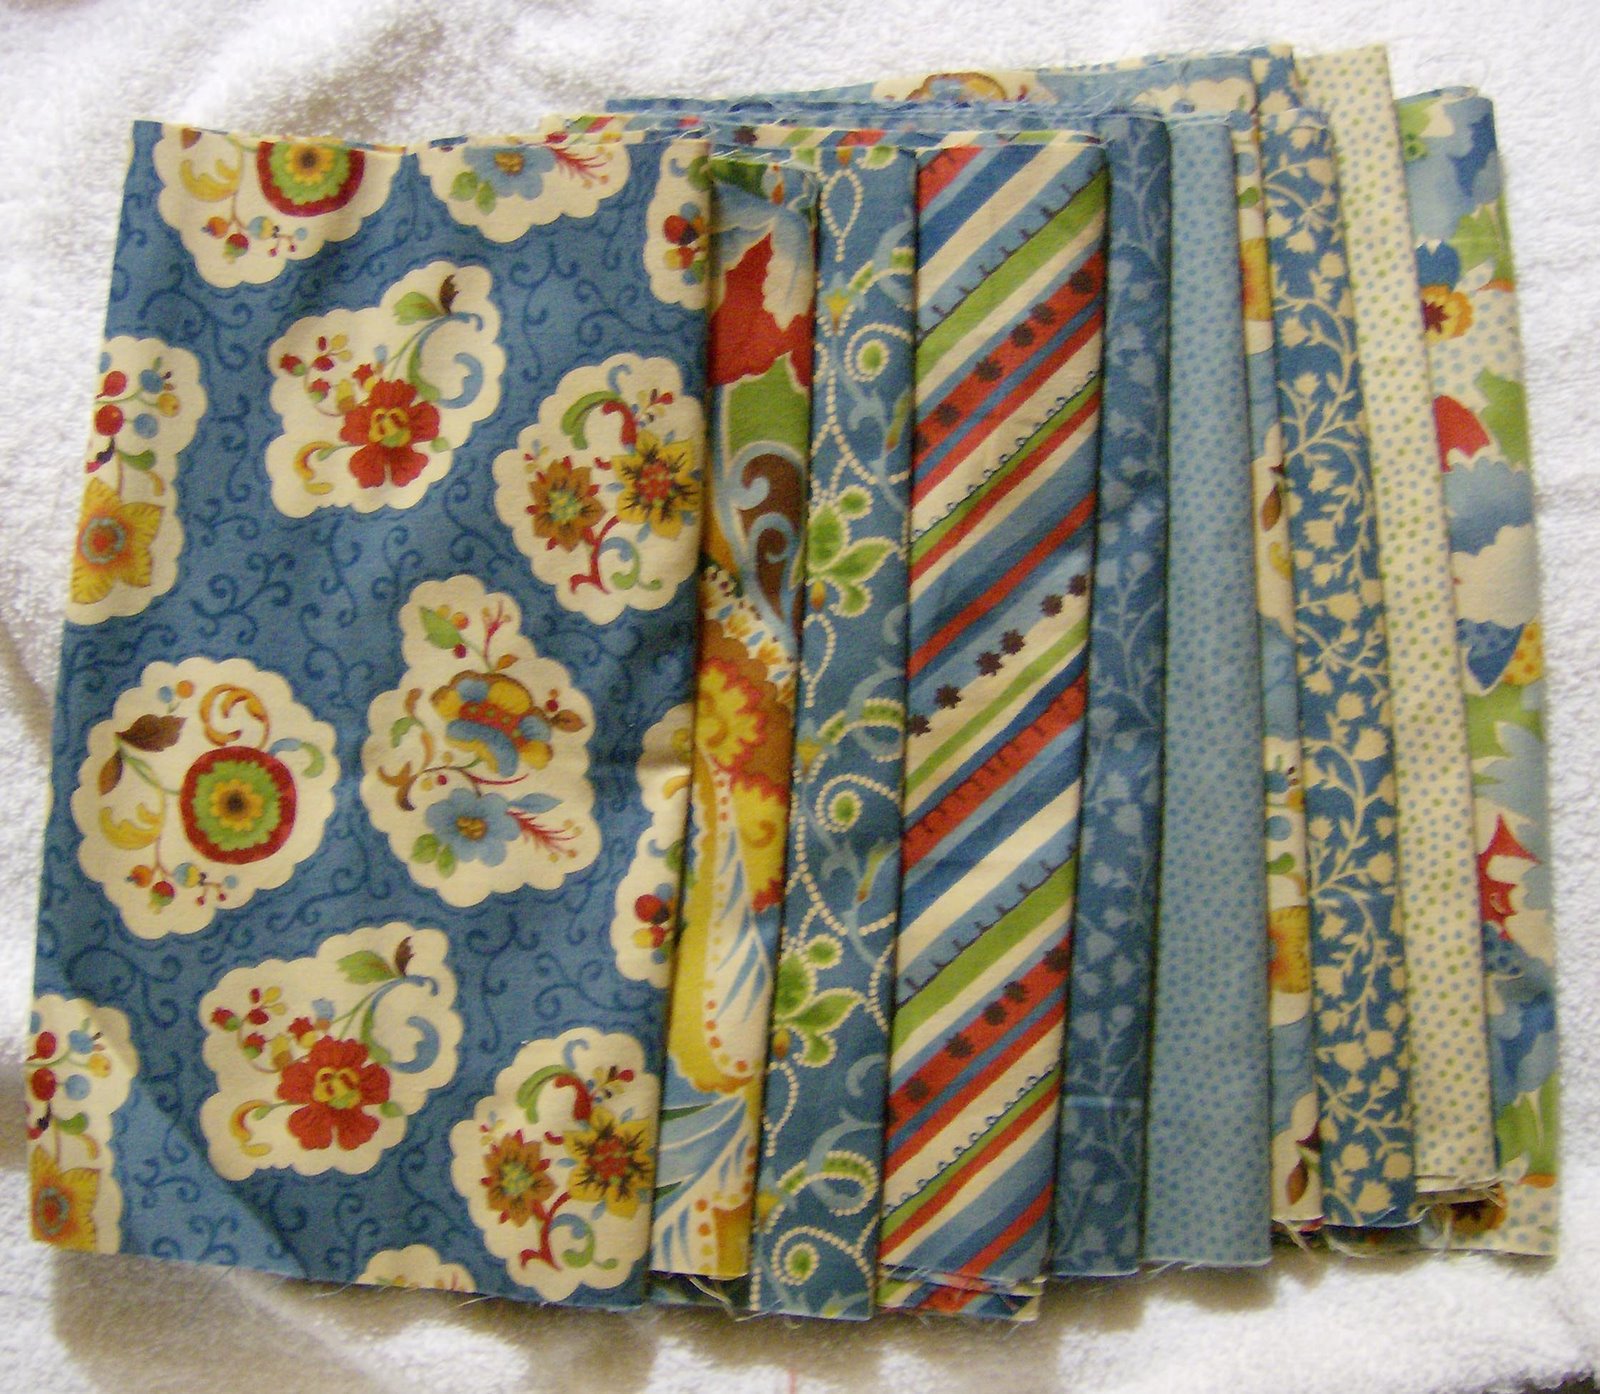
 As I have oodles of apple cores printed for the Red Delicious apple core quilt, I chose two of those for this.
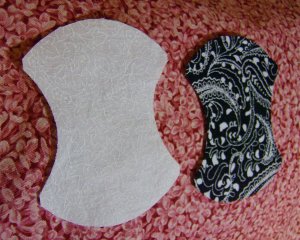
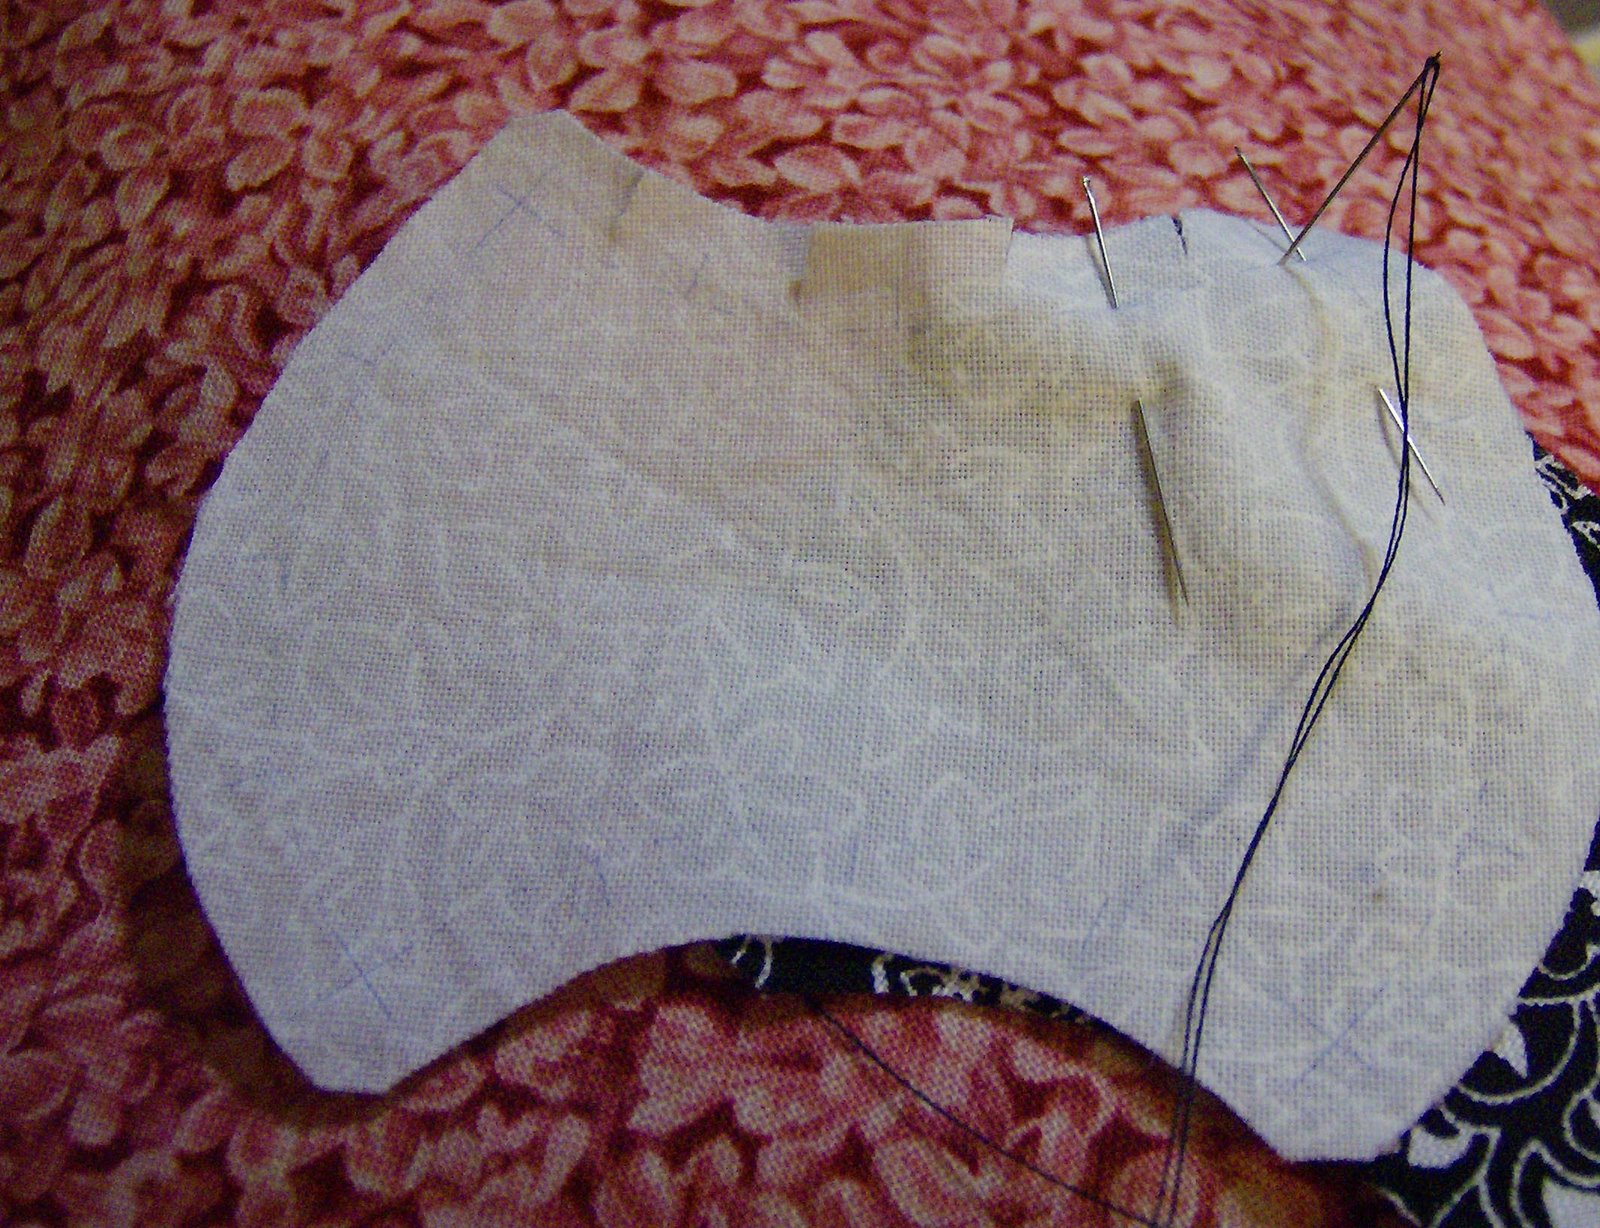
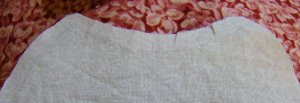
I think on this next picture, if you click on it to make it bigger, you will be able to see the lines. There is the one long slightly curved concave line which is the stitching line, and which matches a curved line on the convex curve on the black piece to which I will be joining this white piece. The other little lines are the matching points — and they are also matched on the black apple core. The first thing I do is clip between the matching points on the piece with the concave curve, almost to the stitching line but not quite.
Then I’m ready to start stitching the first section. I use #12 sharps as pins — they are finer than any pin I’ve ever found. I use a needle to pin the matching point right at the beginning and another in the first matching point in the seam.
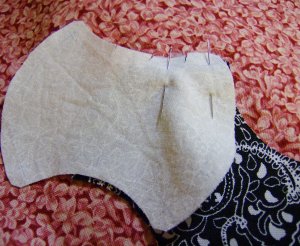
If you look at this, you can see that the needle is inserted right through the matching point on the black piece in both spots.
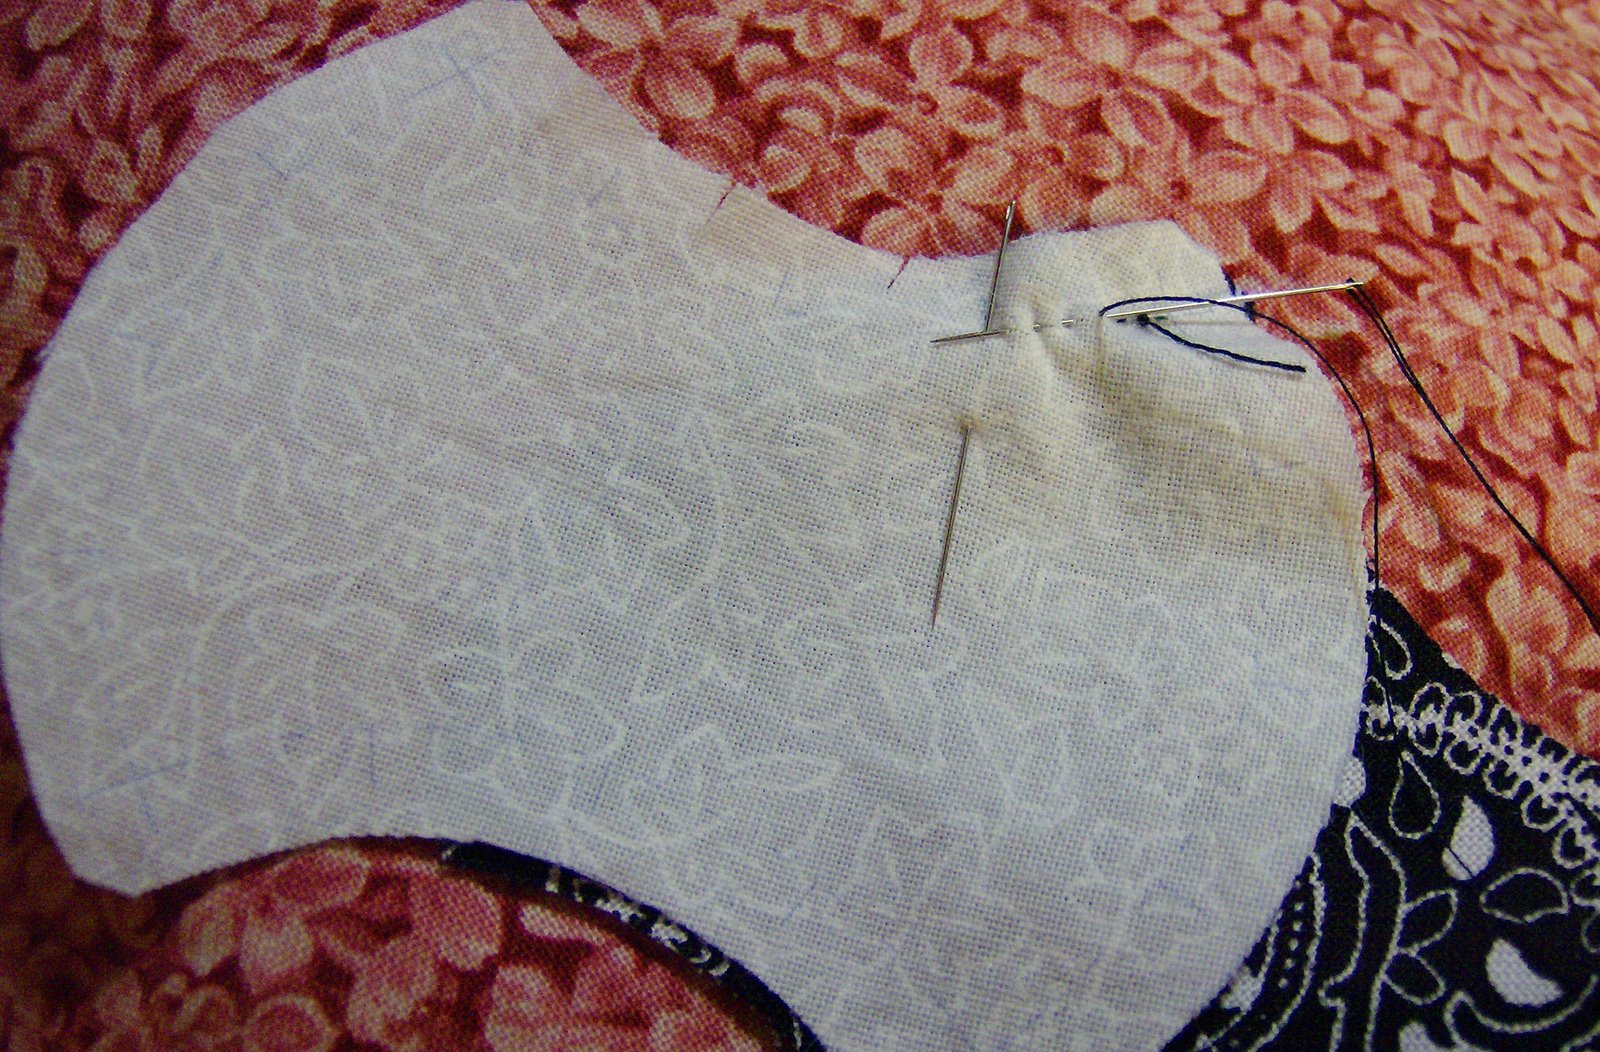
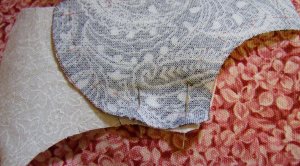 After I’ve made my quilter’s knot, I start by inserting the needle with the thread one stitch over from the very beginning of my seam. This way I won’t have a knot right at that intersection and I find that that helps when you’re adding the next row.
 This shows (I hope you can see it) the needle coming through just to the left of the needle/pin at the seam beginning.
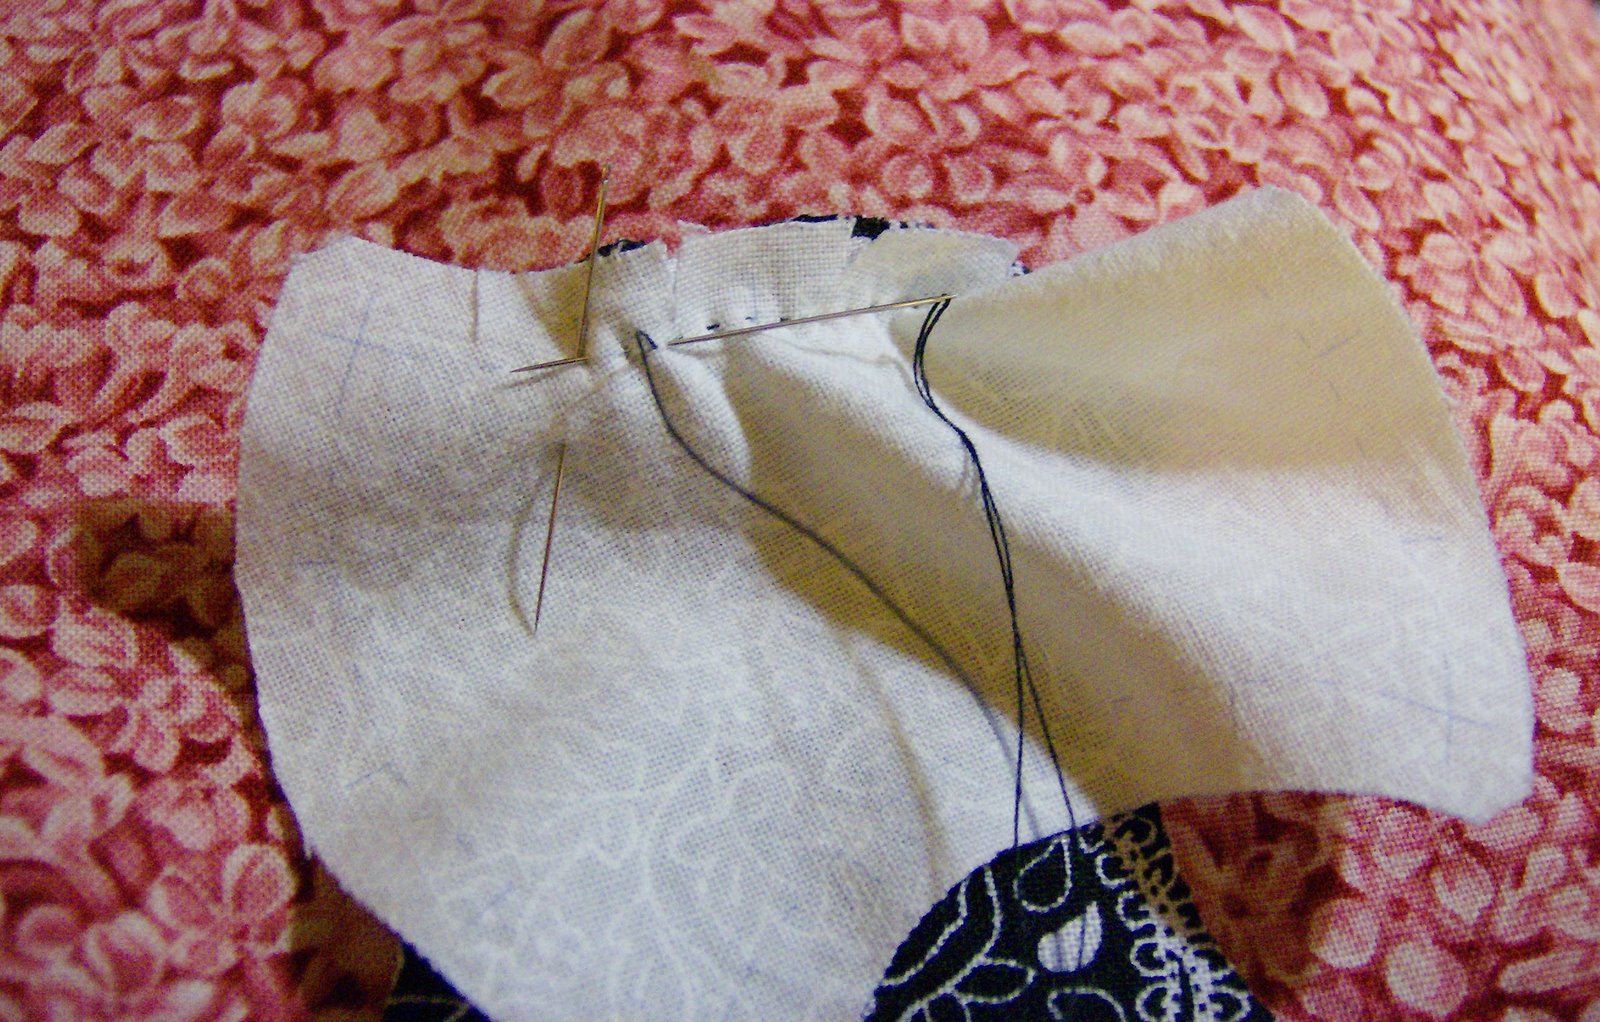
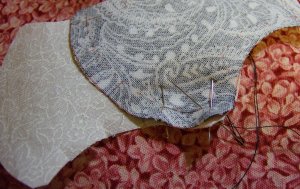 Once I’ve checked that I am on the seam line I then backstitch to the seam beginning and then start stitching, following along on the seam line. I take the tiniest stitches I can and usually only load 2 or 3 stitches on the needle at a time. After each load of stitches, I backstitch. Here I’m coming up to the first pinned matching point. I backstitch, take out the needle/pin and then …
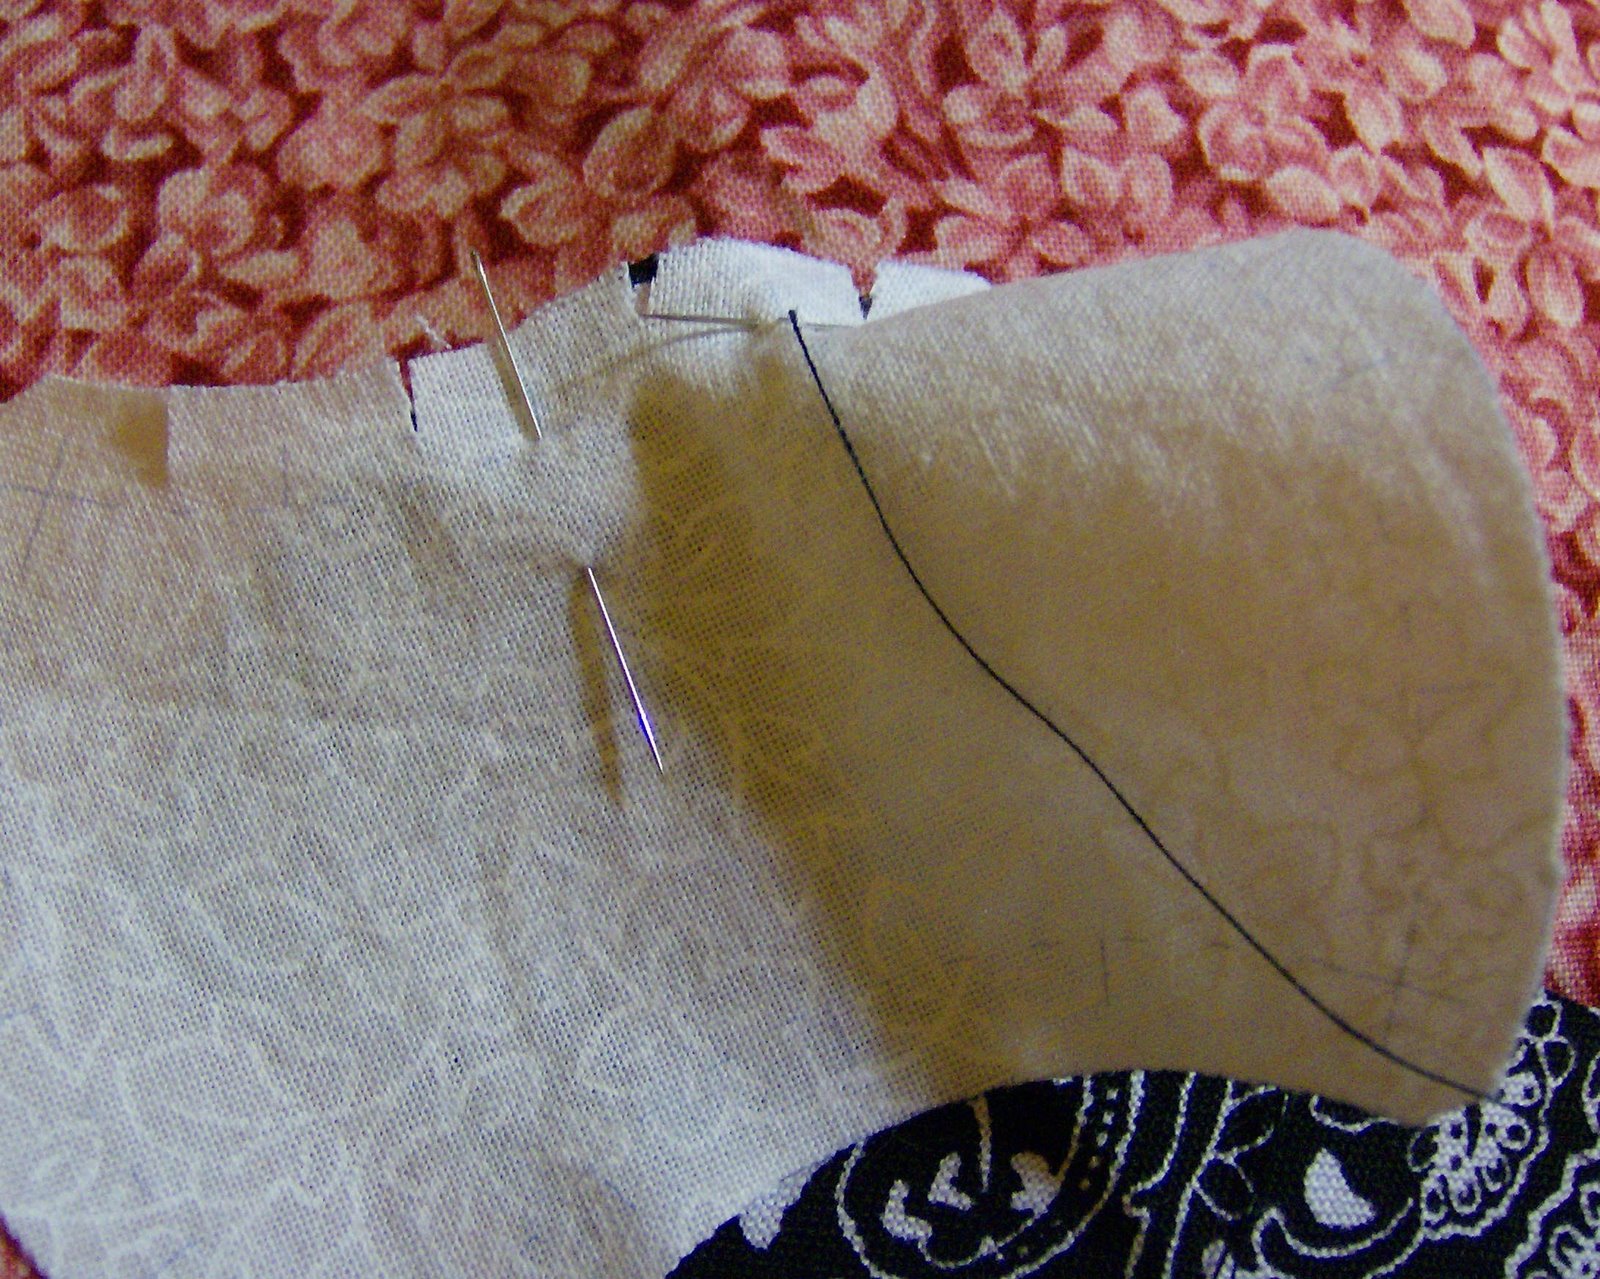
 … line up the needle/pin in the next matching point and continue stitching, taking back stitches every 2 or 3 stitches.
 Here I’m coming up on the third matching point. Because I clipped the concave seam allowance, I can easily manipulate the white apple core piece and have the seam allowances on both the white and black apple cores matching up, both at the edges and the matching points. Again, I take back stitches every 2 or 3 stitches and one at the matching points. In this photo, I think you can see that the two seam allowances are matching right at the edge of the pieces — all thanks to the little clips in the concave seam allowance. That makes it really easy to match up the edges and gives a bit of leeway to manipulate the white fabric so the matching points do match up.

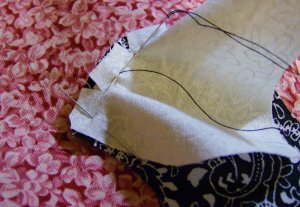
This is a different fabric pairing but I thought it might give a better perspective on just how well the seam allowances match up as I stitch along.
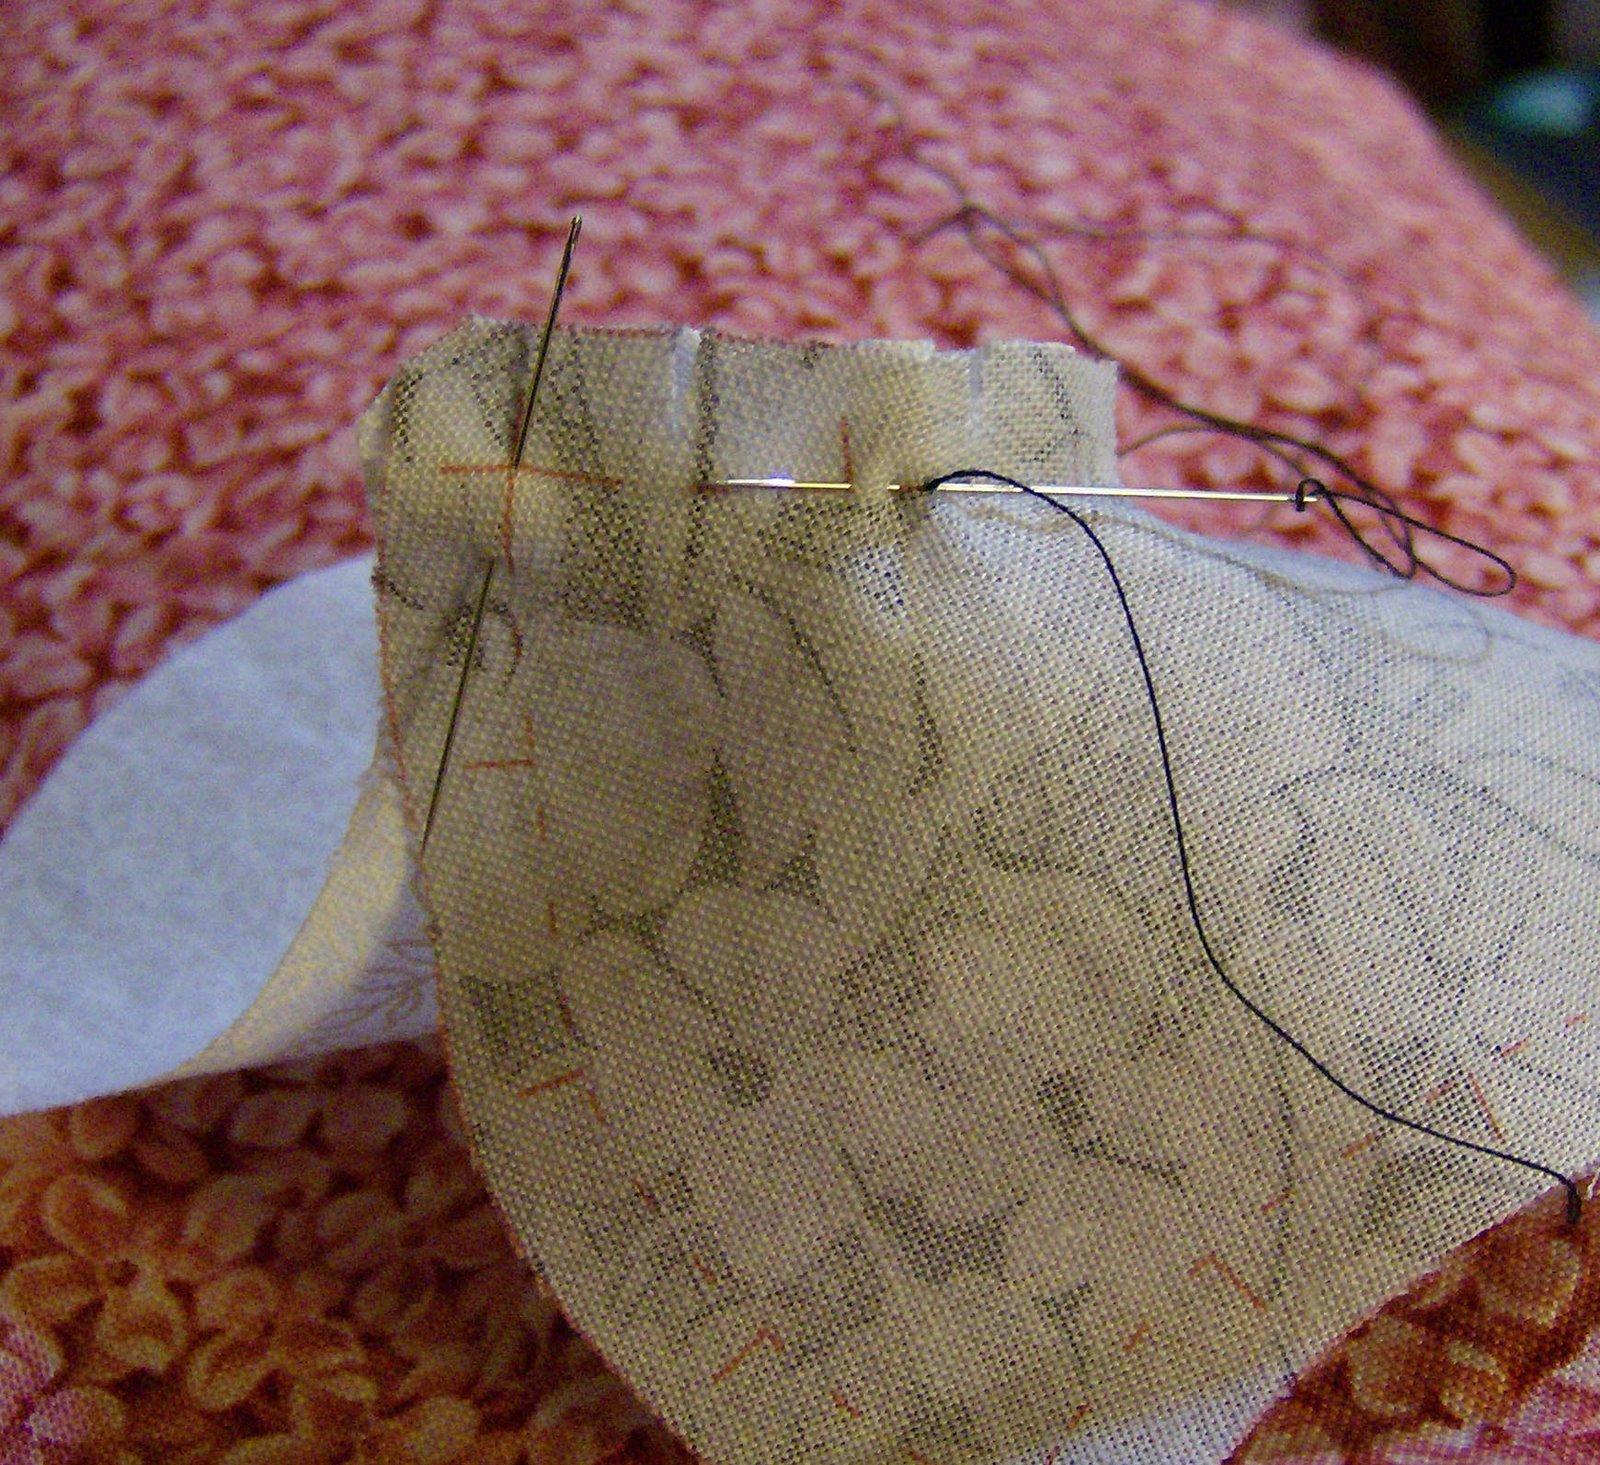
 Here I’m getting close to the end. When I get to the end, I take a back stitch, turn the piece over and then make a knot, again away from the final point so that I don’t have a knot in my way at the intersection when I add the next row.
 The two pieces are now stitched together. This is before even finger pressing.
 This is the back after finger pressing.
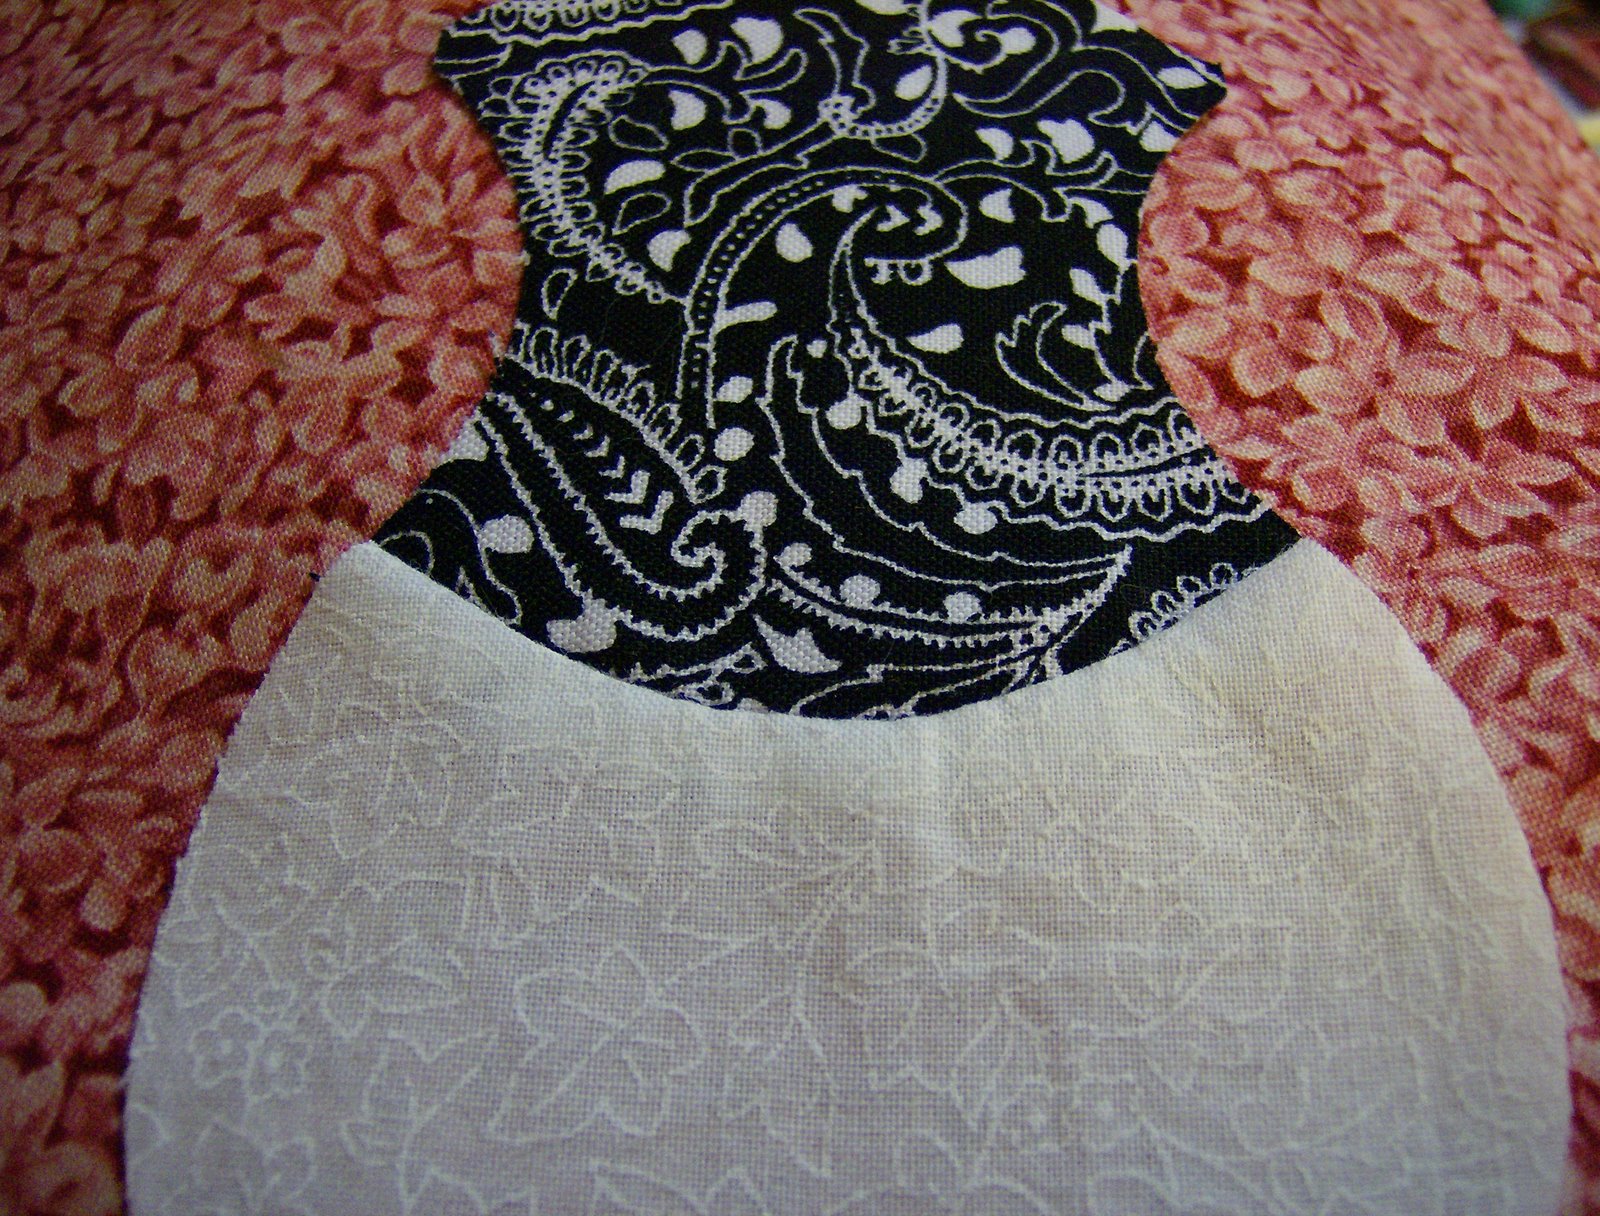
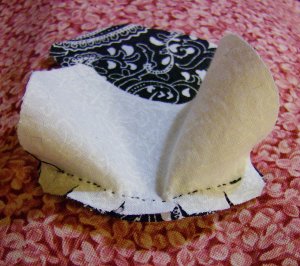
 And the front. The apple cores have a nice easy curve that are easy to stitch.

It took me longer to write this post than it took to stitch these little pieces. It’s very quick and there’s something I find really, really satisfying about finishing a piece like this with all those wonderfully shaped curves.
Thanks to the Inklingo stitching lines and perfectly matched matching points, stitching any sort of a curved seam is easy as can be. The Apple Core and Drunkard’s Path collections have nice soft curves. There is a Double Wedding Ring collection coming out sometime this spring/summer and I can’t wait. I’ve wanted to do one of those but there was no way I could face tracing all those bits nor can my hands handle the rotary cutting with acrylic templates.
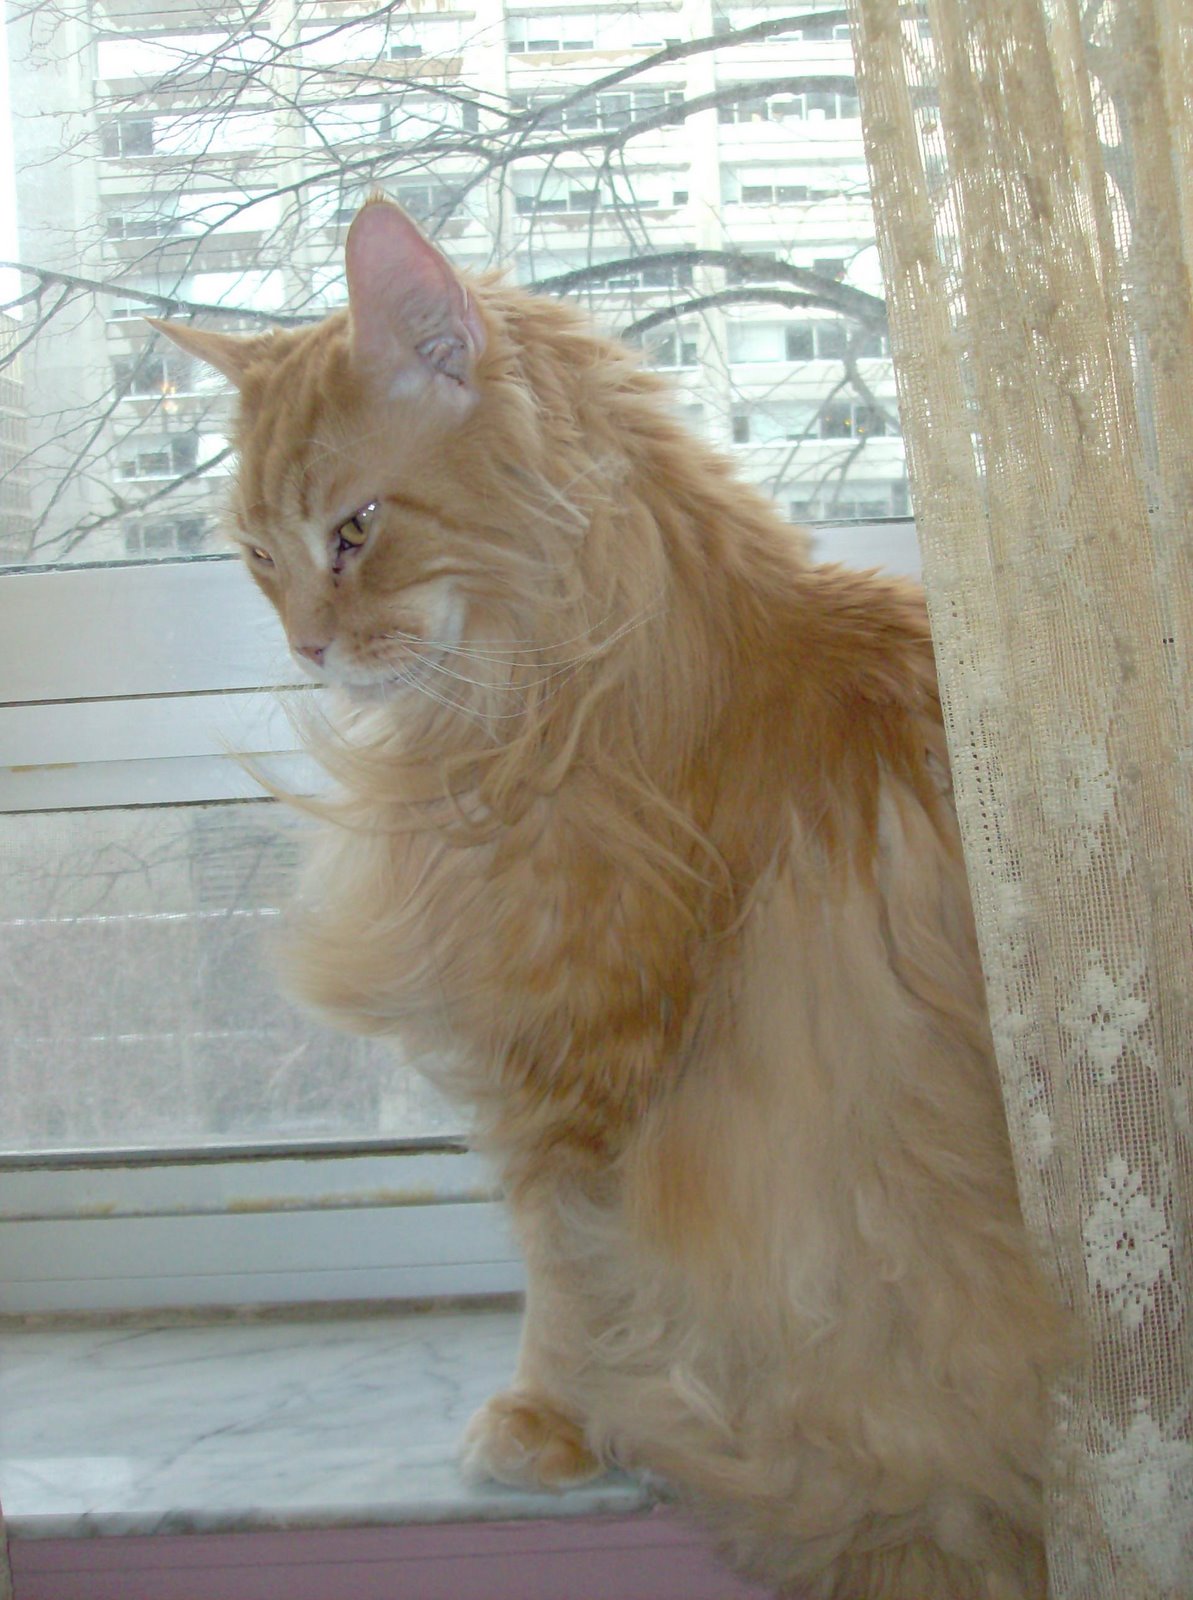
And now Lester wants to know if this helped. He thinks it’s a very calming experience.


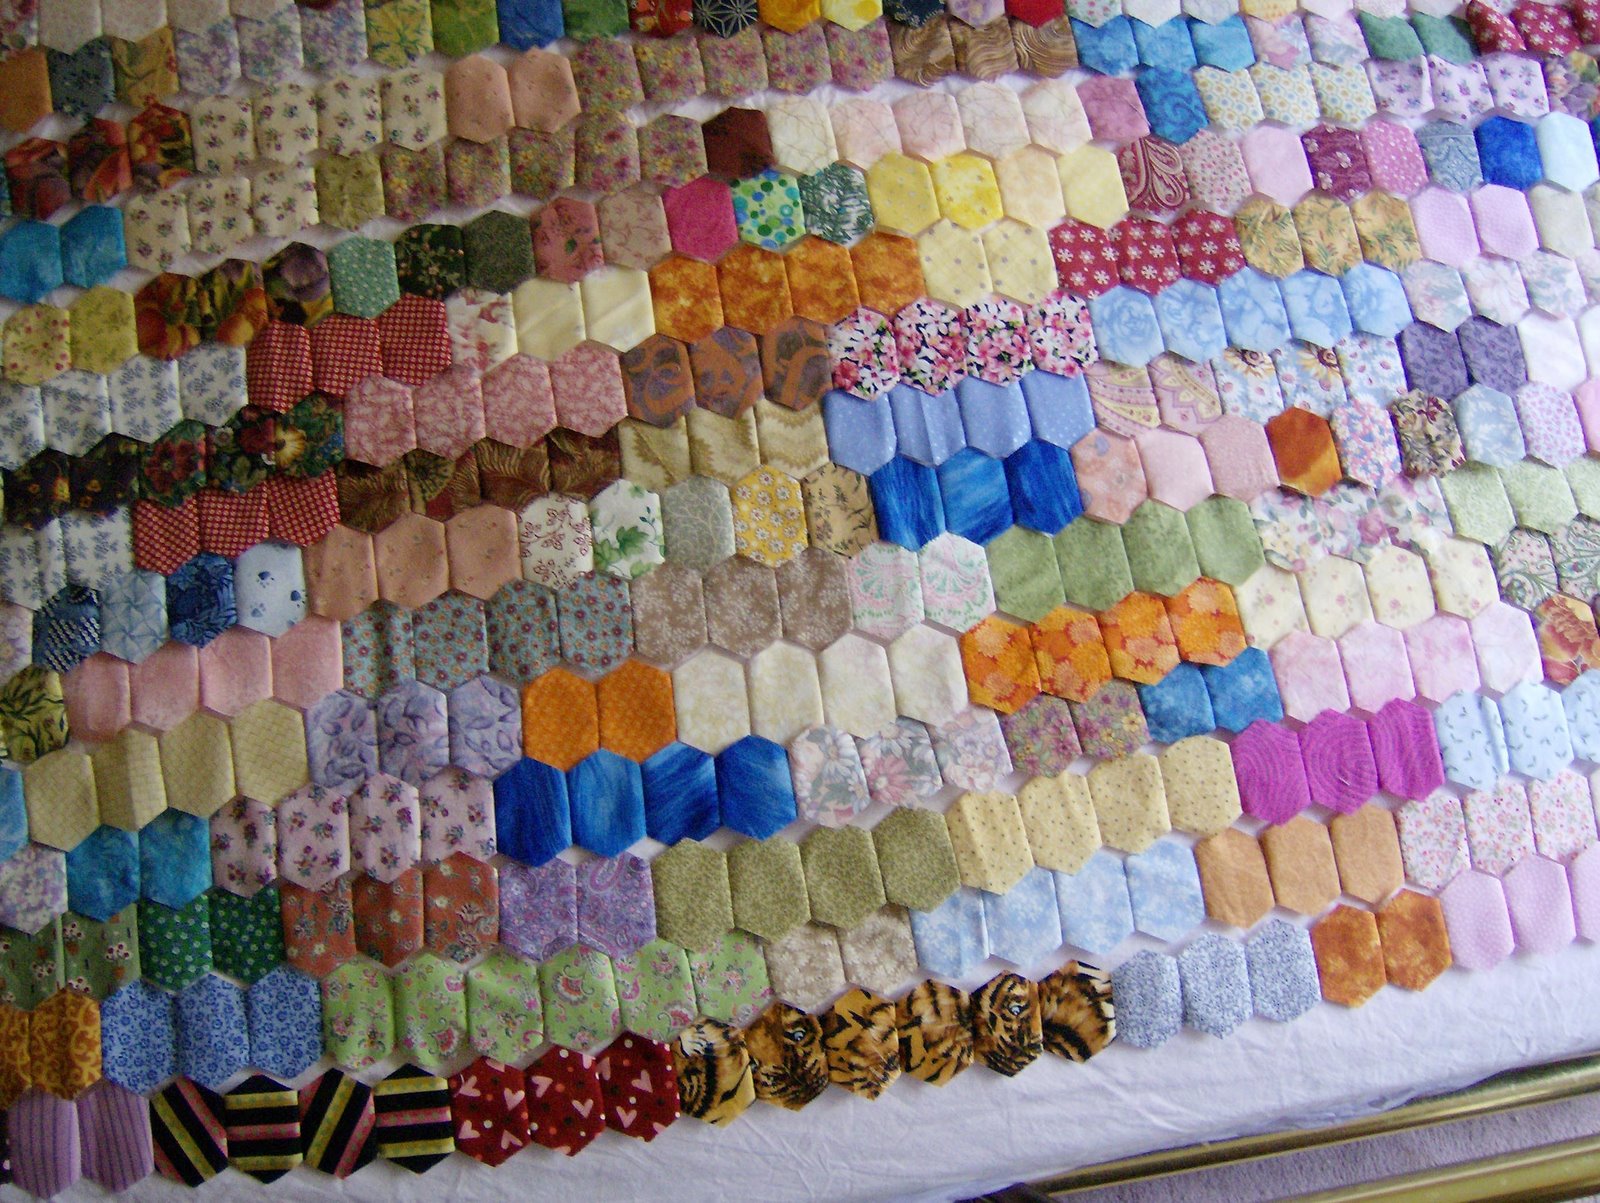
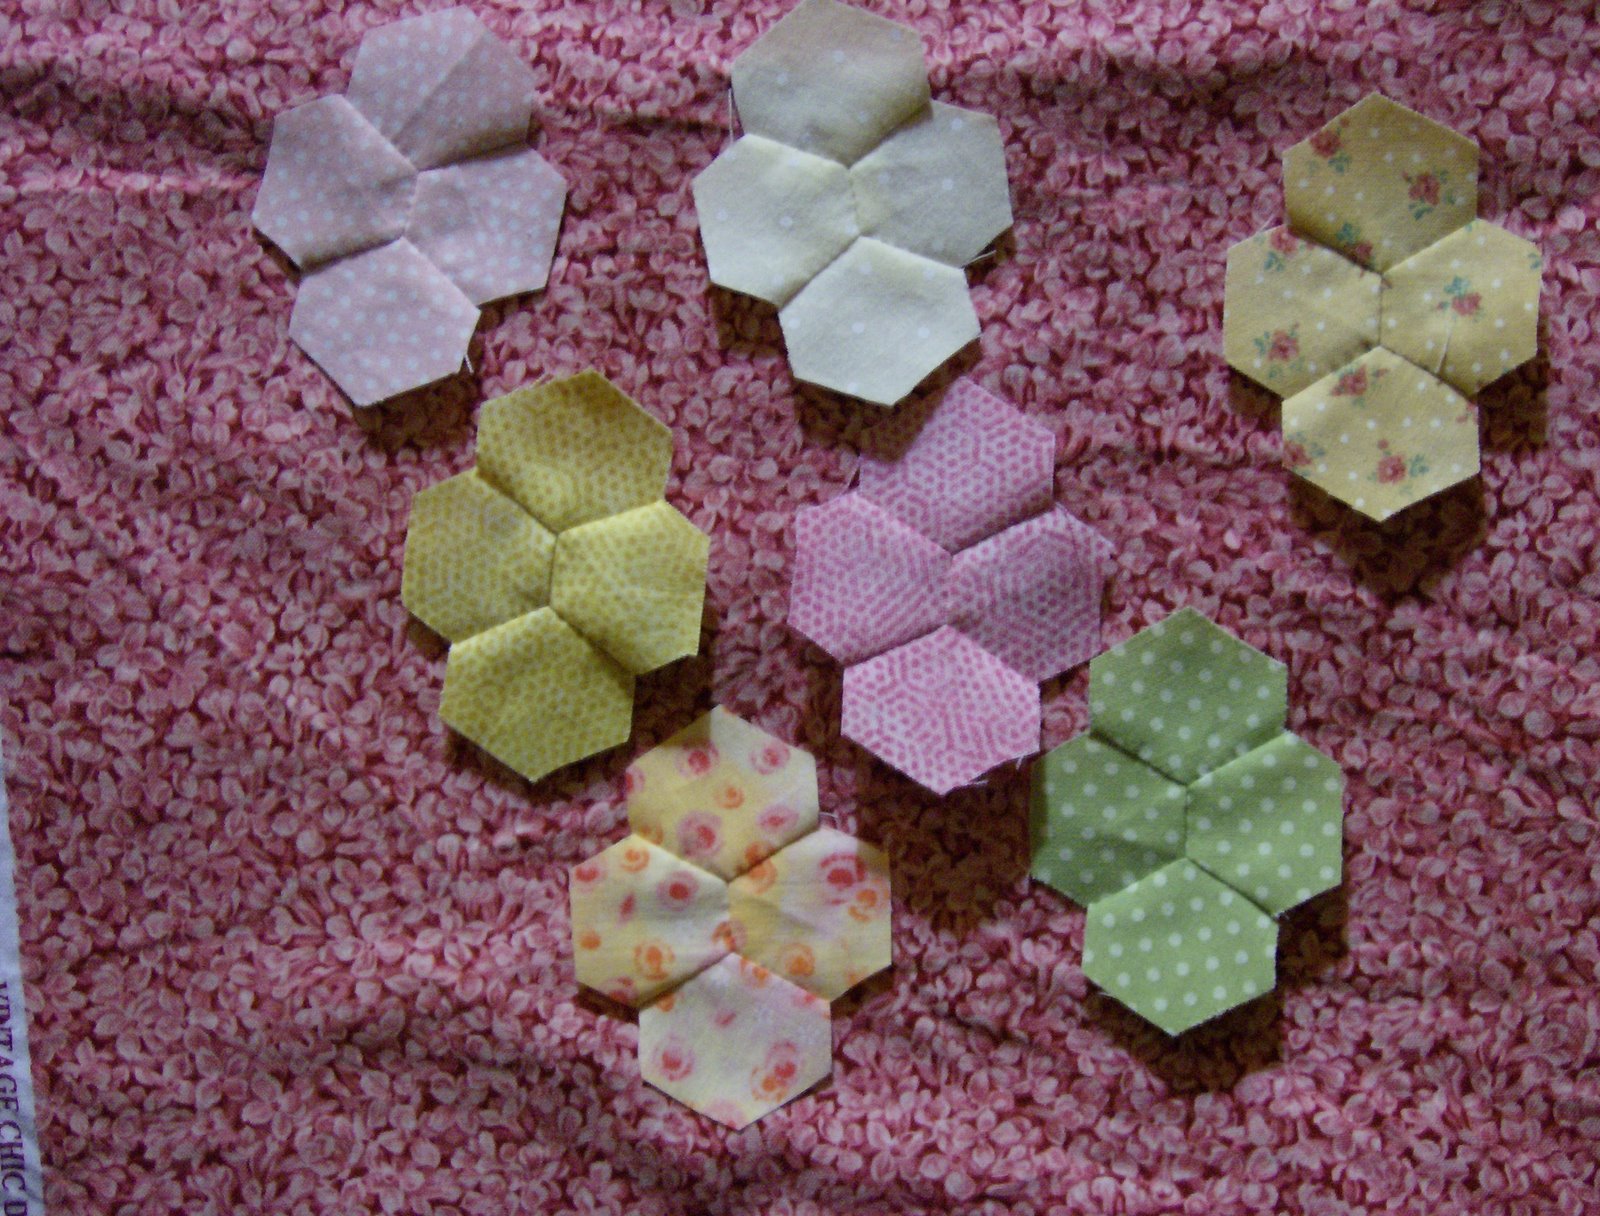
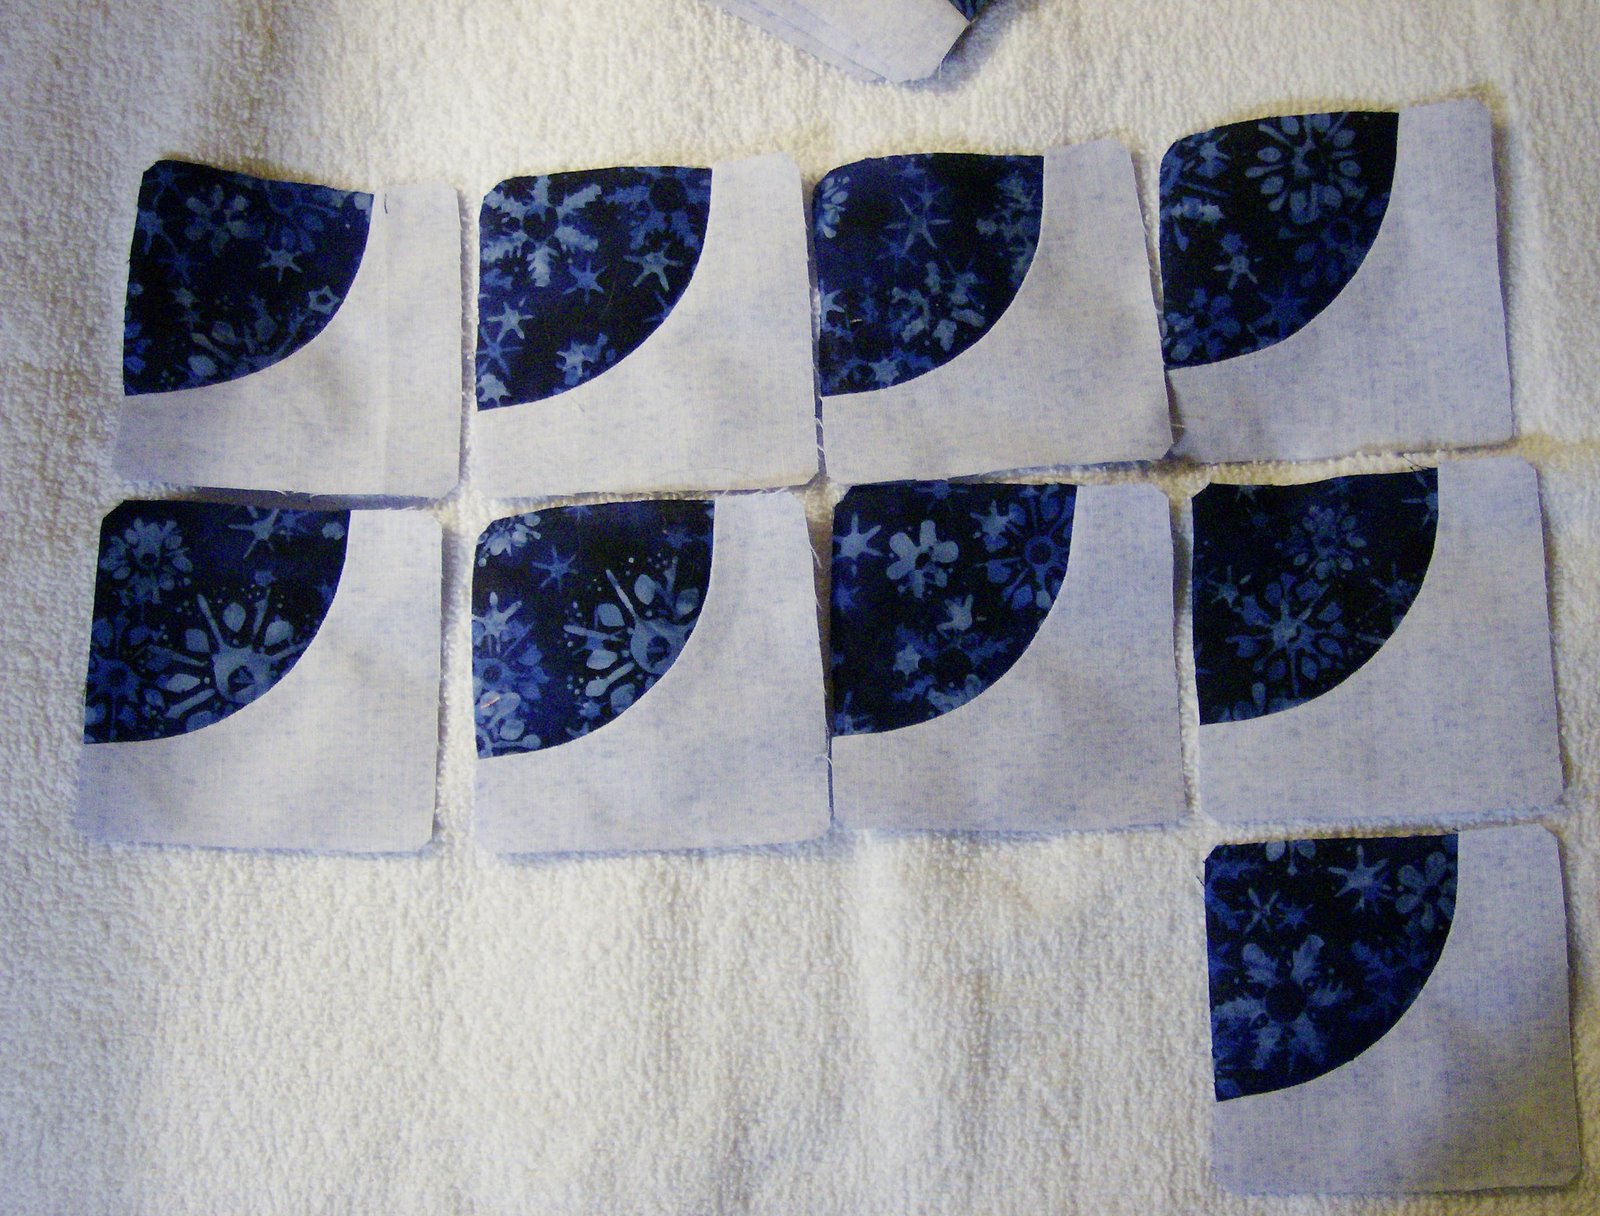 The 25 little blocks are made — they were done in next to no time thanks to the Inklingo matching points. I could have kept making more and more as I find curved piecing so much fun!