Getting Ready to Print on Fabric

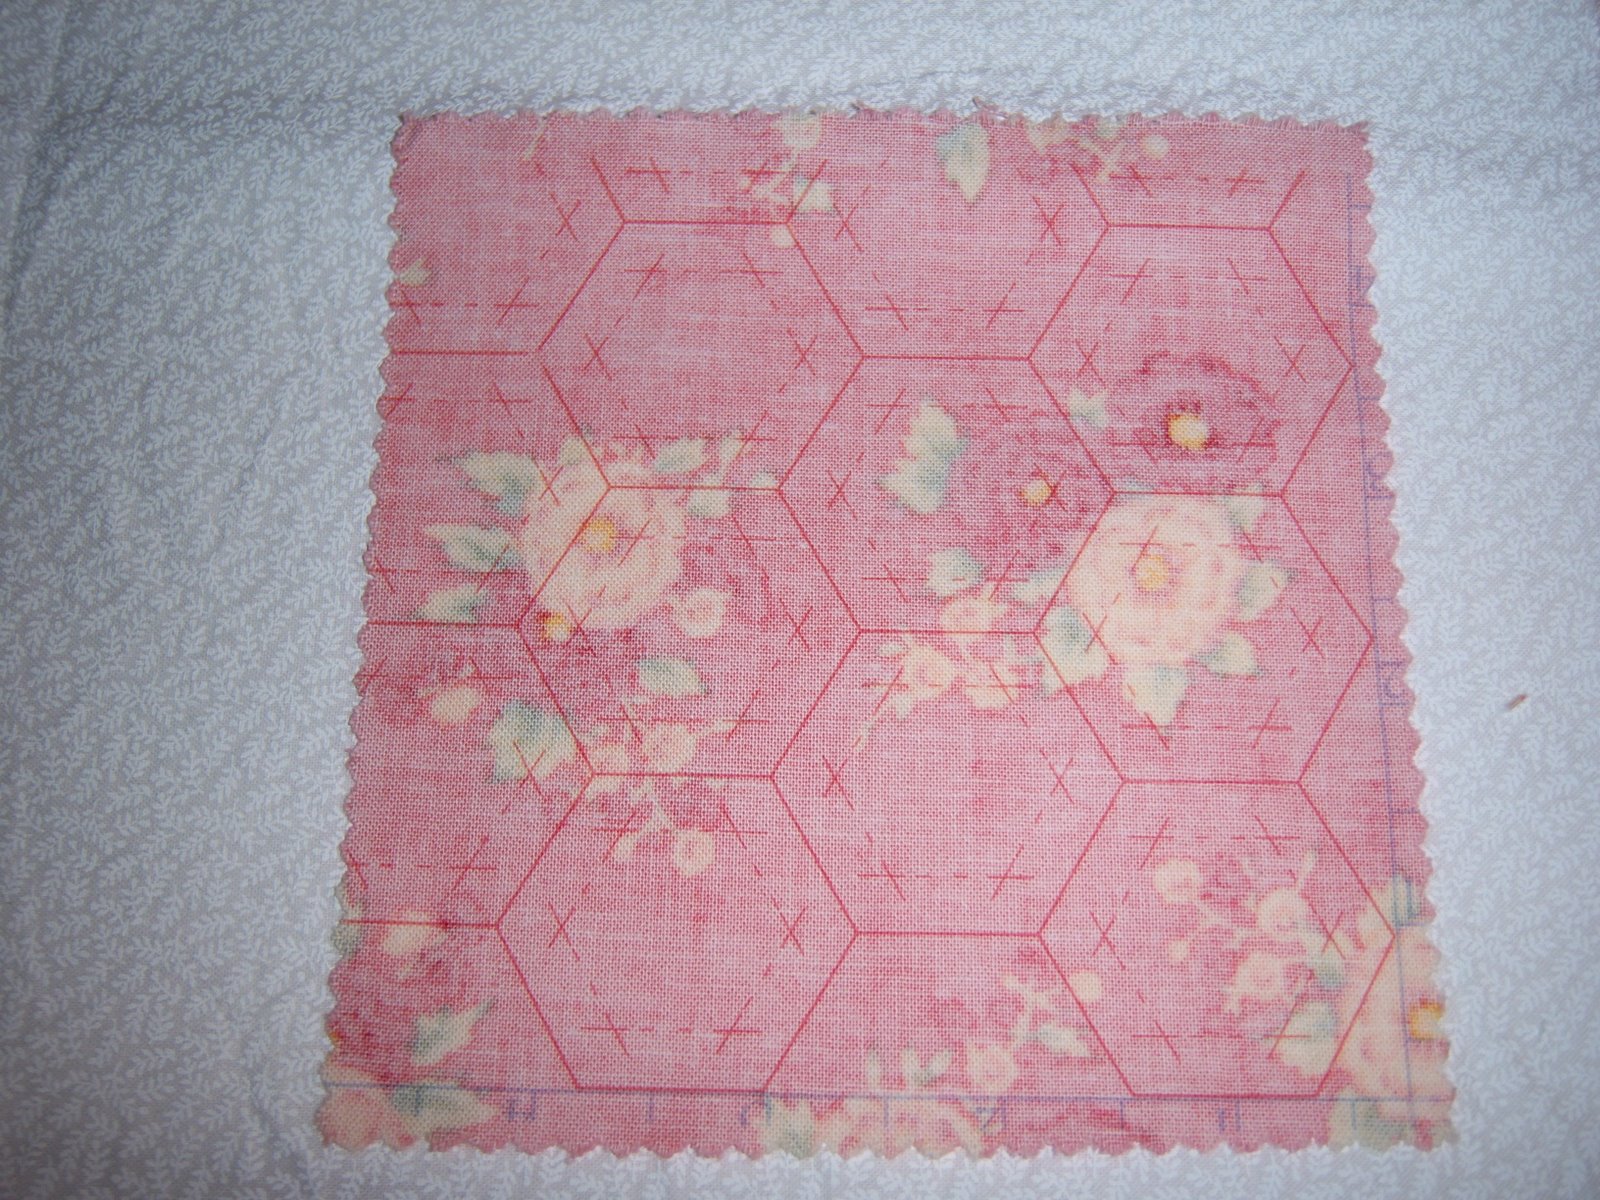
I want to make the Drunkard’s Path quilt a good-sized lap quilt, so I need to prep some more of the Rouenneries charms for printing.  I already know that I can print both pieces of a Drunkard’s Path unit on a 5″ charm, so it’s a matter of ironing them on to the freezer paper that I have already cut to size and then feeding them through my printer.  Here you can see that I’ve separated them by colour as I will use different ink colours for printing, depending on the fabric colour.  Some of those pieces of freezer paper have been used 10 or 15 times already and are still fine for another few uses.

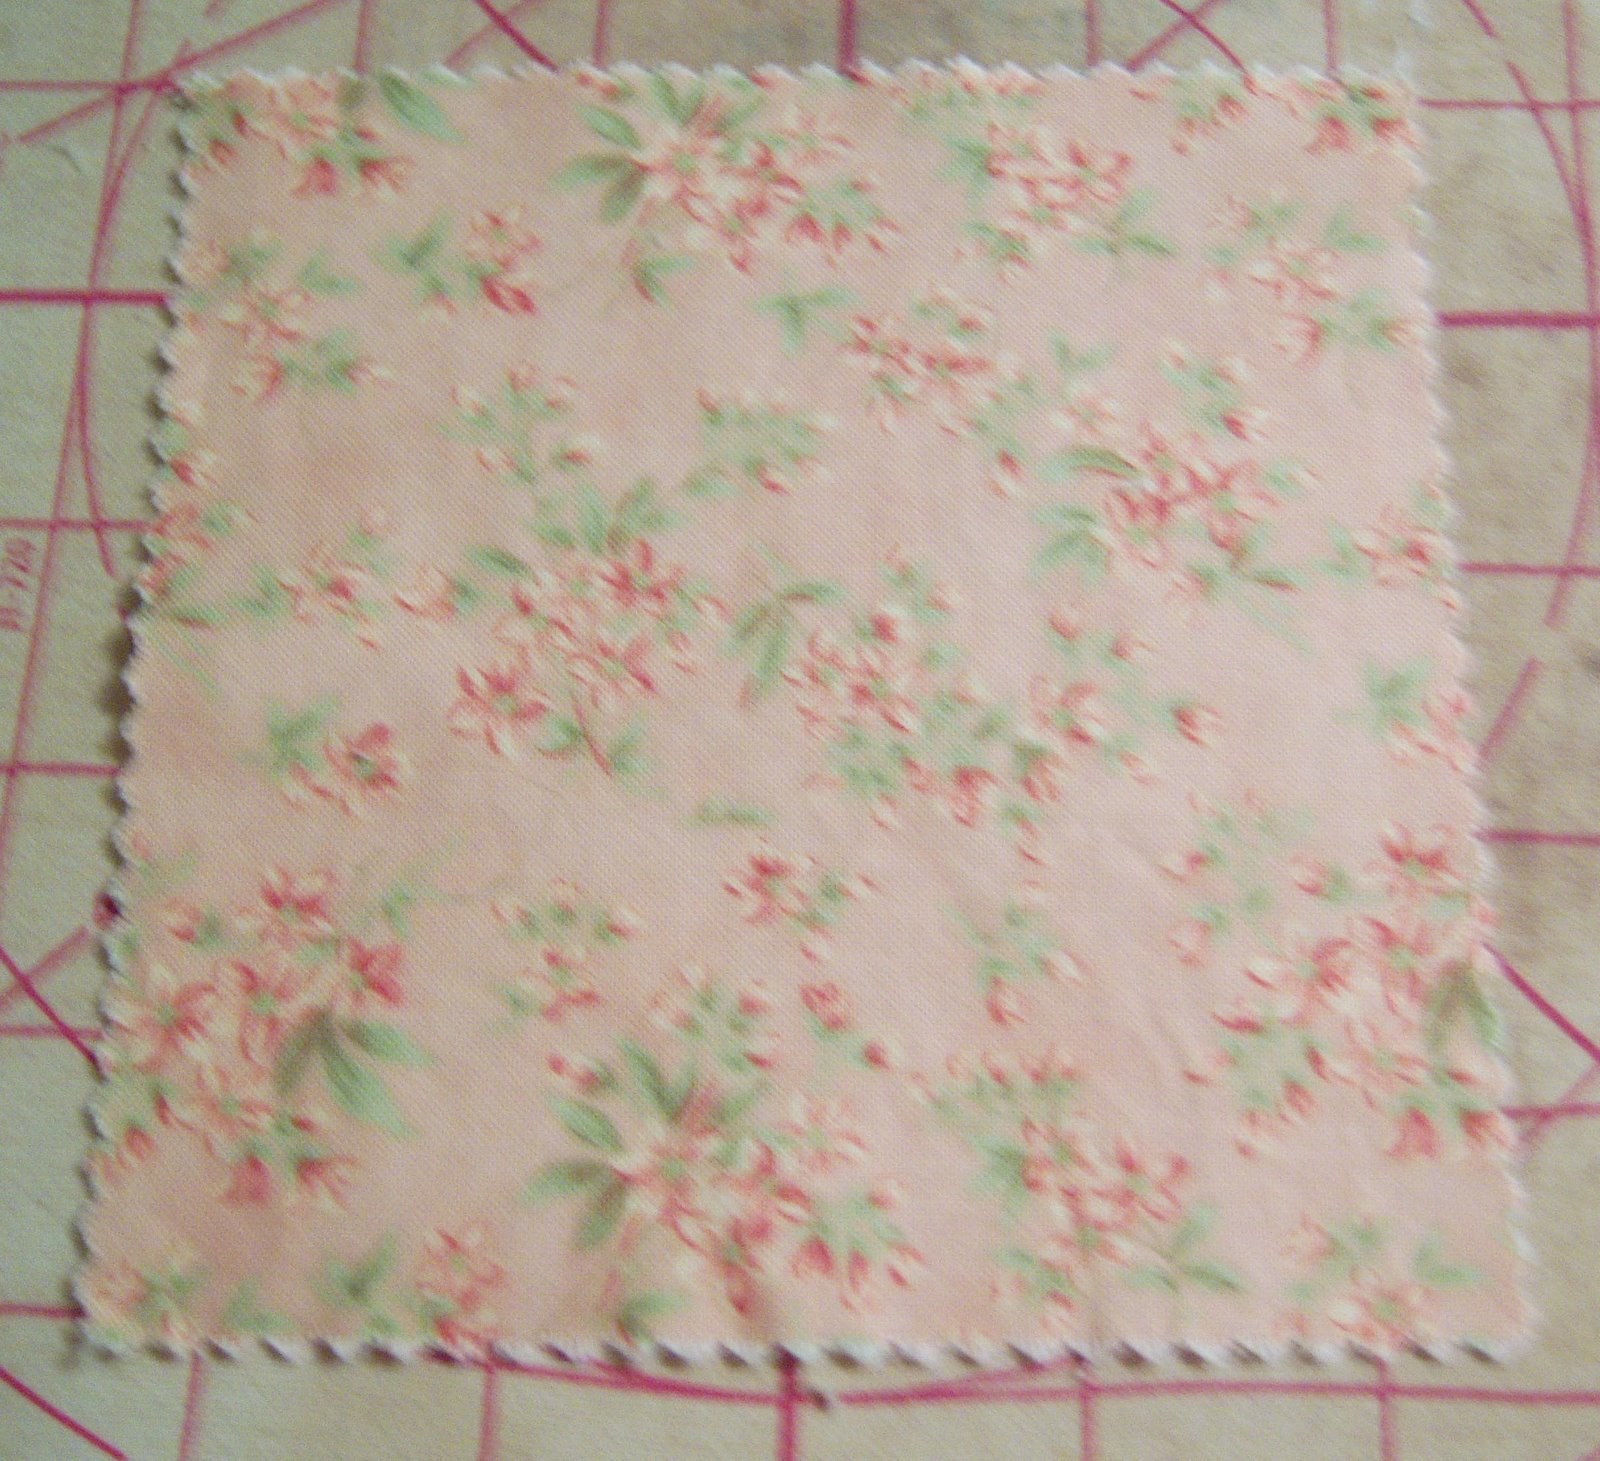
One thing I have learned is that even 5″ charms shrink when washed and not evenly.  There’s almost a full quarter inch shrinkage in width or length, depending on how you look at it, when these little charms are washed and pressed.

I received the Clothworks e-mail yesterday with news of their upcoming collections and immediately fell in love with the Hungarian Blues collection that you can see here.  Blue and white quilts are among my absolute favourites and these fabrics are  stunning.  I know I’m going to want yardage of every one of those when the fabric is available.  I’m already dreaming of a blue and white Winding Ways quilt or perhaps a Dresden Plate in blue and white.

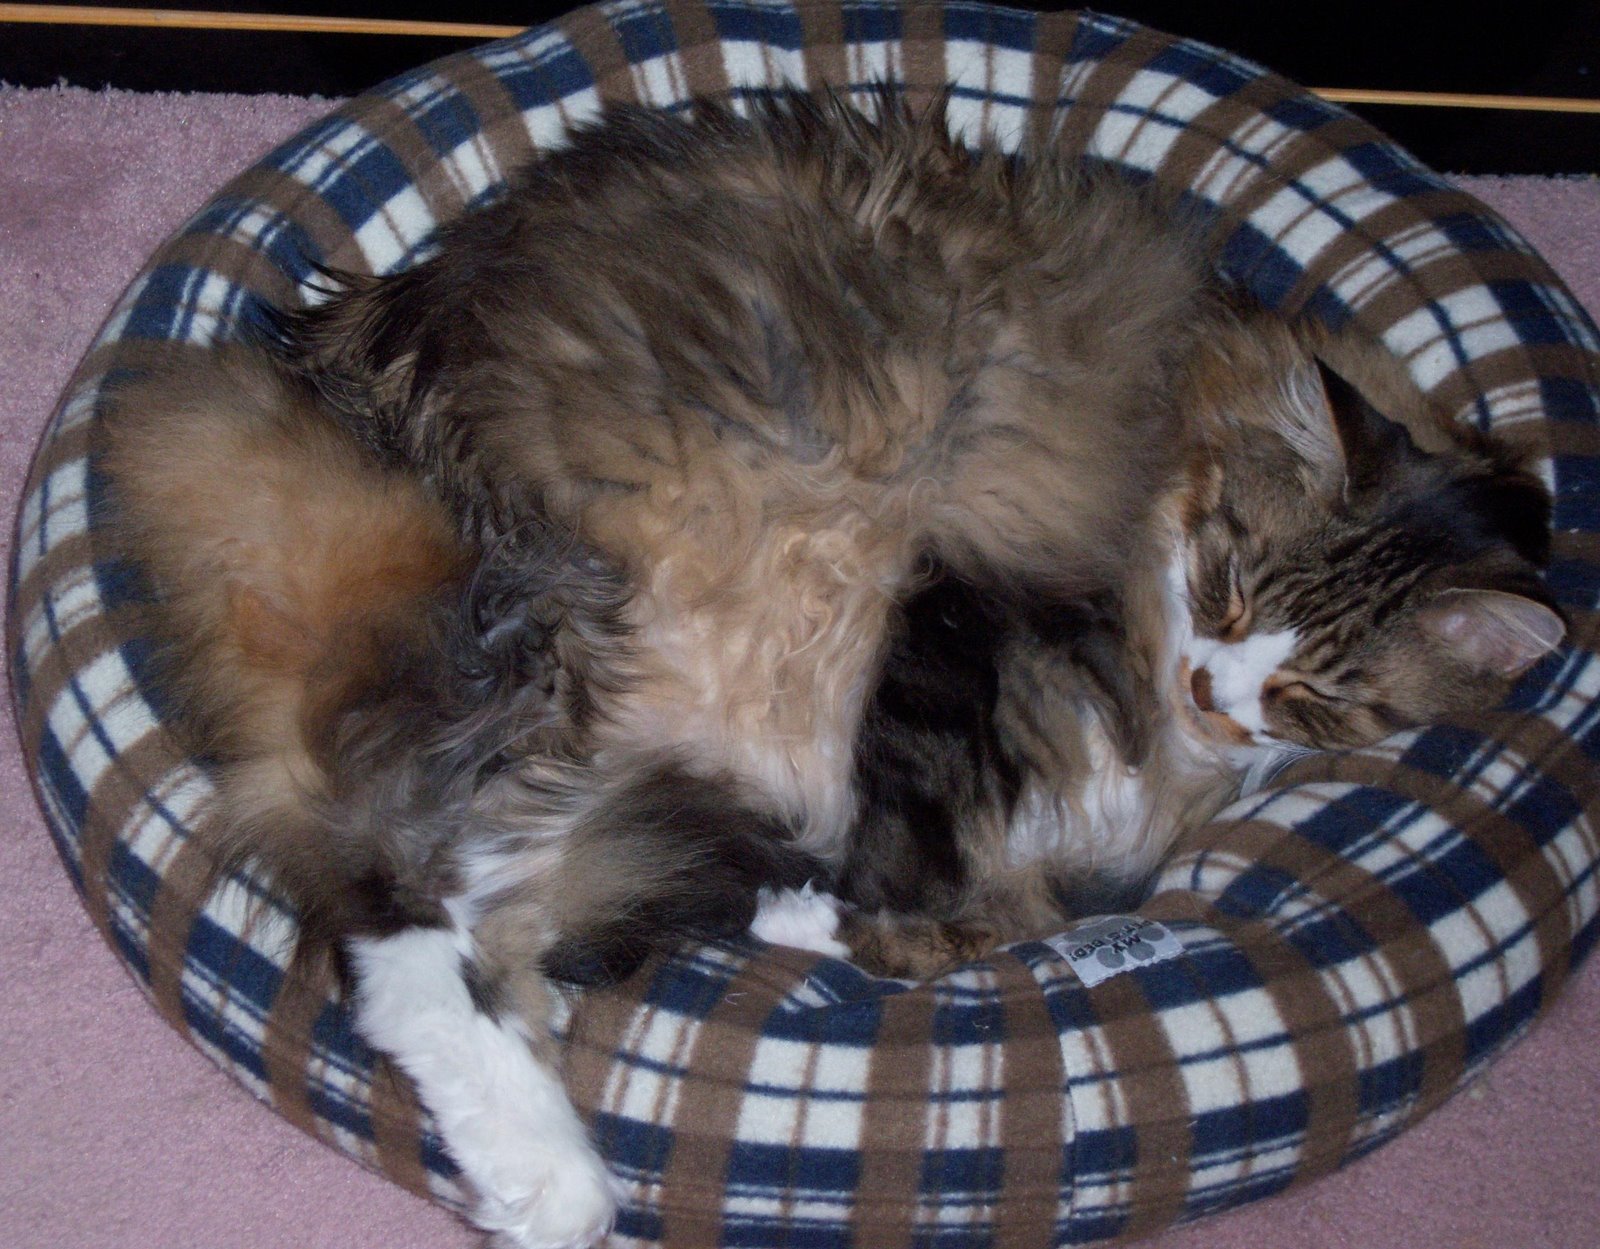
Smudge has the funniest look on his face in this photo.

Lester, on the other hand, is looking somewhat majestic.

Printing on Charms

A question was asked re how I stabilized my little charms to print the hexagons for the Insanity quilt. There is a great video at the Inklingo Web site that is free to download and watch.

To give a really short explanation of how to stabilize fabric for printing — first I iron the charm. This is the charm, right side up.

Iron a piece of freezer paper to the right side of the fabric so that the wrong (back) side is what will be printed on.

Feed it through the printer, peel off the freezer paper — and you have perfect hexagons printed and ready to cut apart and stitch. I printed using a darker colour than I would normally on this charm so that it would show up well in a photograph. If you click on and enlarge it, you will easily see the cutting lines (solid lines), the stitching lines (dotted lines) and crosshairs where seams intersect.

If you’re curious about using Inklingo, right now there is a free collection available at the Inklingo Web site for download here (scroll down to the downloadable collections and you will see the free one) with all the shapes necessary to make a 4.5″ LeMoyne Star block. It also includes the first chapter of the new handbook, which gives you all the information you need to start printing and using Inklingo. Be warned — it is truly addictive!! LOL

Smudge with one paw hanging out of the kitty bed — temperature control maybe?