Warning — lots of photos in this one so may be slow to load.
I’ve been asked a couple of times about the stitching process for hexagon flowers the Inklingo way so thought this little pictorial tutorial might be a better route to go than trying to describe it in words. The method is one I learned from Linda Franz. Both her Quilted Diamonds books and the Inklingo product have wonderful instructions that make this and other methods incredibly easy to learn.
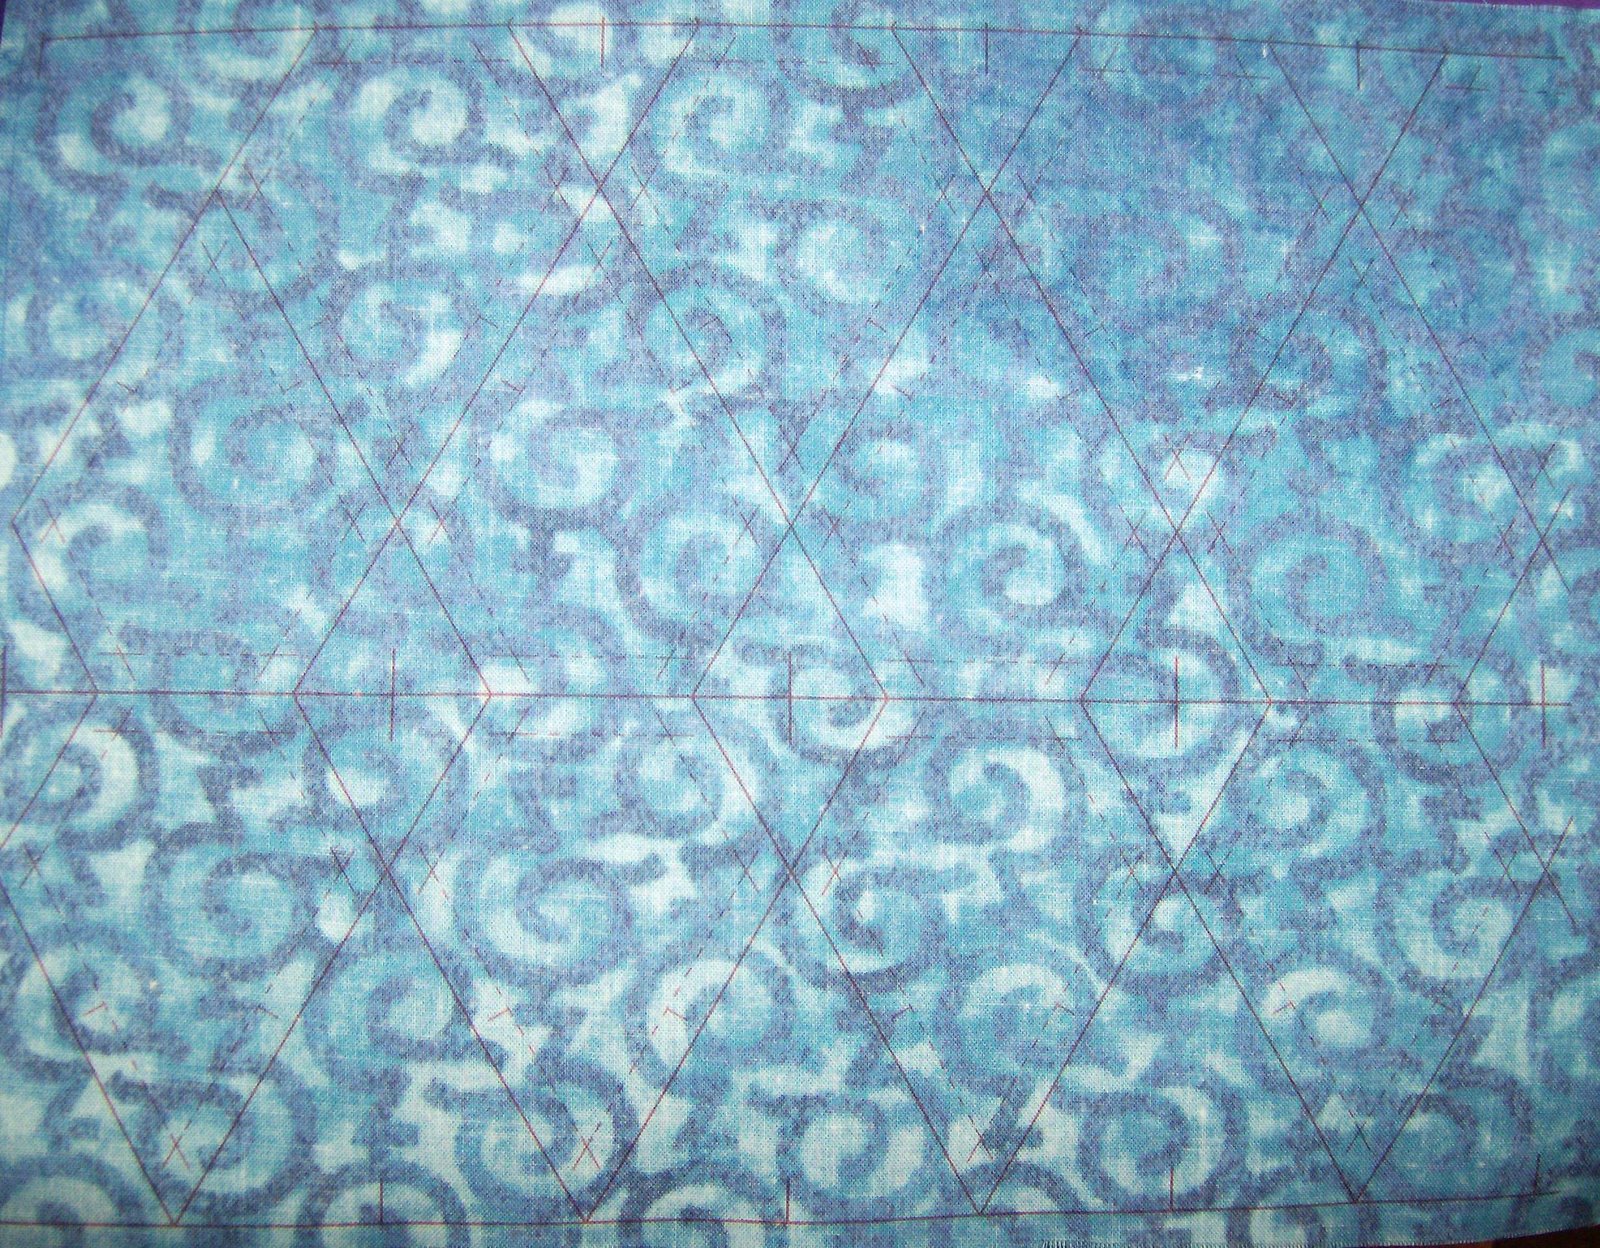
Edited to Add: All the hexagons for this project were printed using Inklingo , which prints very fine cutting and stitching lines as well as matching points in your choice of many colours on the back of your fabric. One always gets perfect precision when stitching as a result.
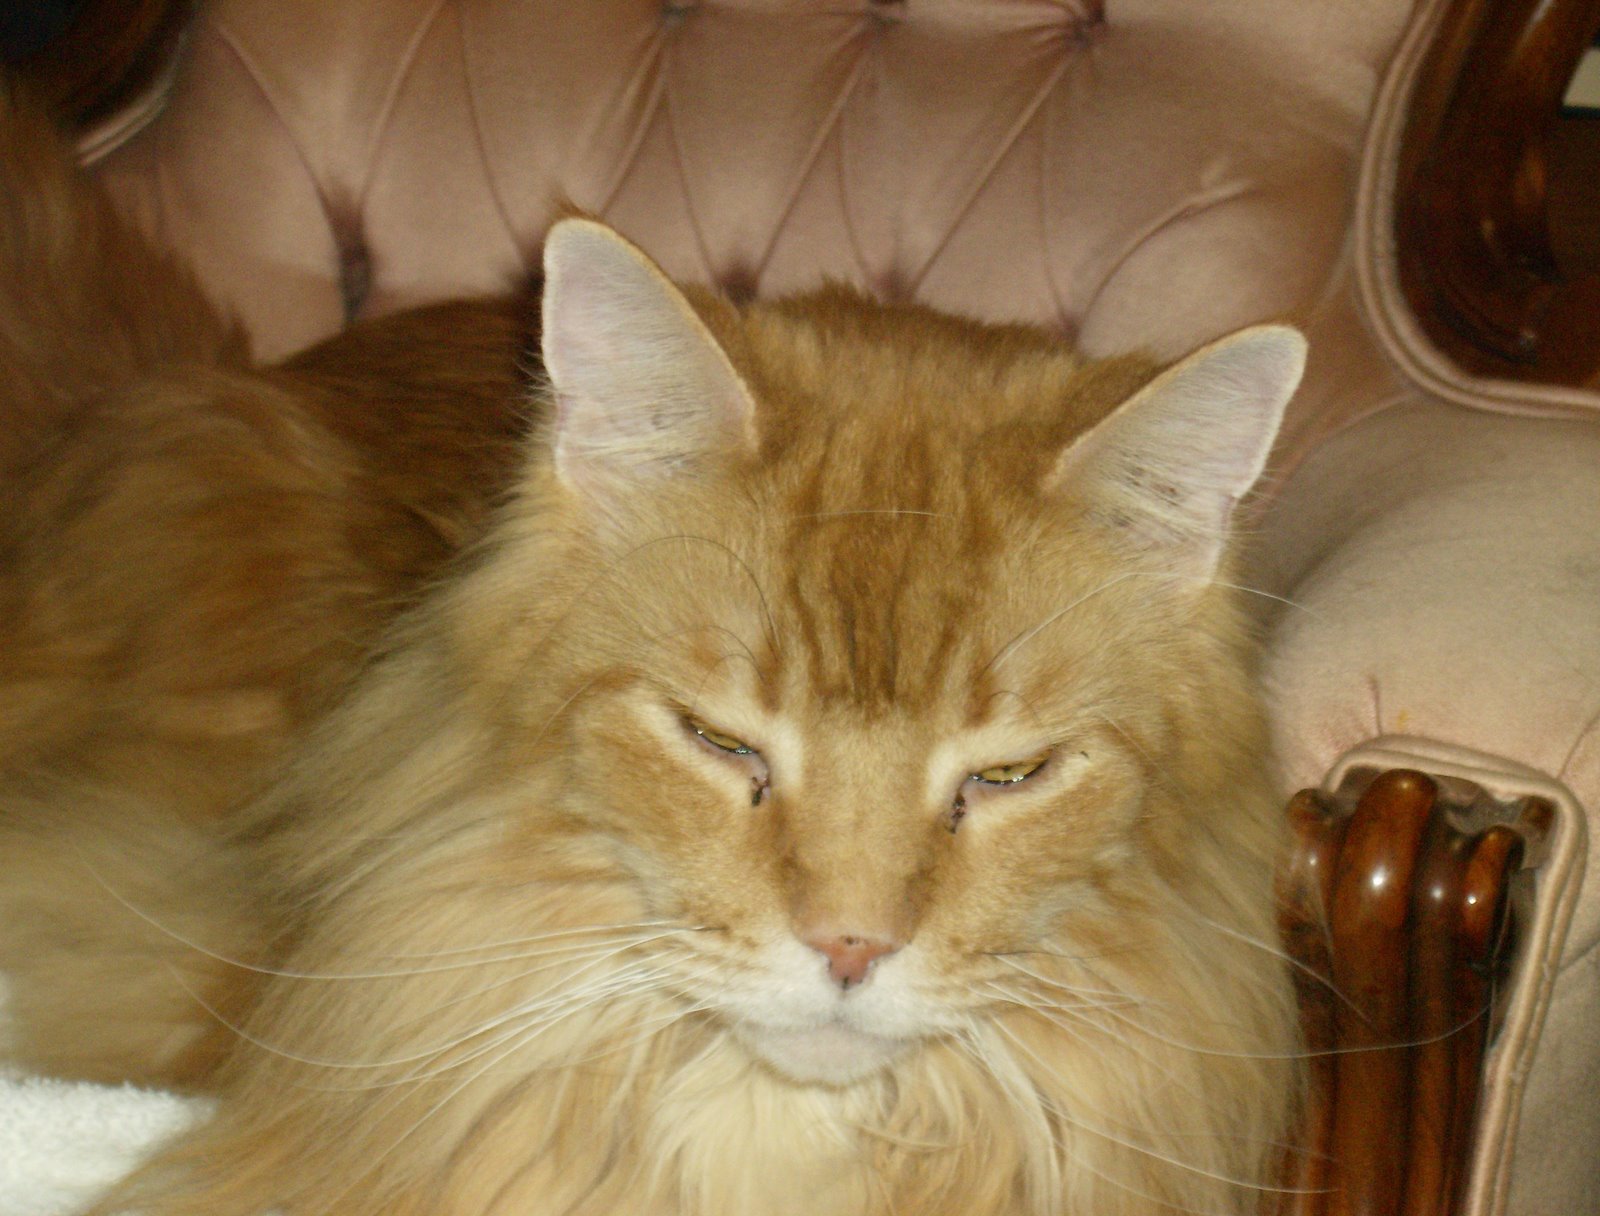
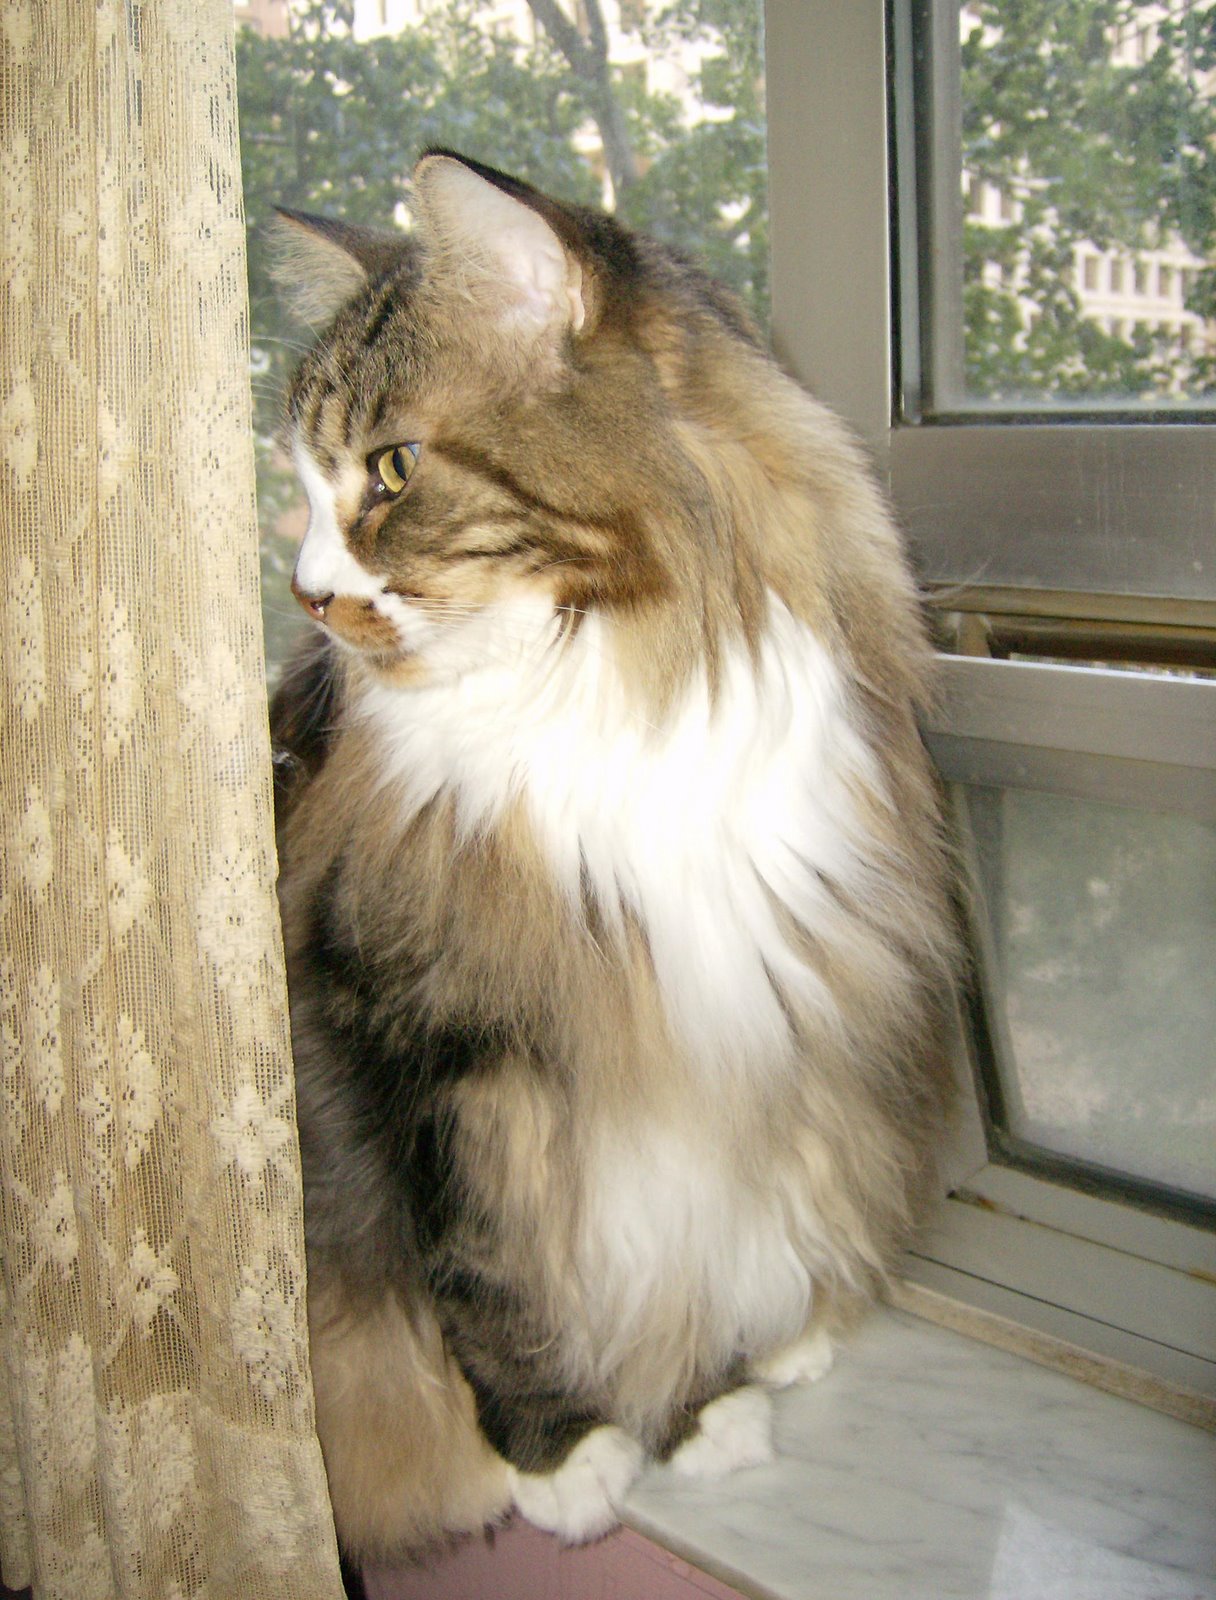
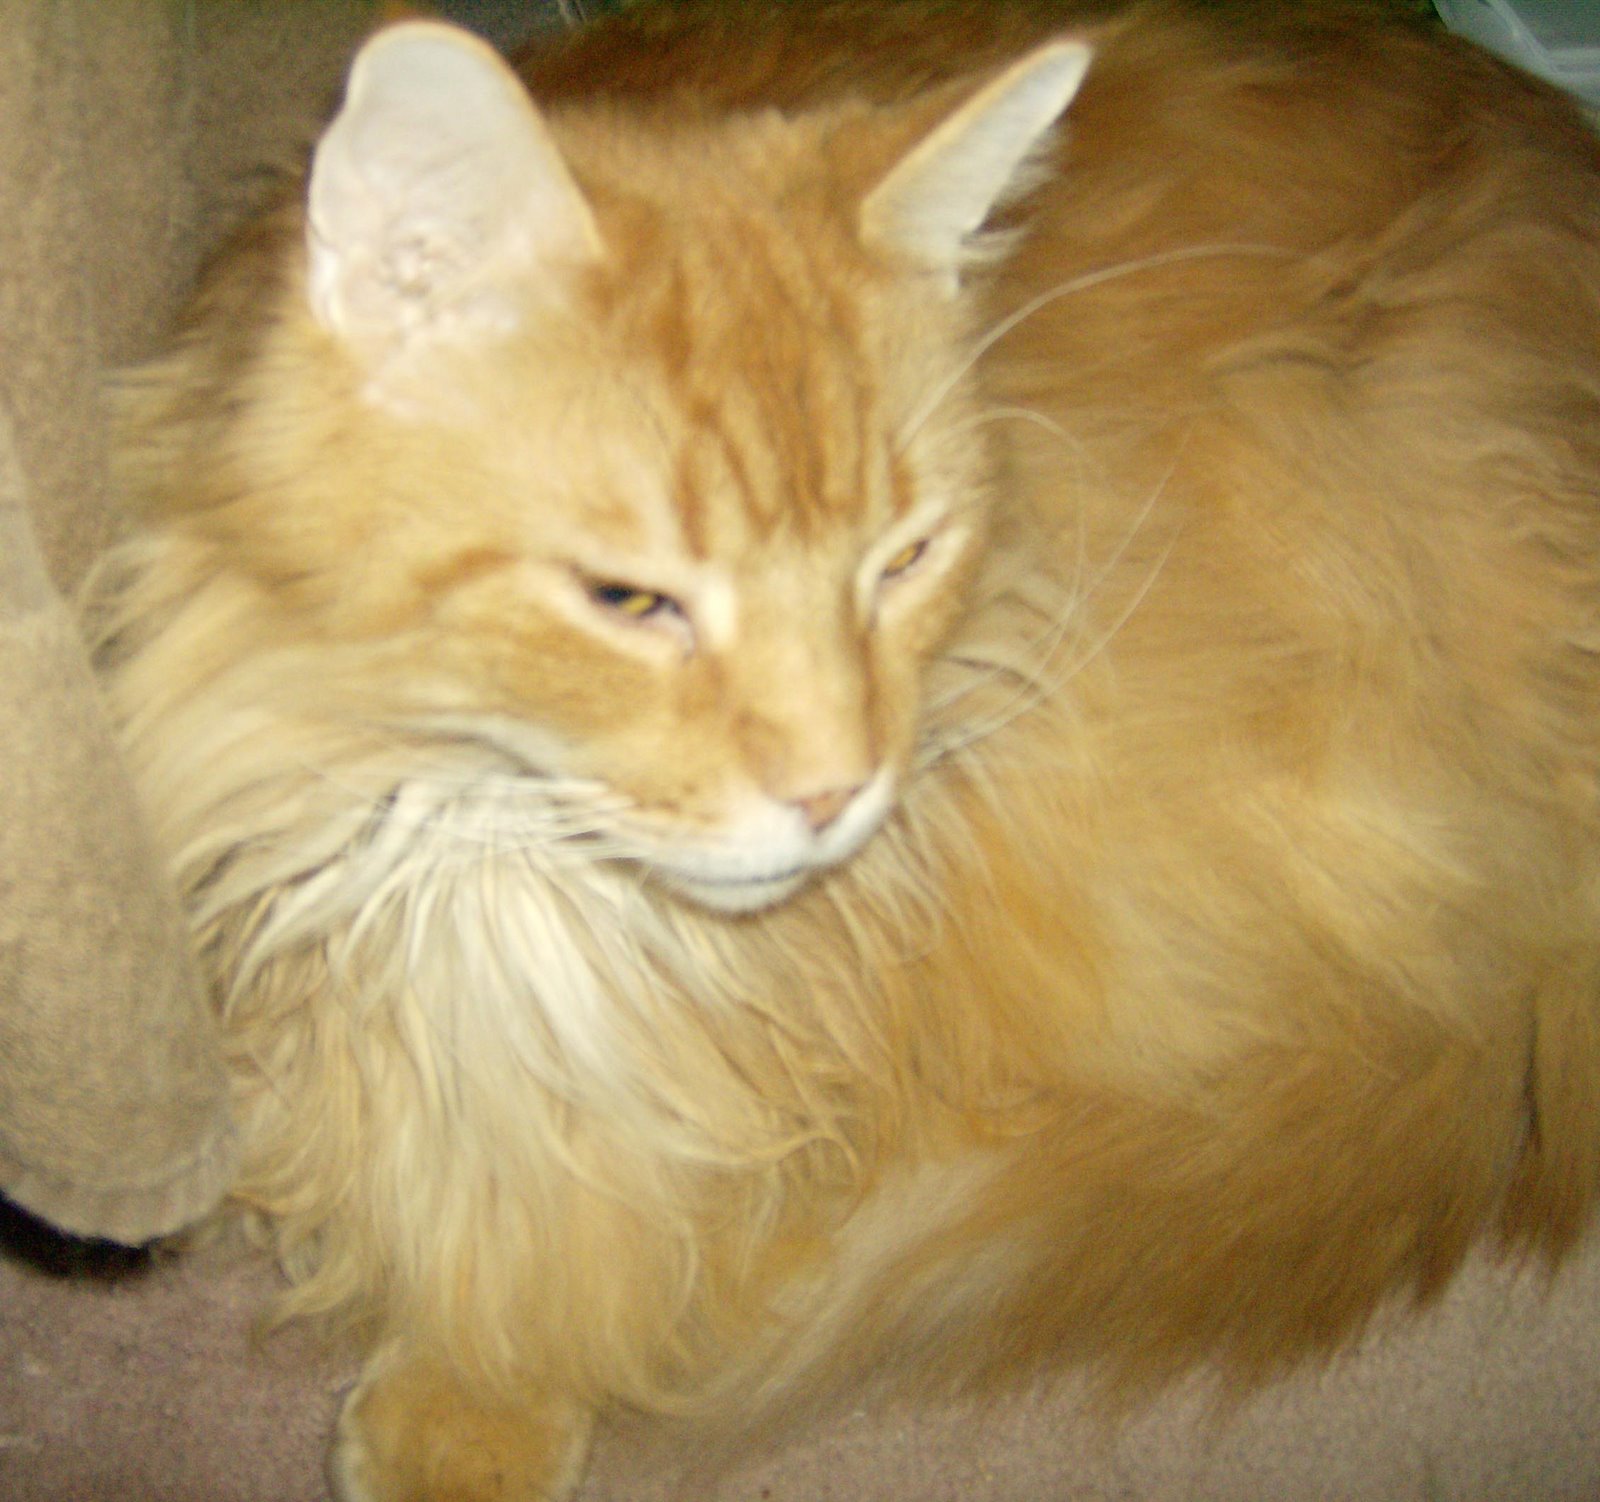
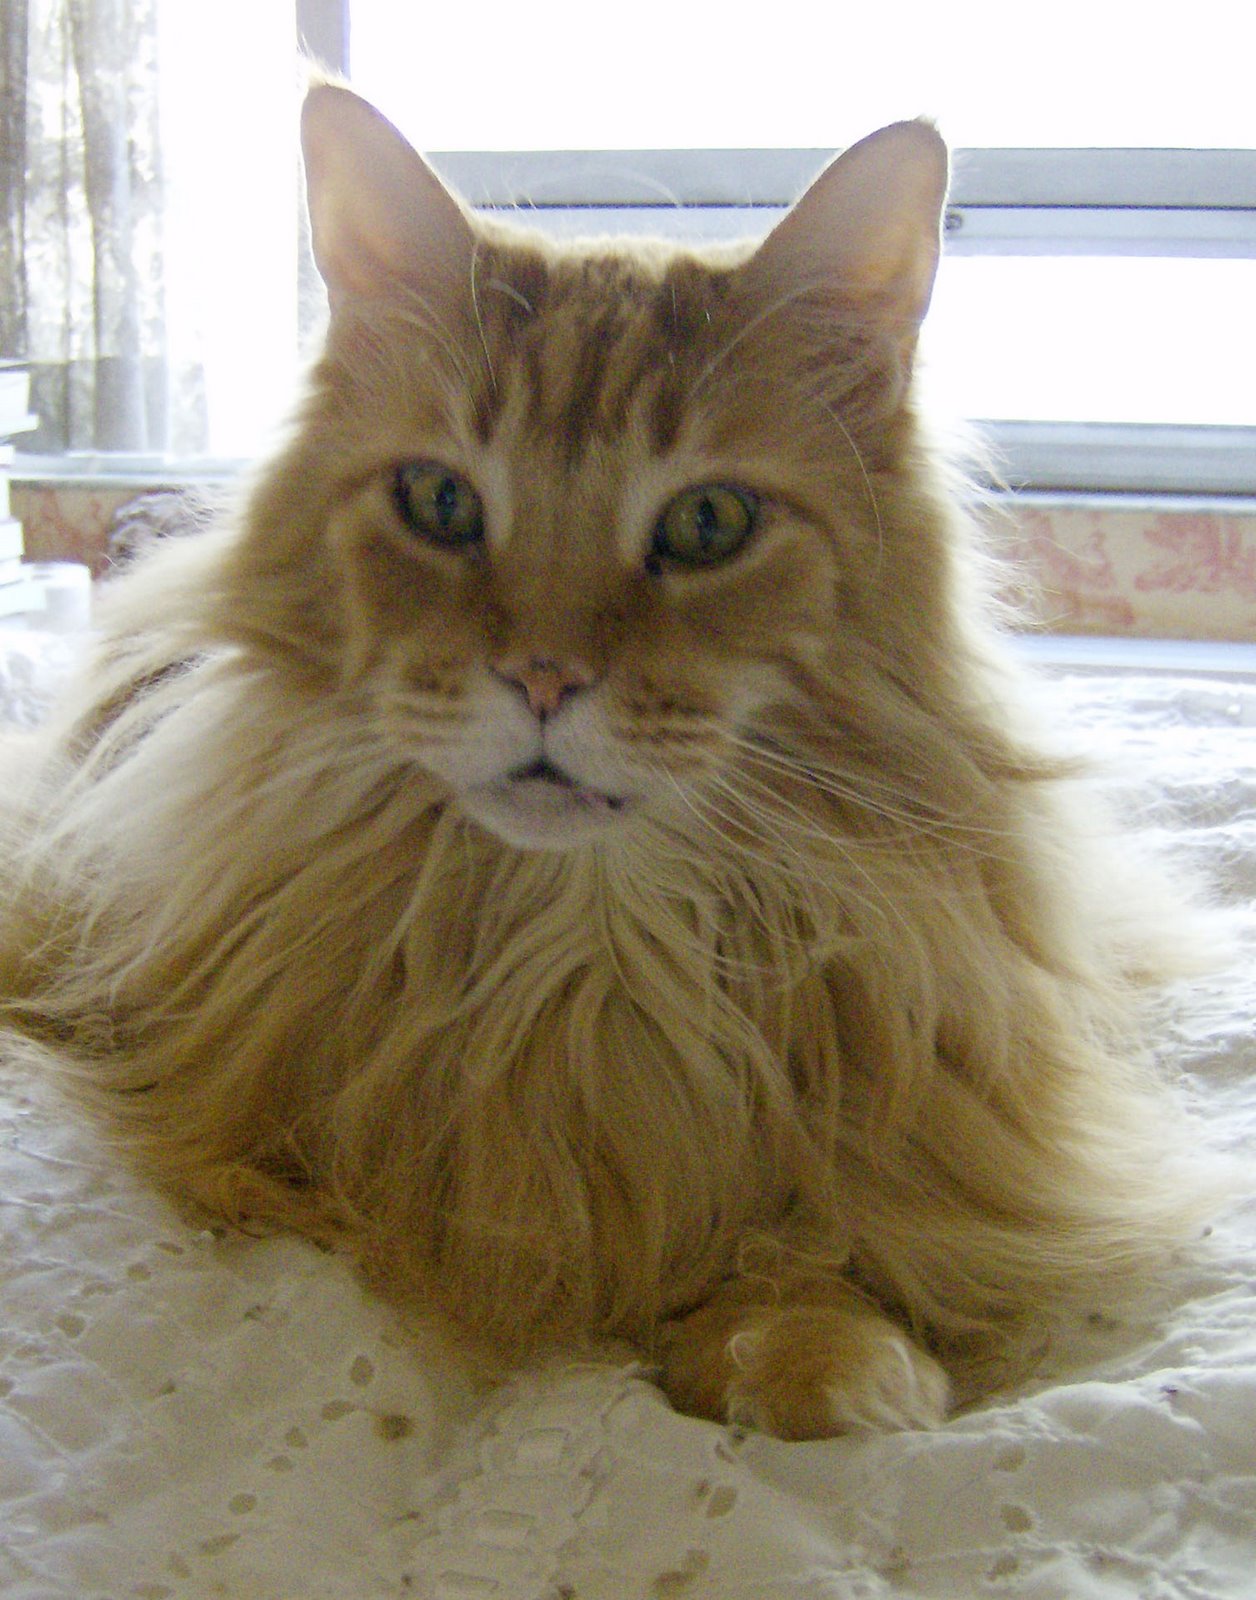
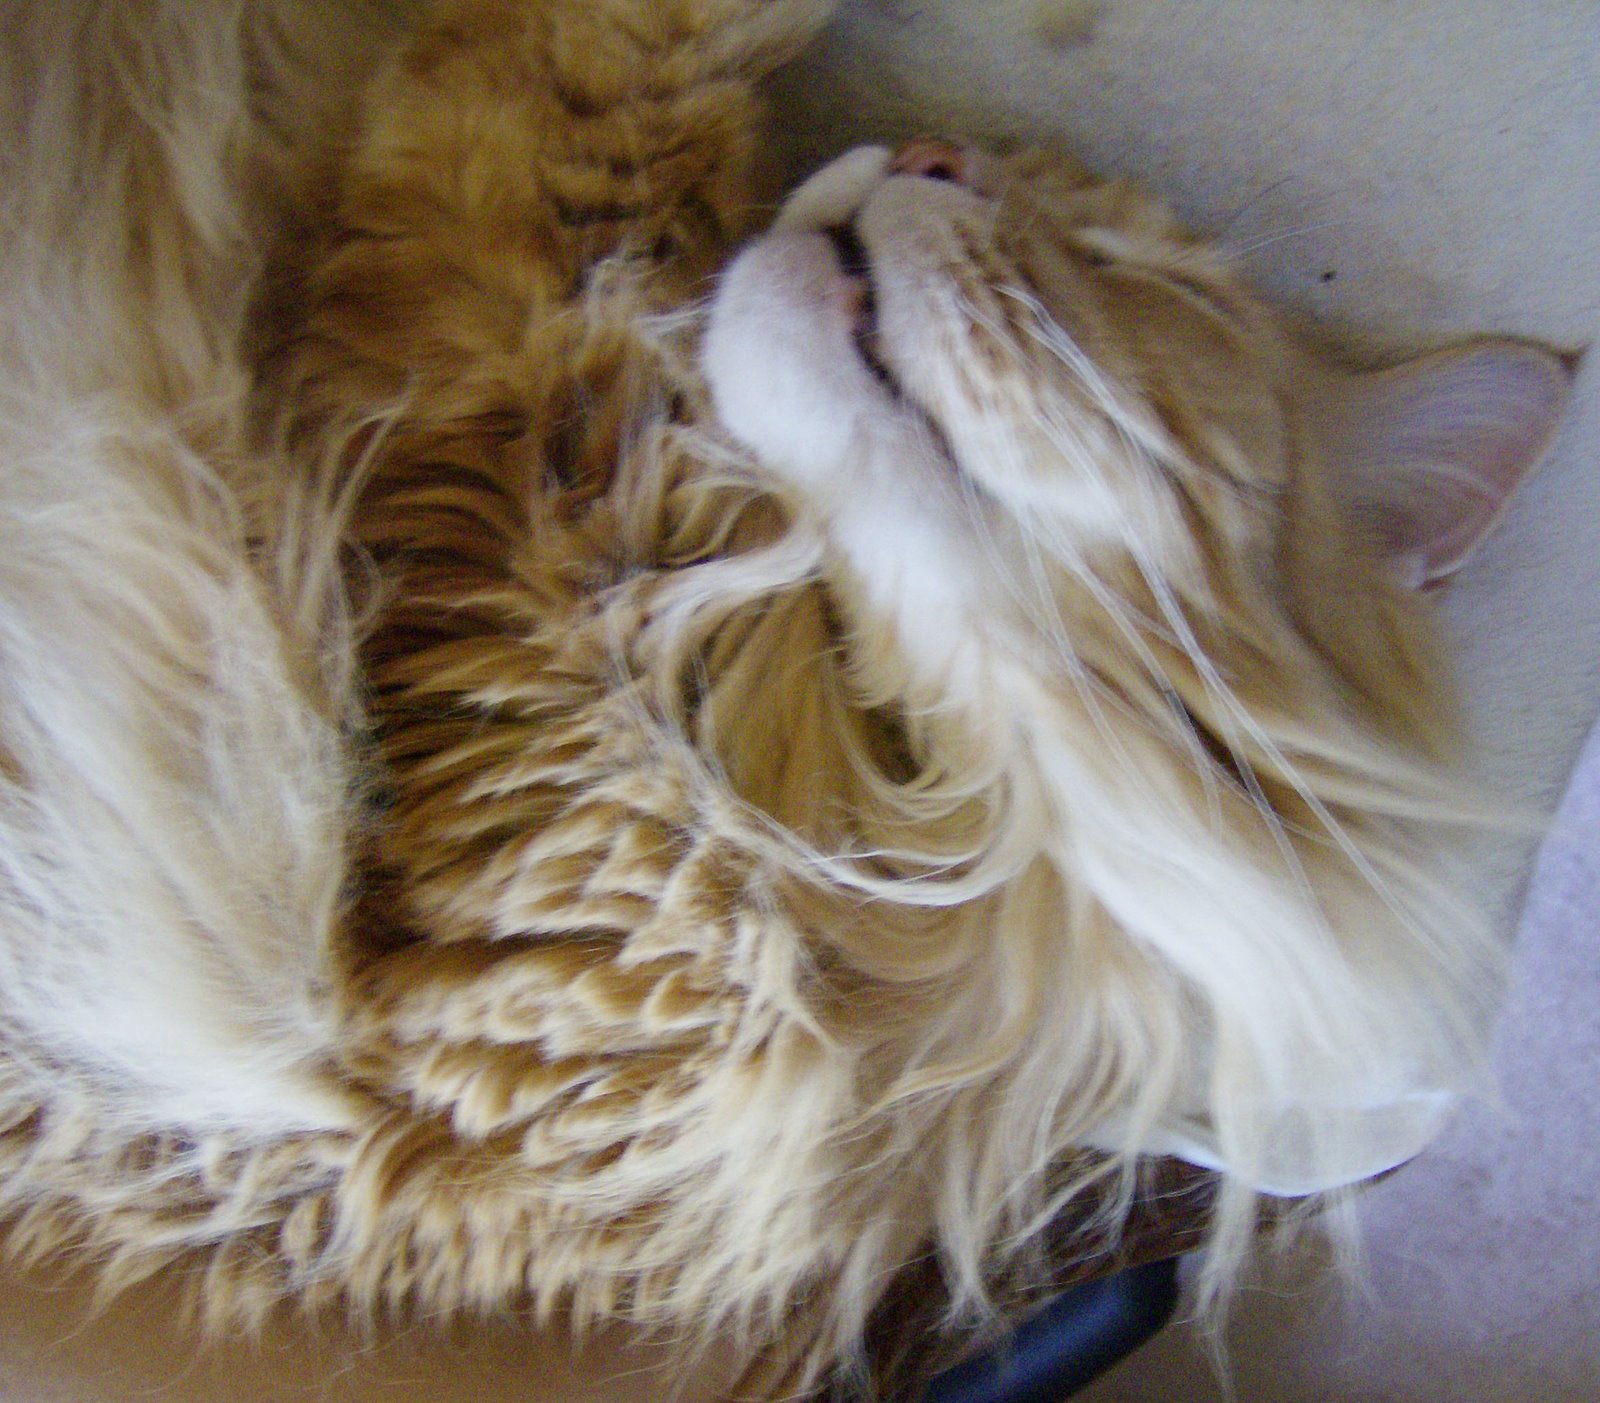
Lester’s peaceful countenance should help put you in the mood for some calming hand piecing.
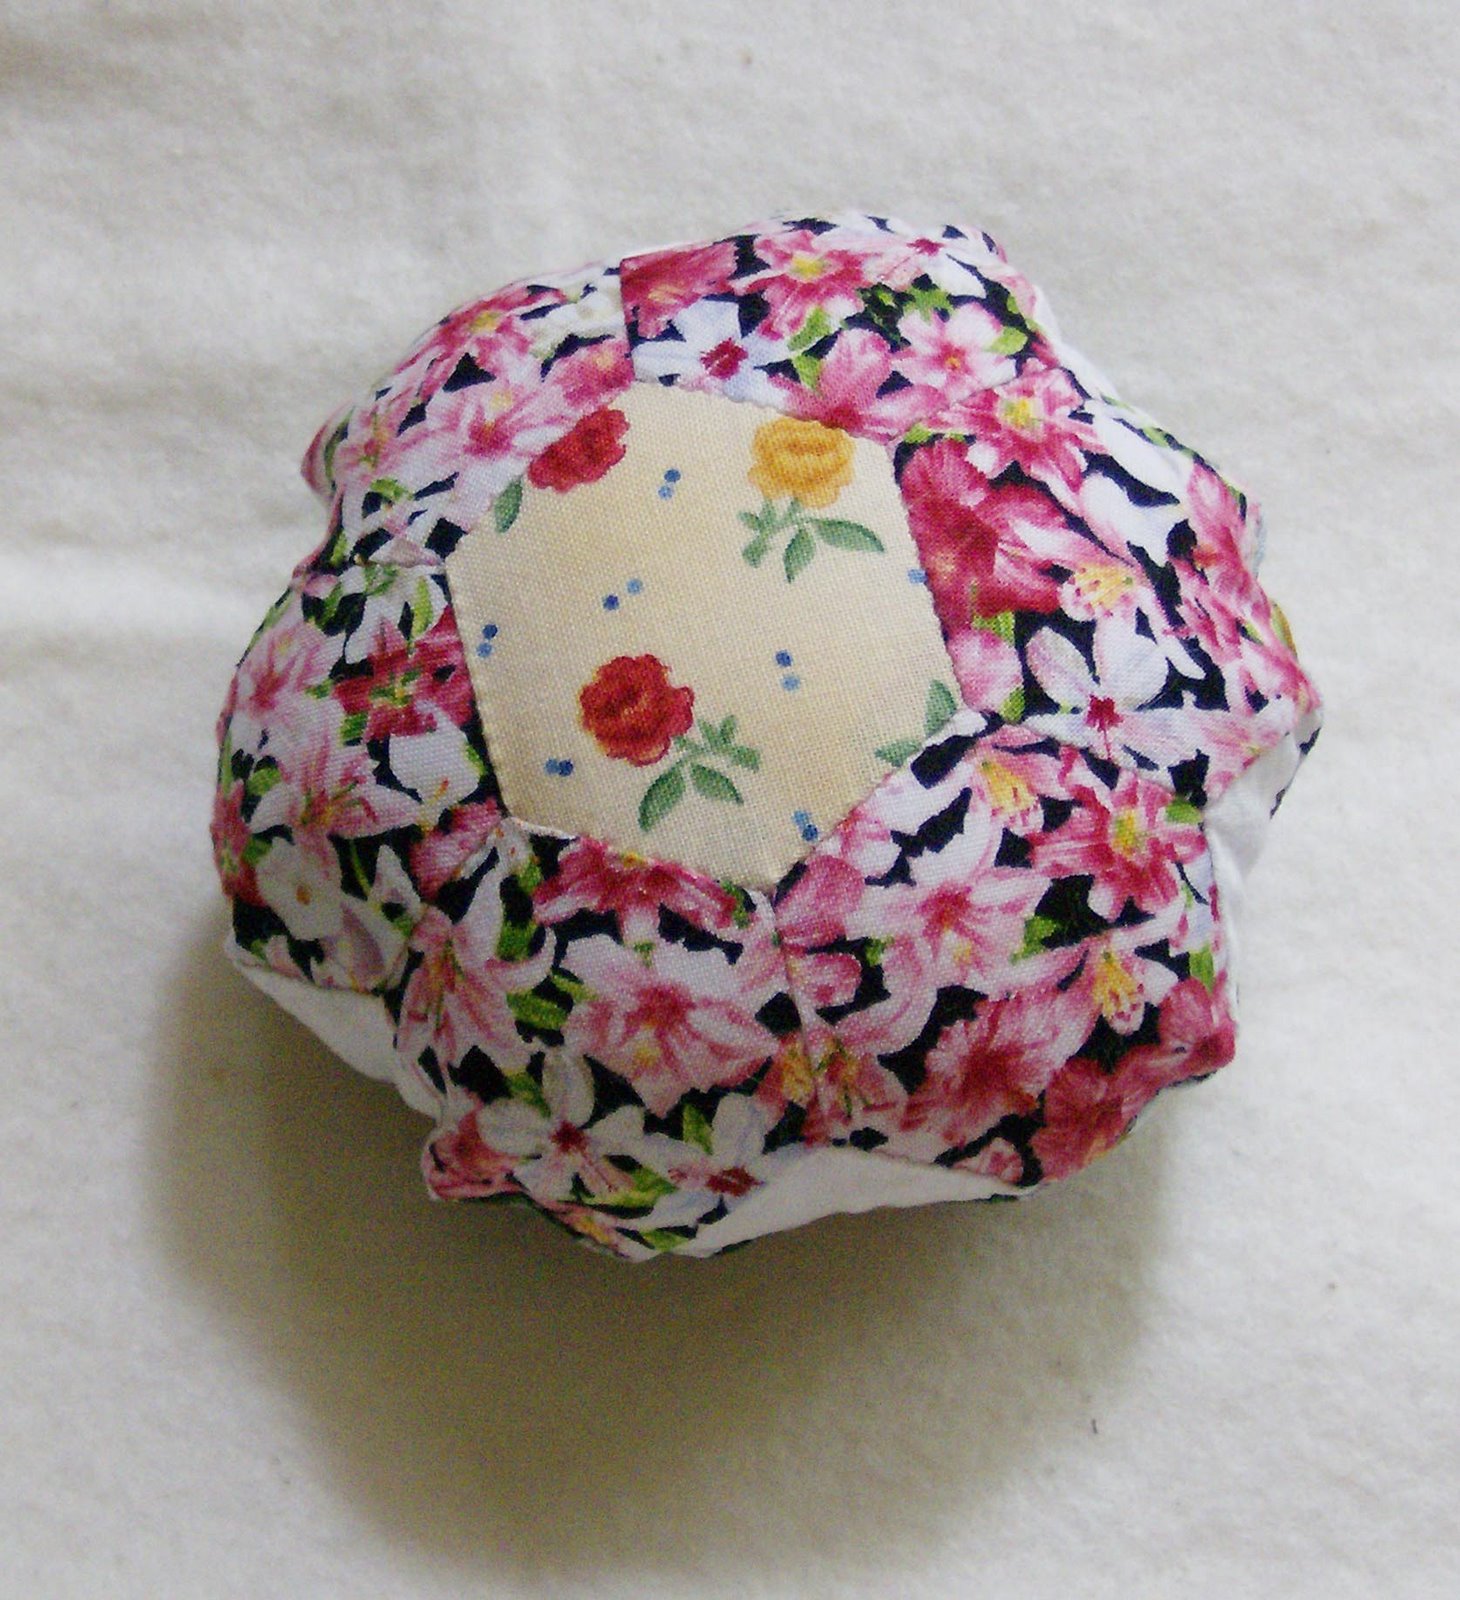
This flower will be made with 6 one-inch hexagons of one fabric and 1 one-inch hexagon of a different fabric in the centre.
Materials needed: six hexagons for outer circle of 6, one hexagon for centre, needles and fine thread.
I use #12 sharps as both needles and as a pin as they are so fine. My “pin” goes right in at the cross-hair at the end of the little seam. I use YLI Heirloom, YLI Select, DMC or Mettler 60/2 threads for hand piecing and do try to match my thread colours as much as possible to the fabrics I’m using.
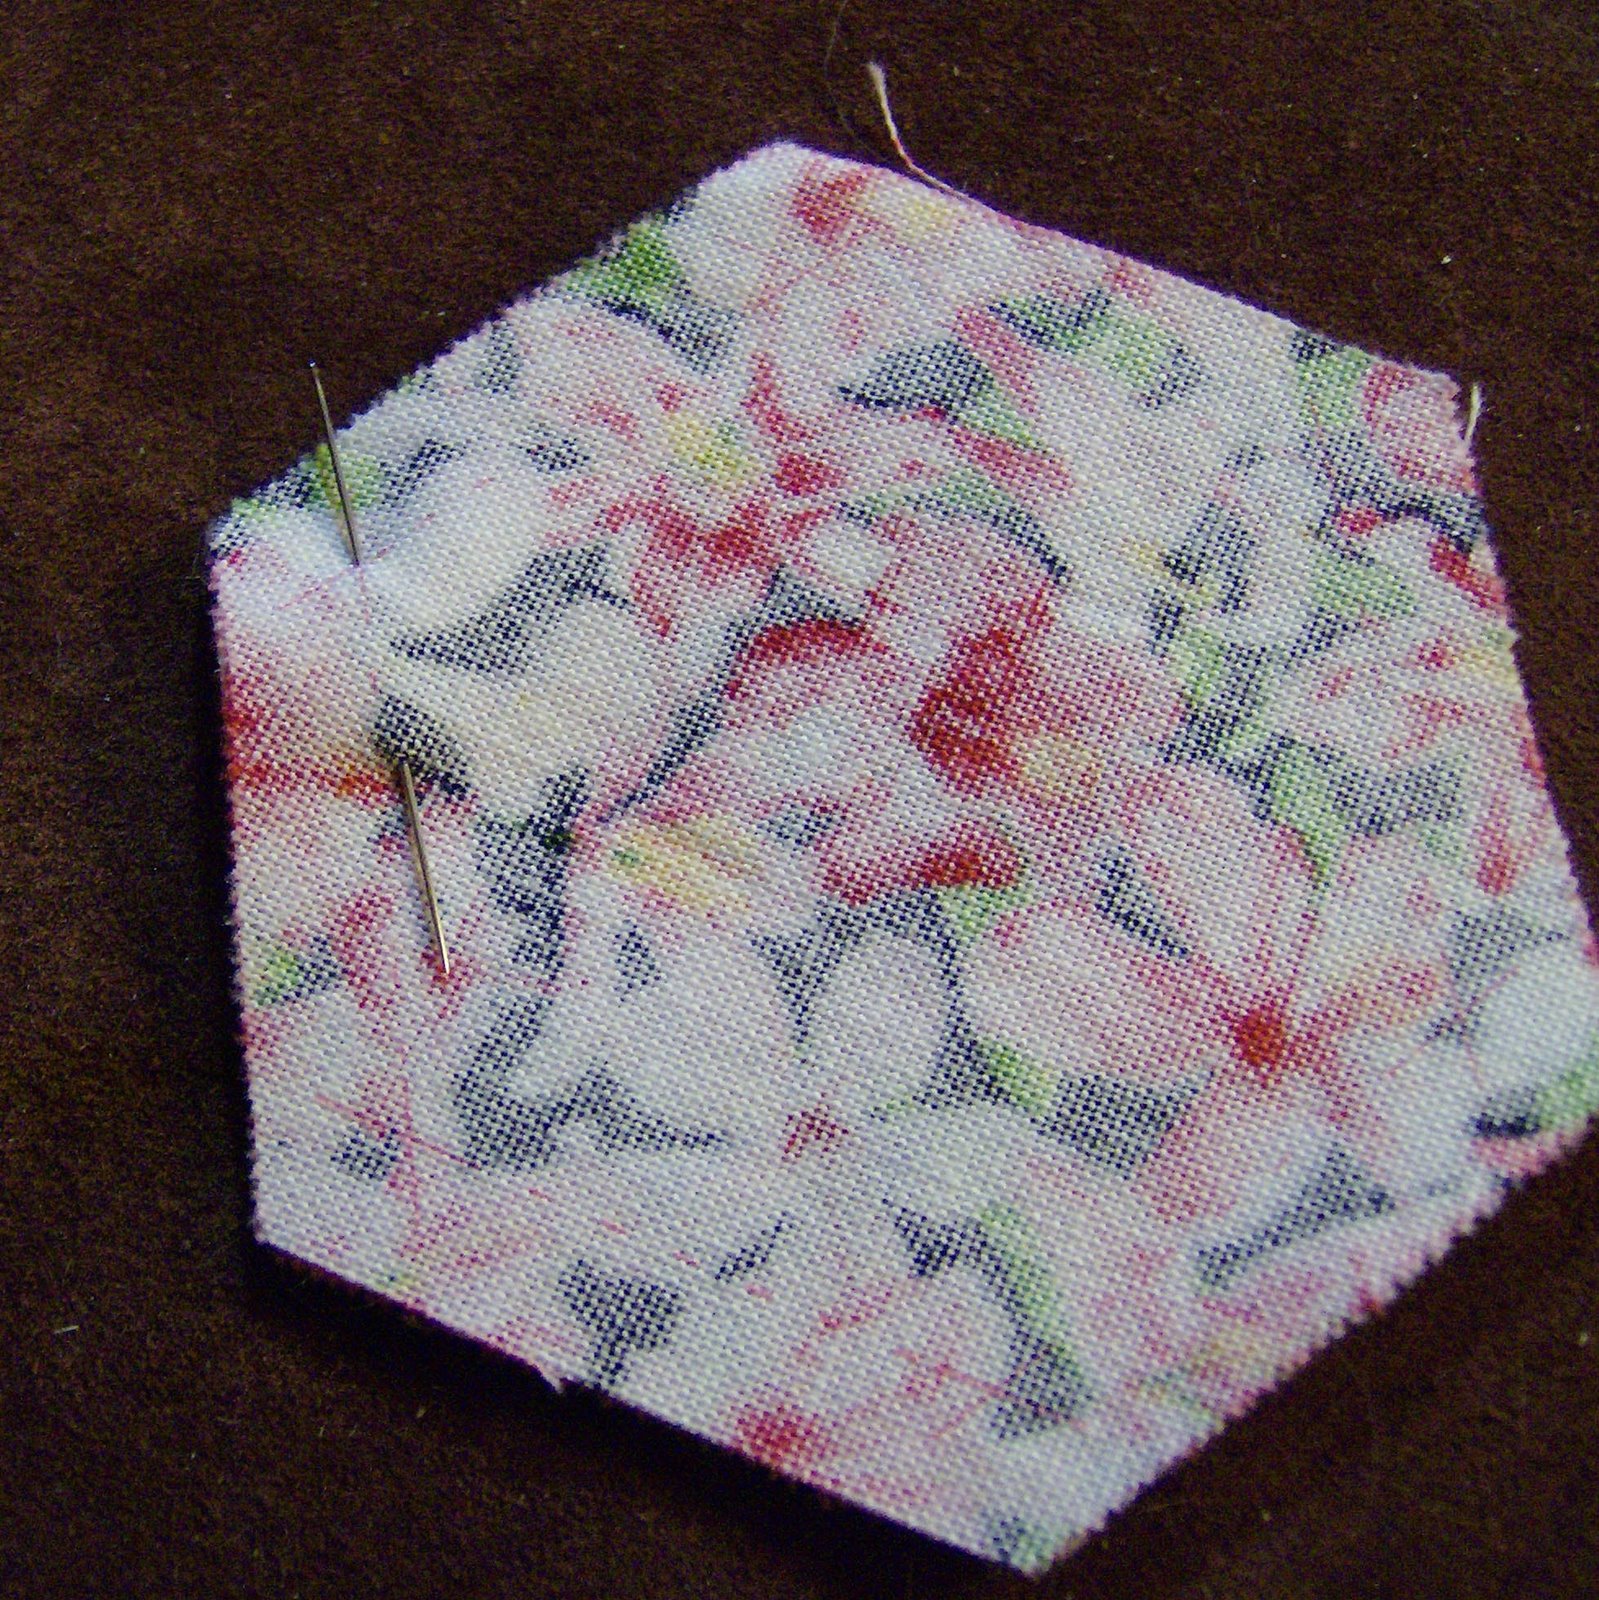
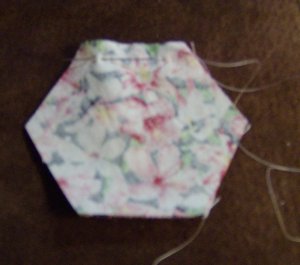
Here I have the first two hexagons of the outer 6 pinned together.

Then I start my seam. I make a quilter’s knot and then use this little trick I have found which helps make it easier when I get to the continuous stitching to attach the centre later. I insert my needle from the front, just a tiny bit over from the cross-hair on the right (I am right-handed) and come back up from the back right in the cross-hair. Then I immediately take one very tiny stitch, which serves as a back stitch and then a load of 4 or 5 running stitches on the needle. Pull the needle through, take another little back stitch and load up the needle again.

Now I’m at the end of the first little seam. Finish the seam right at the cross-hair and then take another back stitch, turn the piece over and take another back stitch through the opposite side and make my quilter’s knot to tie off. This way I have no knots right at the intersections, which I have found does help later on.
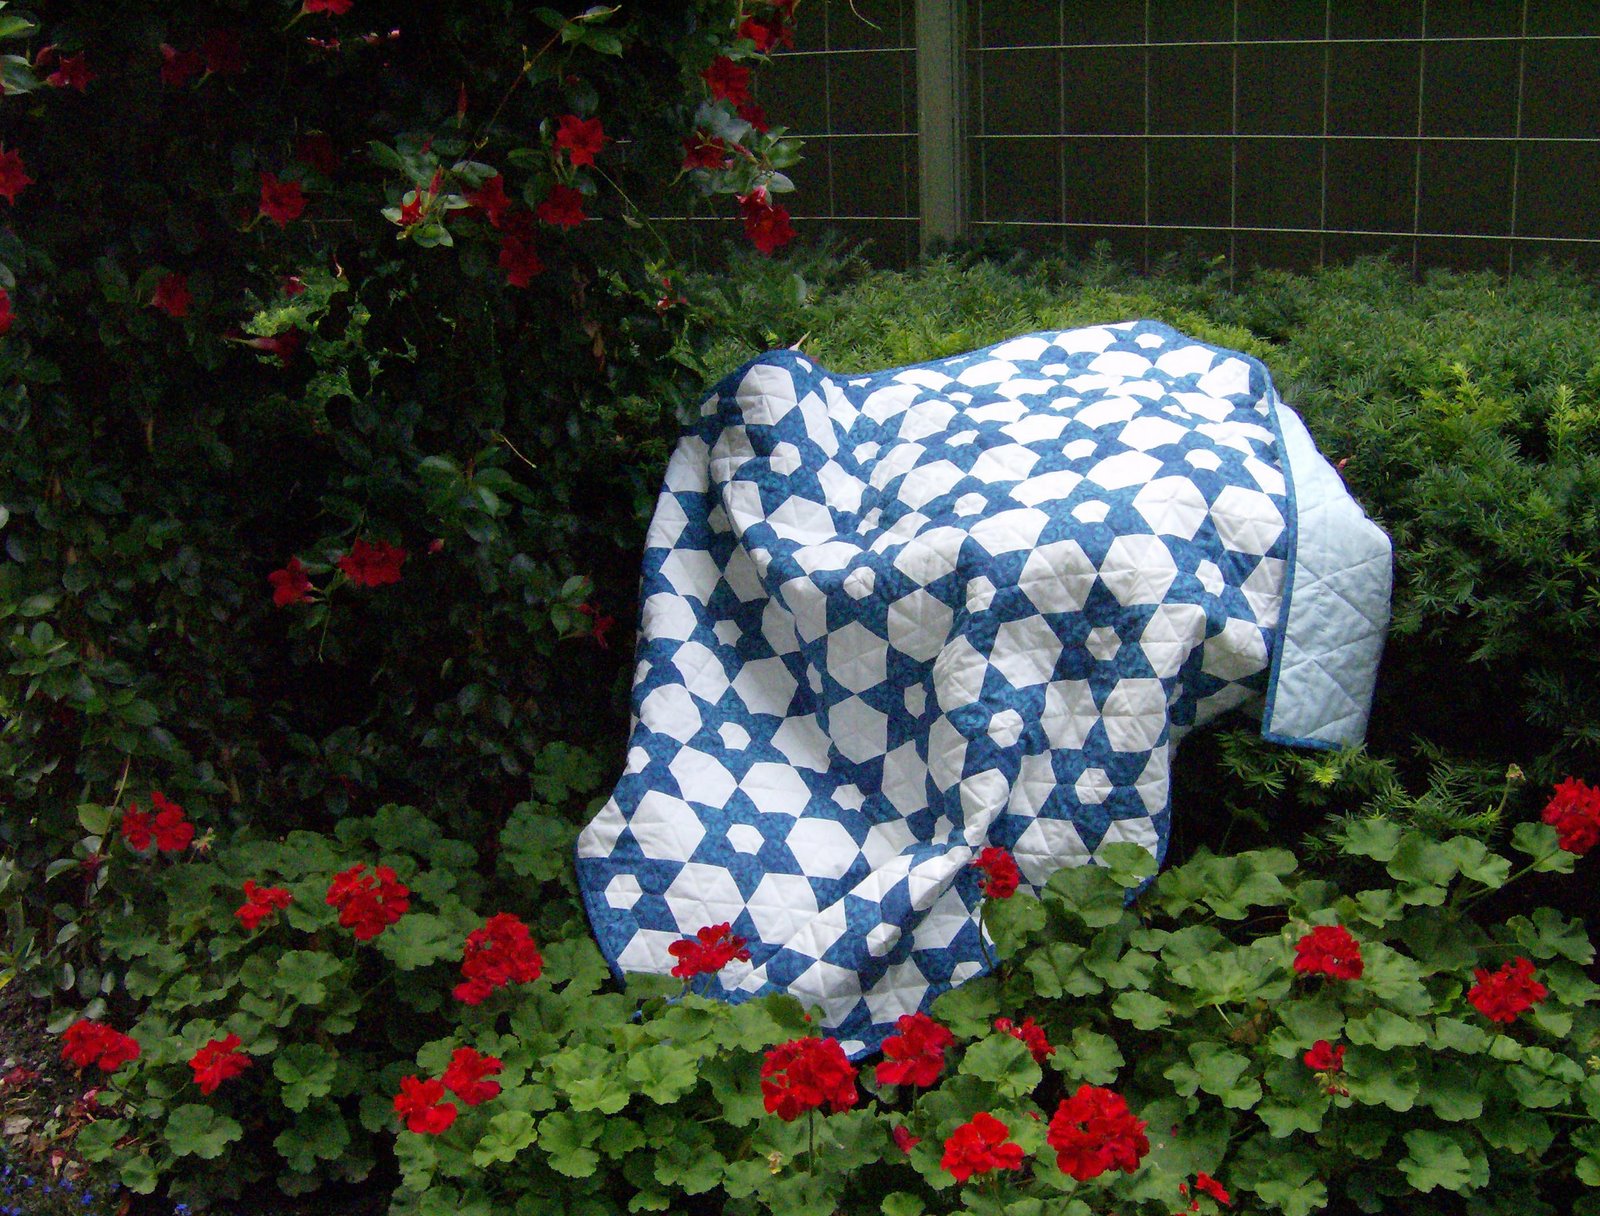
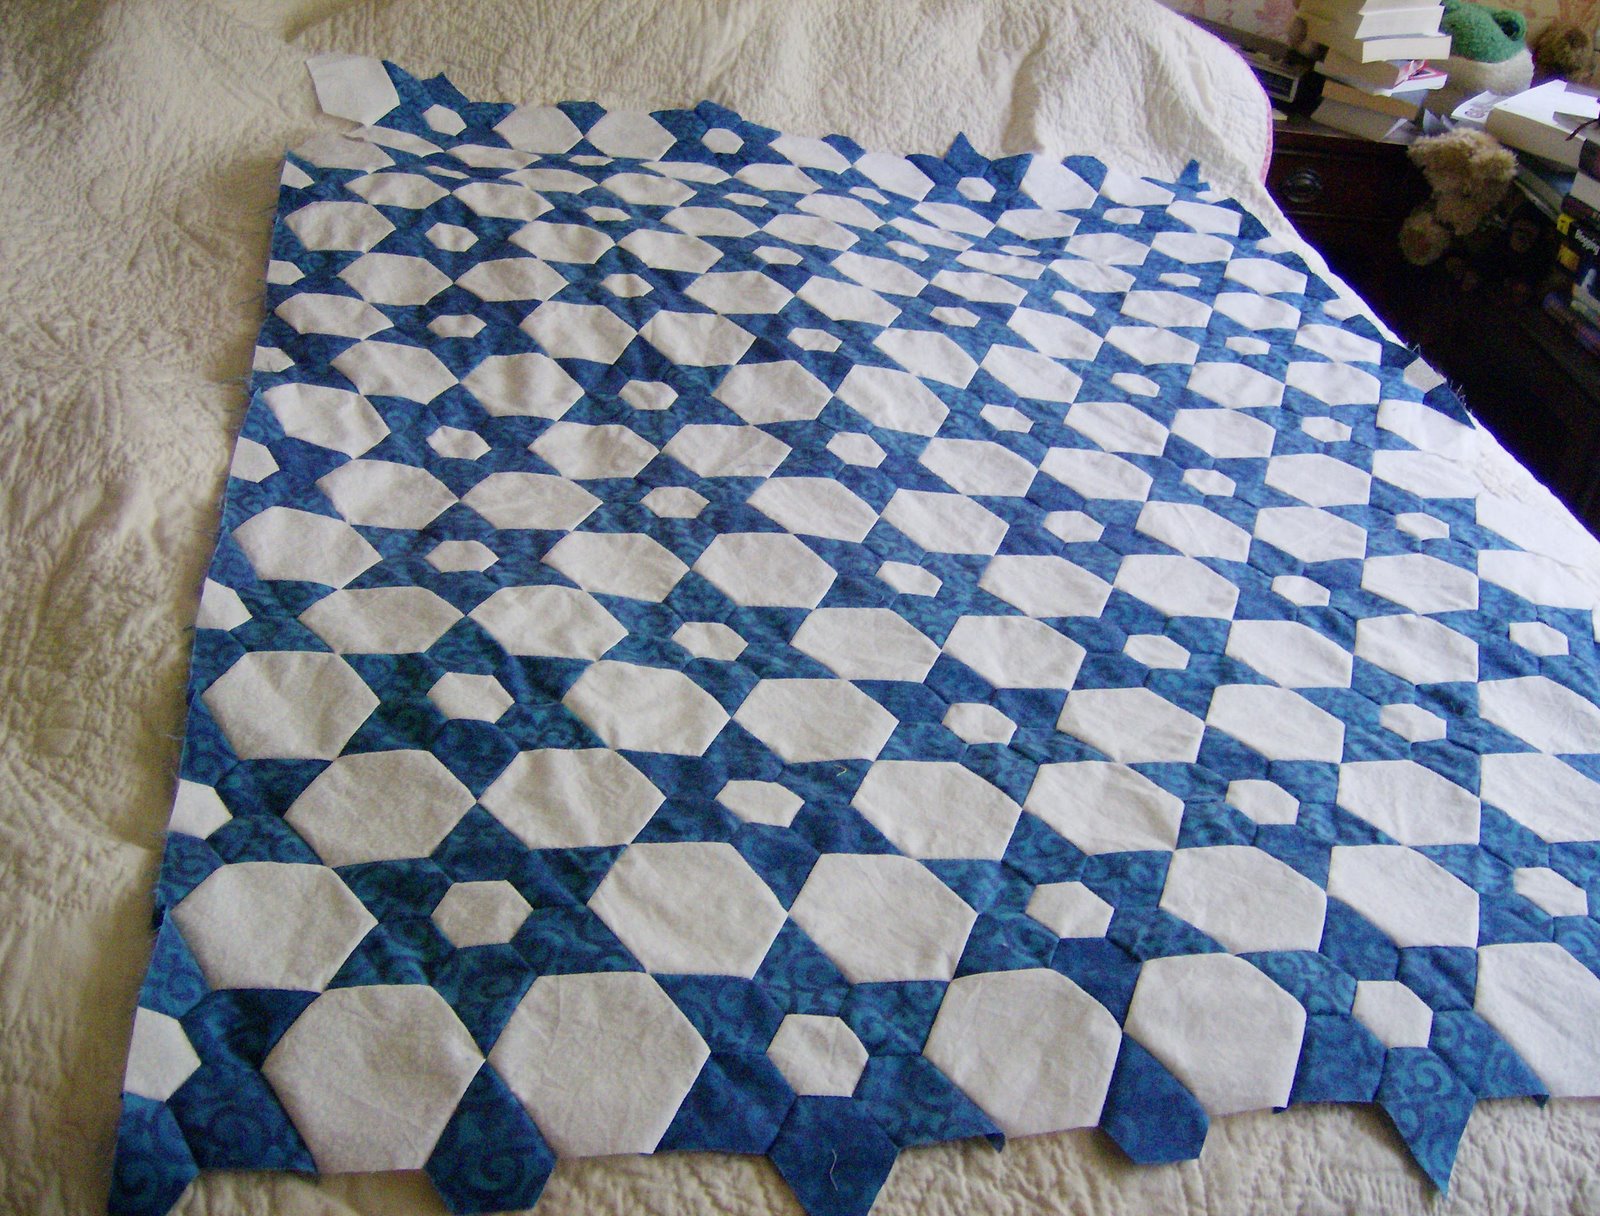
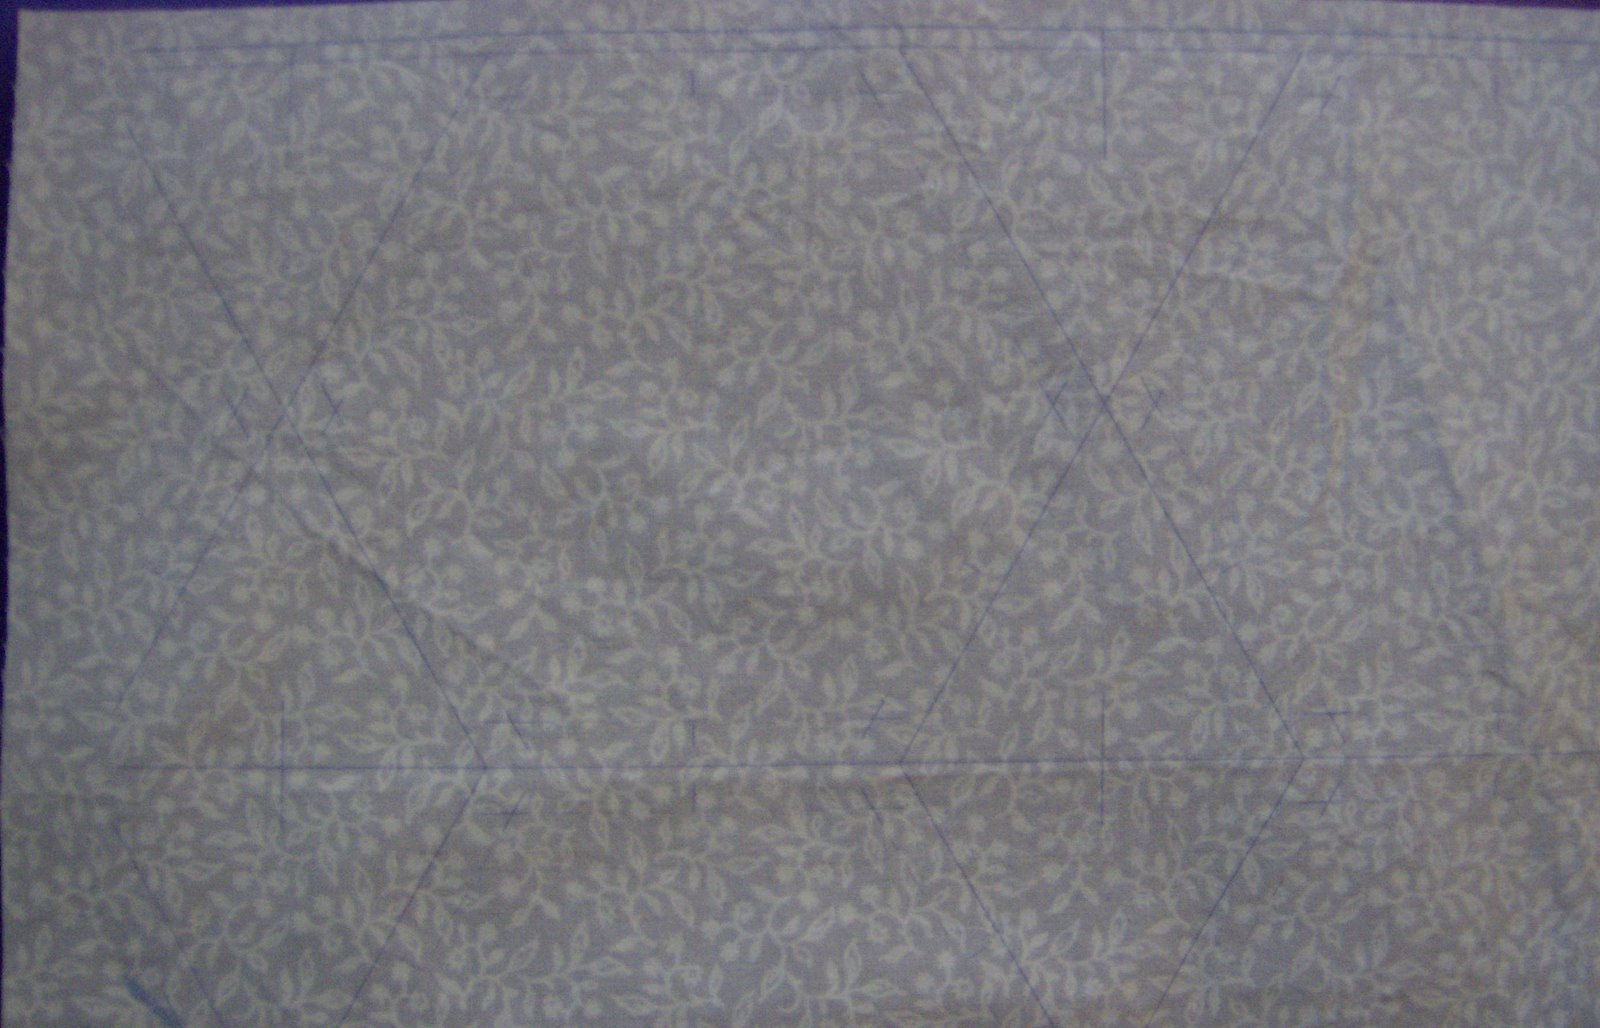
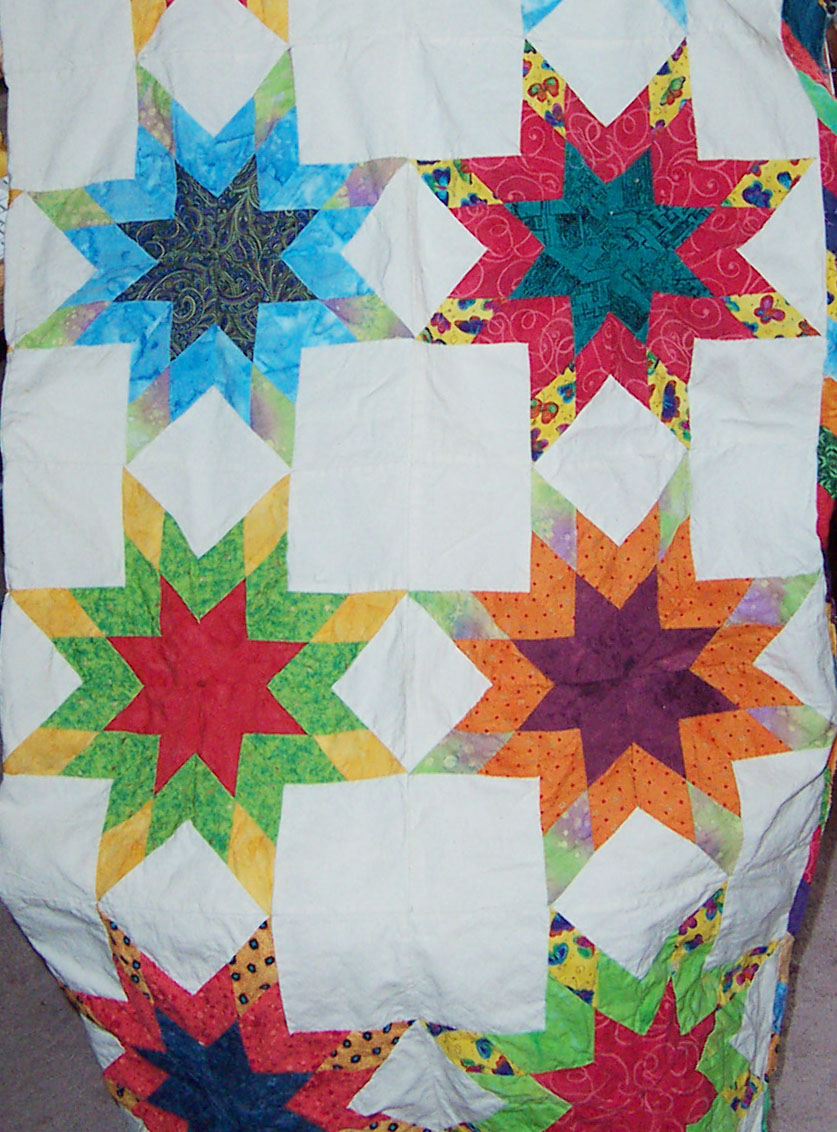
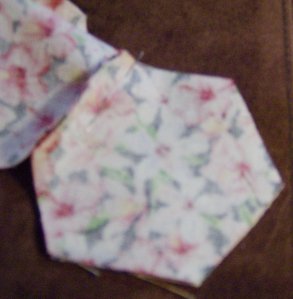
Because I was using very fine YLI Heirloom in a pale pink for this flower, it is almost impossible to see the stitches on the fabric. Just to give you an idea, here is a shot of the blue and white fabrics of the Texas Star quilt — I stitched that with DMC blue thread which you can see on the white hexagon in this photo.

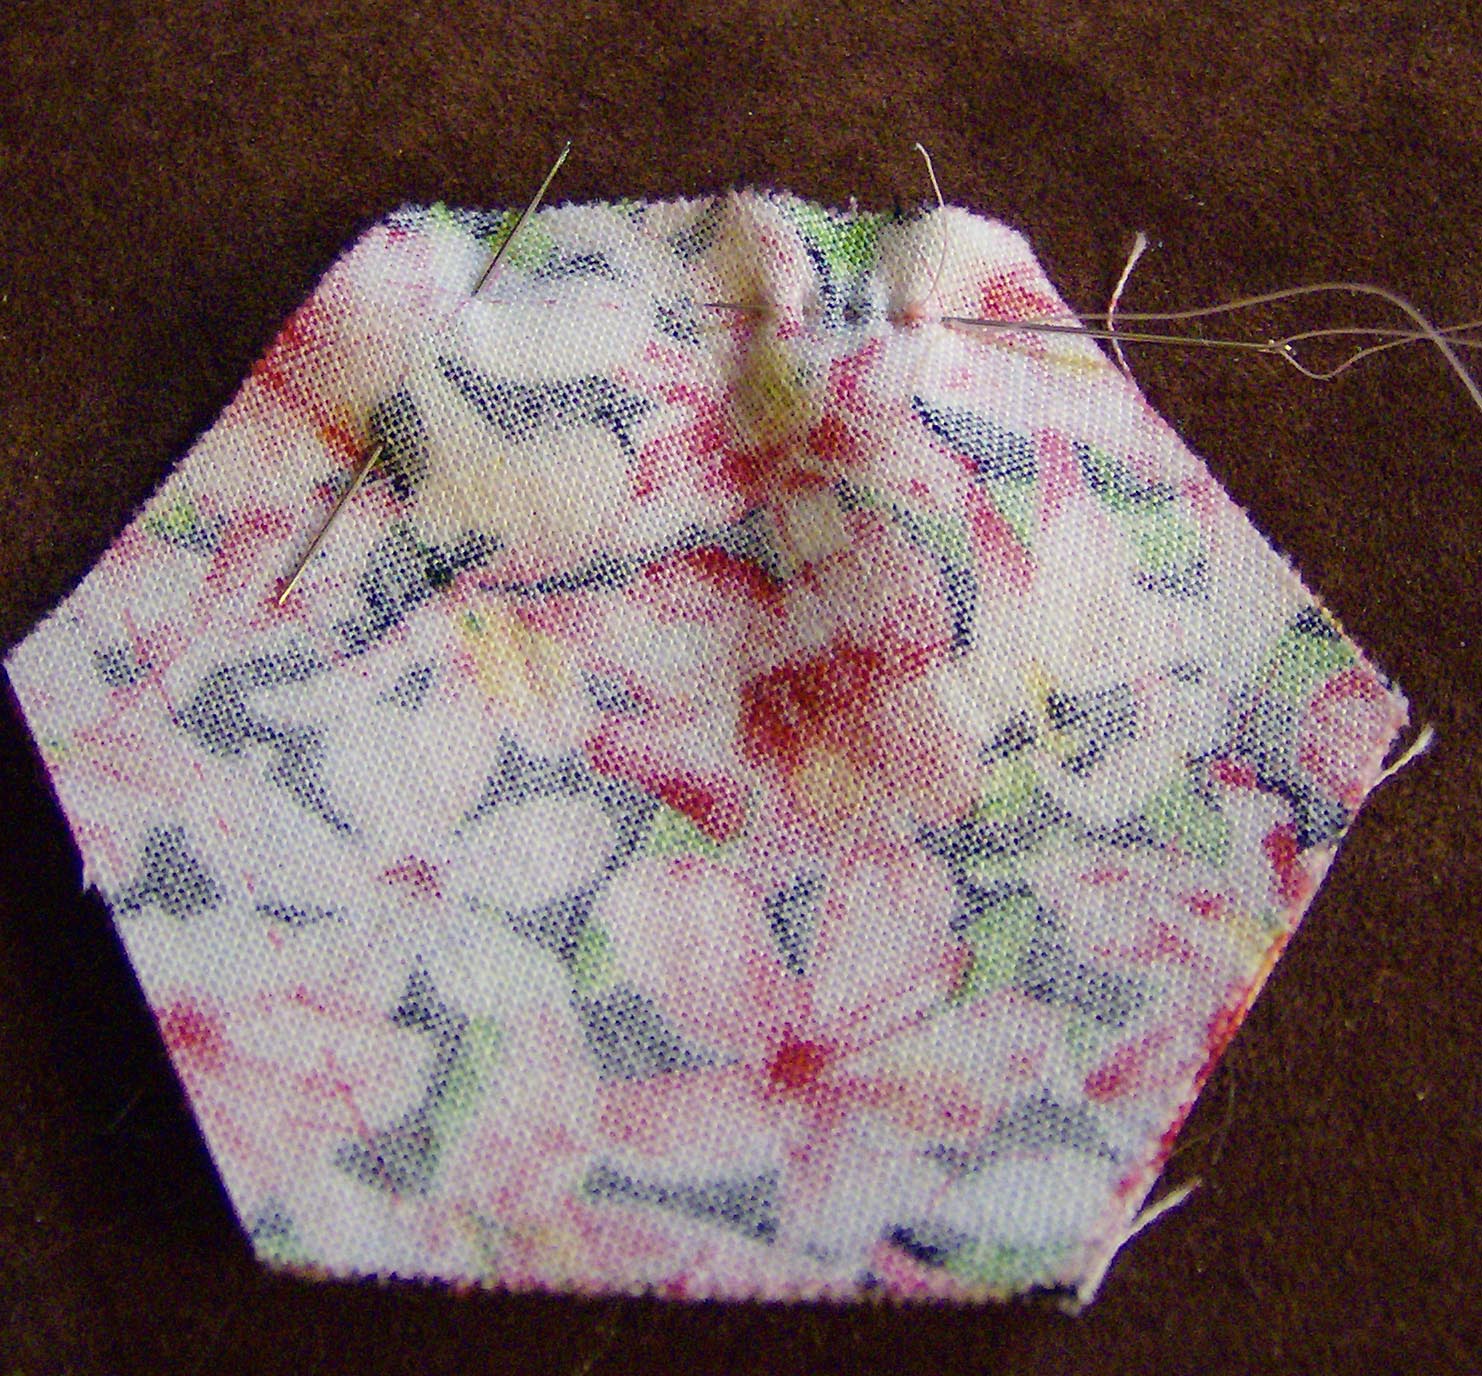
Here are the first two hexagons stitched together.
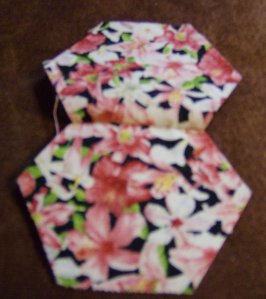
Now attach the third hexagon in the very same way, stitching from cross-hair to cross-hair.

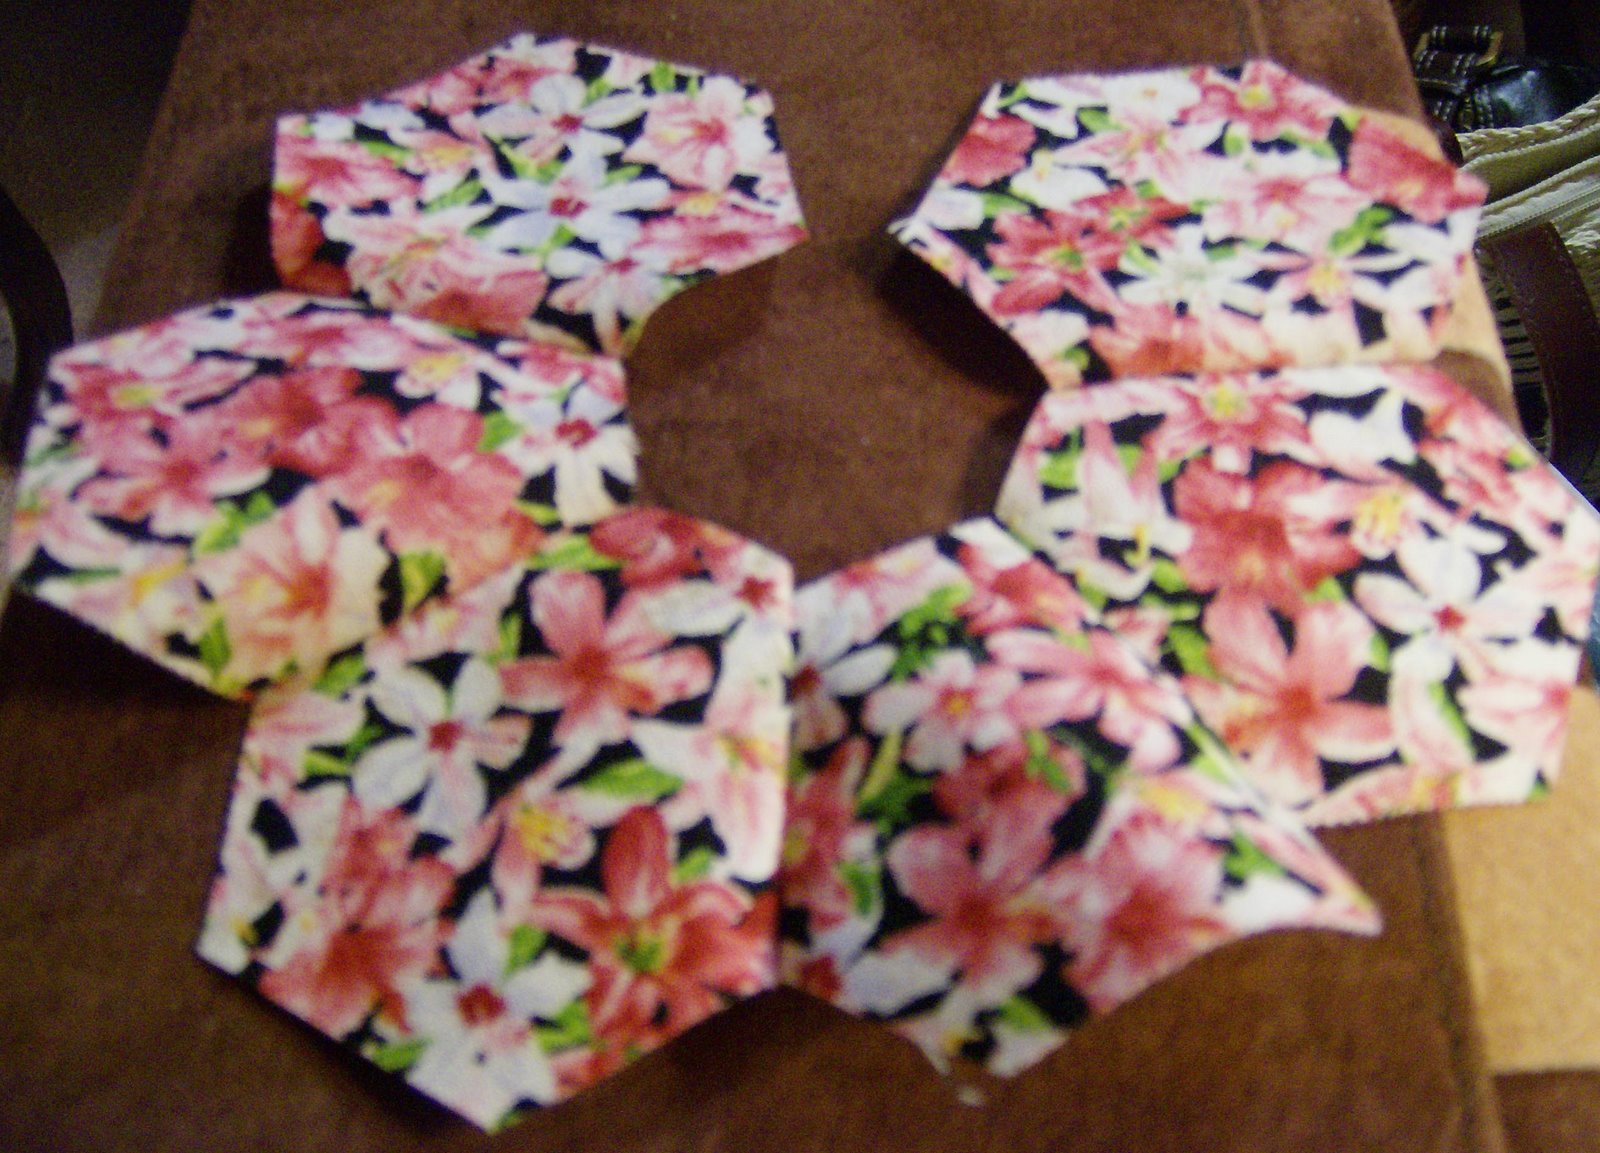
Half the outer circle of 6 hexagons is now complete.

Now 4 are stitched together.

Now 5.
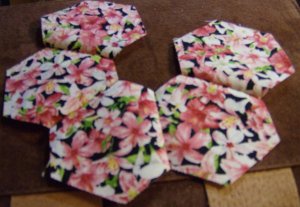
Finally, the 6 hexagons of the outer circle are stitched together all but for the final joining seam, which gets stitched after these are stitched to the centre hexagon.

Now it’s time to start joining the outer circle to the centre hexagon. I pin the first of the outer circle hexagons to the centre one right at the cross-hair and start another little running stitch seam, again with a back stitch.
When I get to the end of that first little seam I take a little back stitch and, rather than knotting and cutting my thread, I just continue on by inserting my needle right through the cross-hair of the seam and then starting to stitch the second hexagon of the outer circle to the centre hexagon. I continue that way right to the end, never having to break the thread. Continuous stitching like this makes putting a hexagon flower together very quick. This is the reason I like to try to avoid having my quilter’s knot right at the cross-hair — it makes it easier to get my needle through the seam and start the next seam.
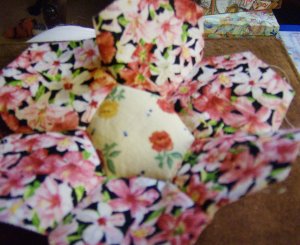
At this point, I have half of the outer circle of 6 attached to my centre hexagon.

I have now finished joining all 6 of the outer hexagons to the outer circle and all that is left to stitch is the final seam between the first and sixth of the outer hexagons. Once again, I pin through the cross-hair and stitch right to the end.
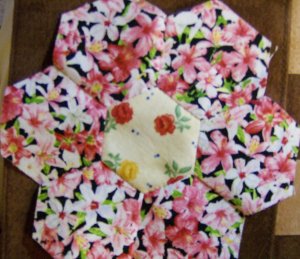
A completed hexagon flower all done with a running stitch. Simple as can be. No cutting out or buying commercial papers or basting or whip stitching. Just a nice simple running stitch and lots of wonderful continuous stitching.
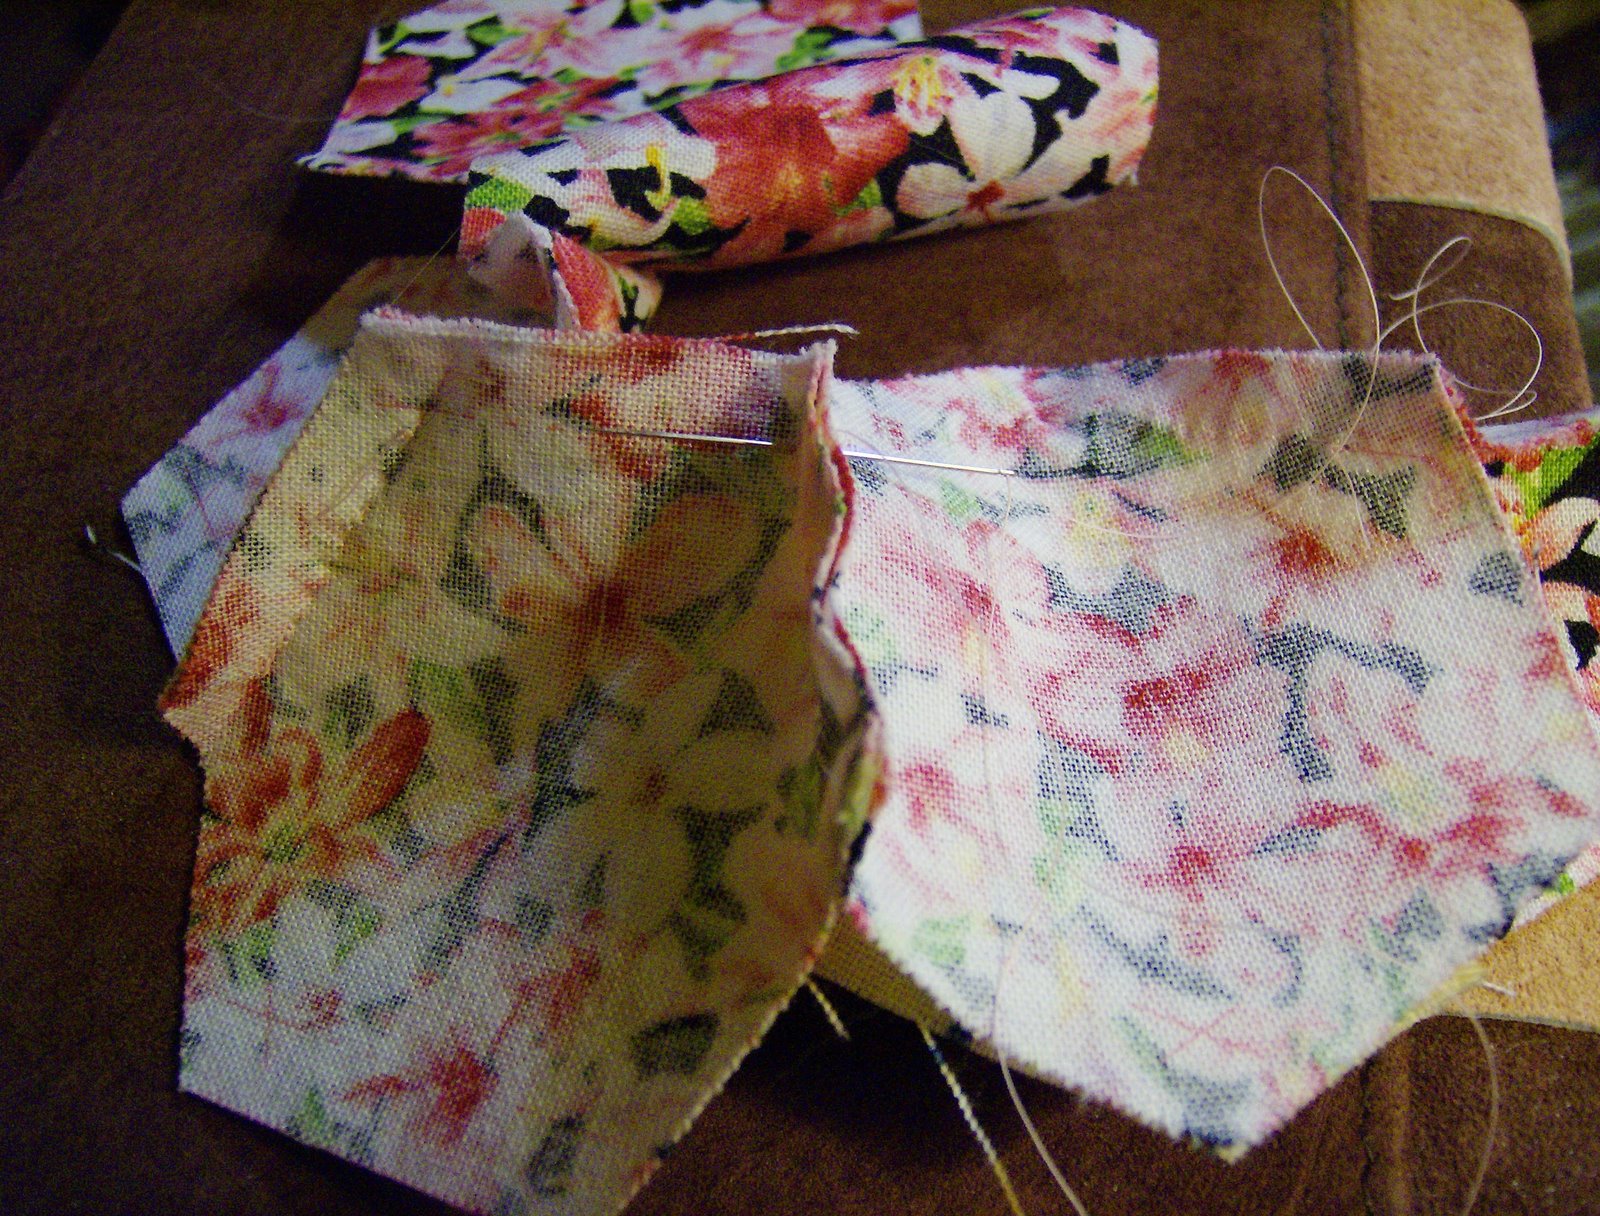
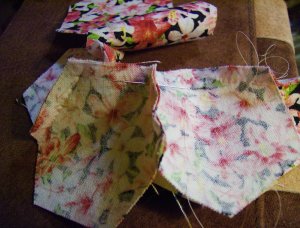
This is the back of my little hexagon flower, ready for pressing.

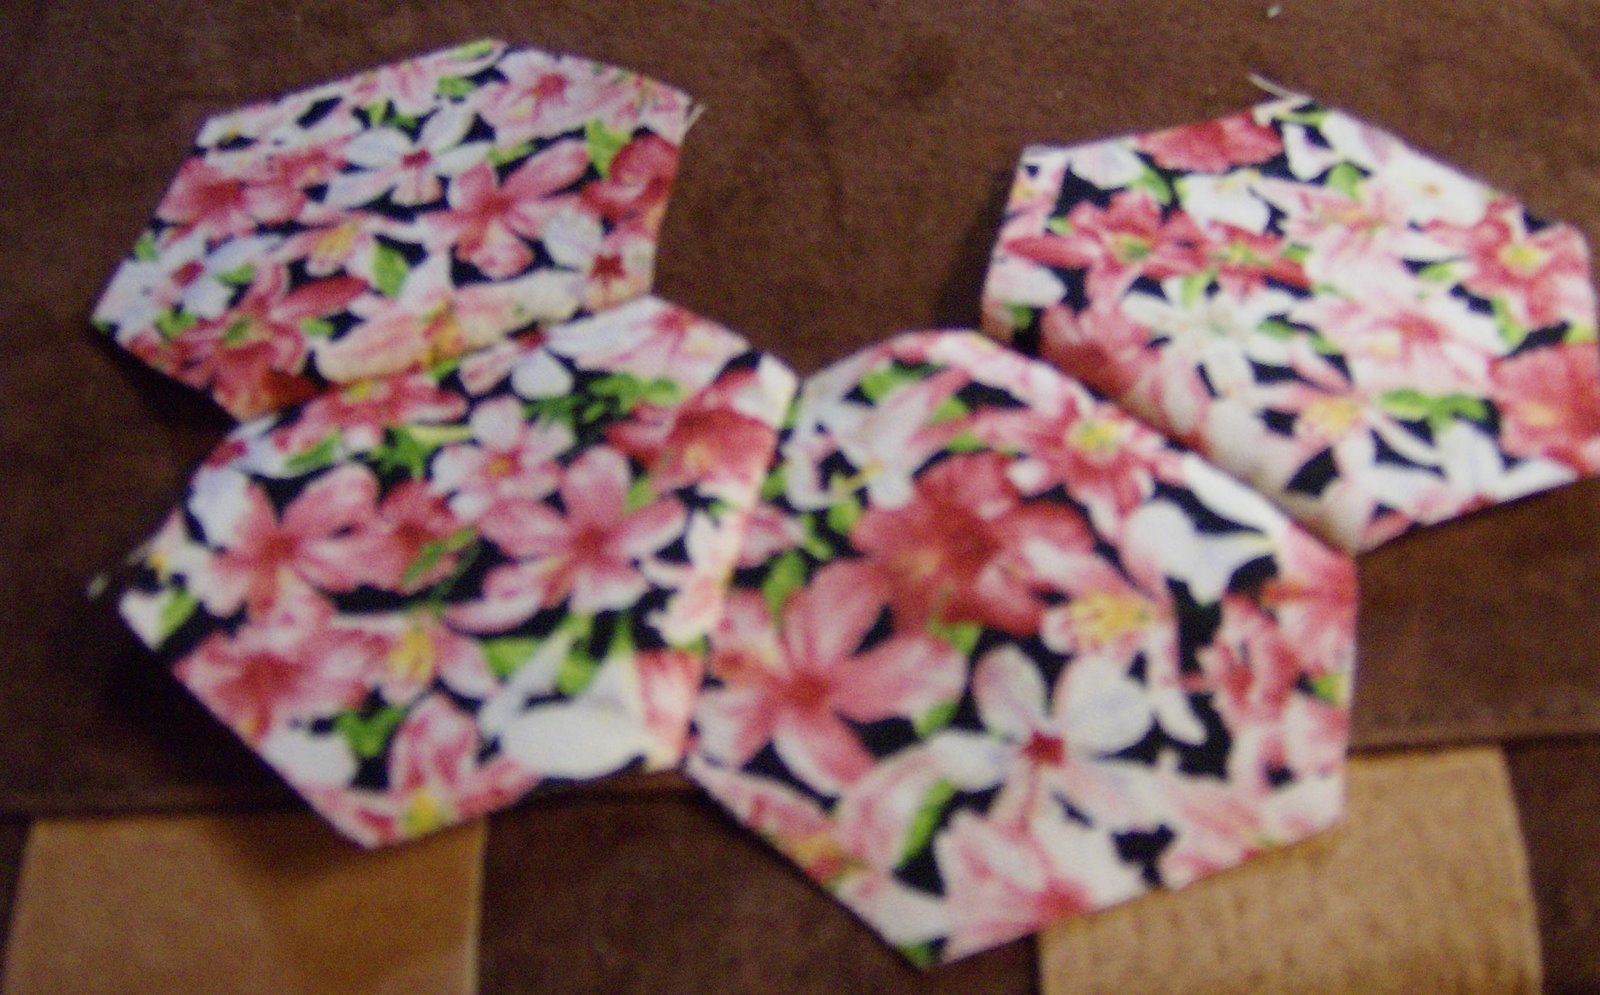
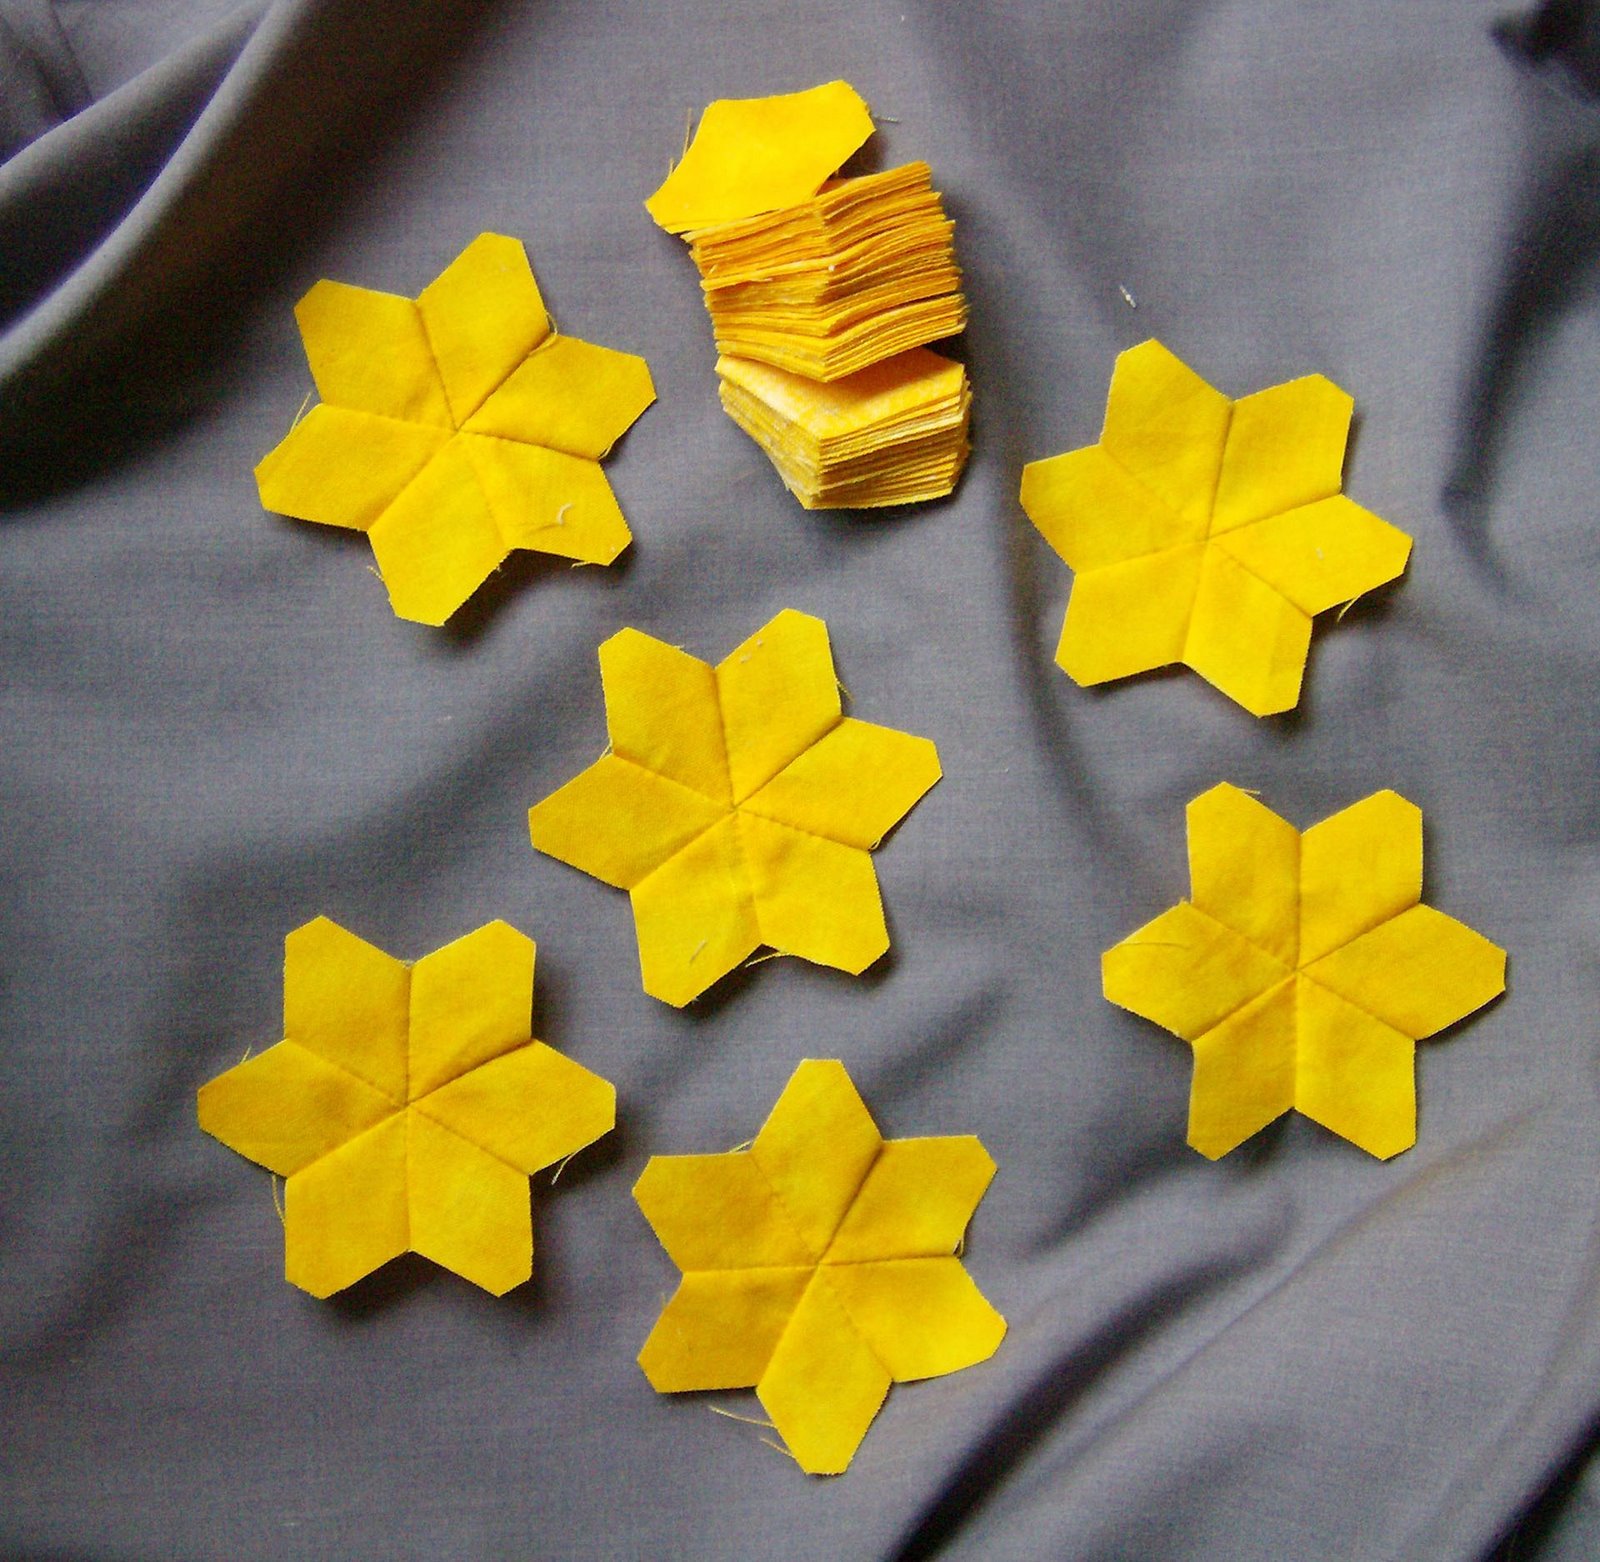
Because I was stitching this late at night and because hand stitching means one can leave pressing to another time, I have these two photos of hexagon flowers made using .75-inch hexagons that have been pressed. You can see how the seams are pressed to distribute the bulk.


Making GFG flowers this way is so quick and easy and incredibly addictive!
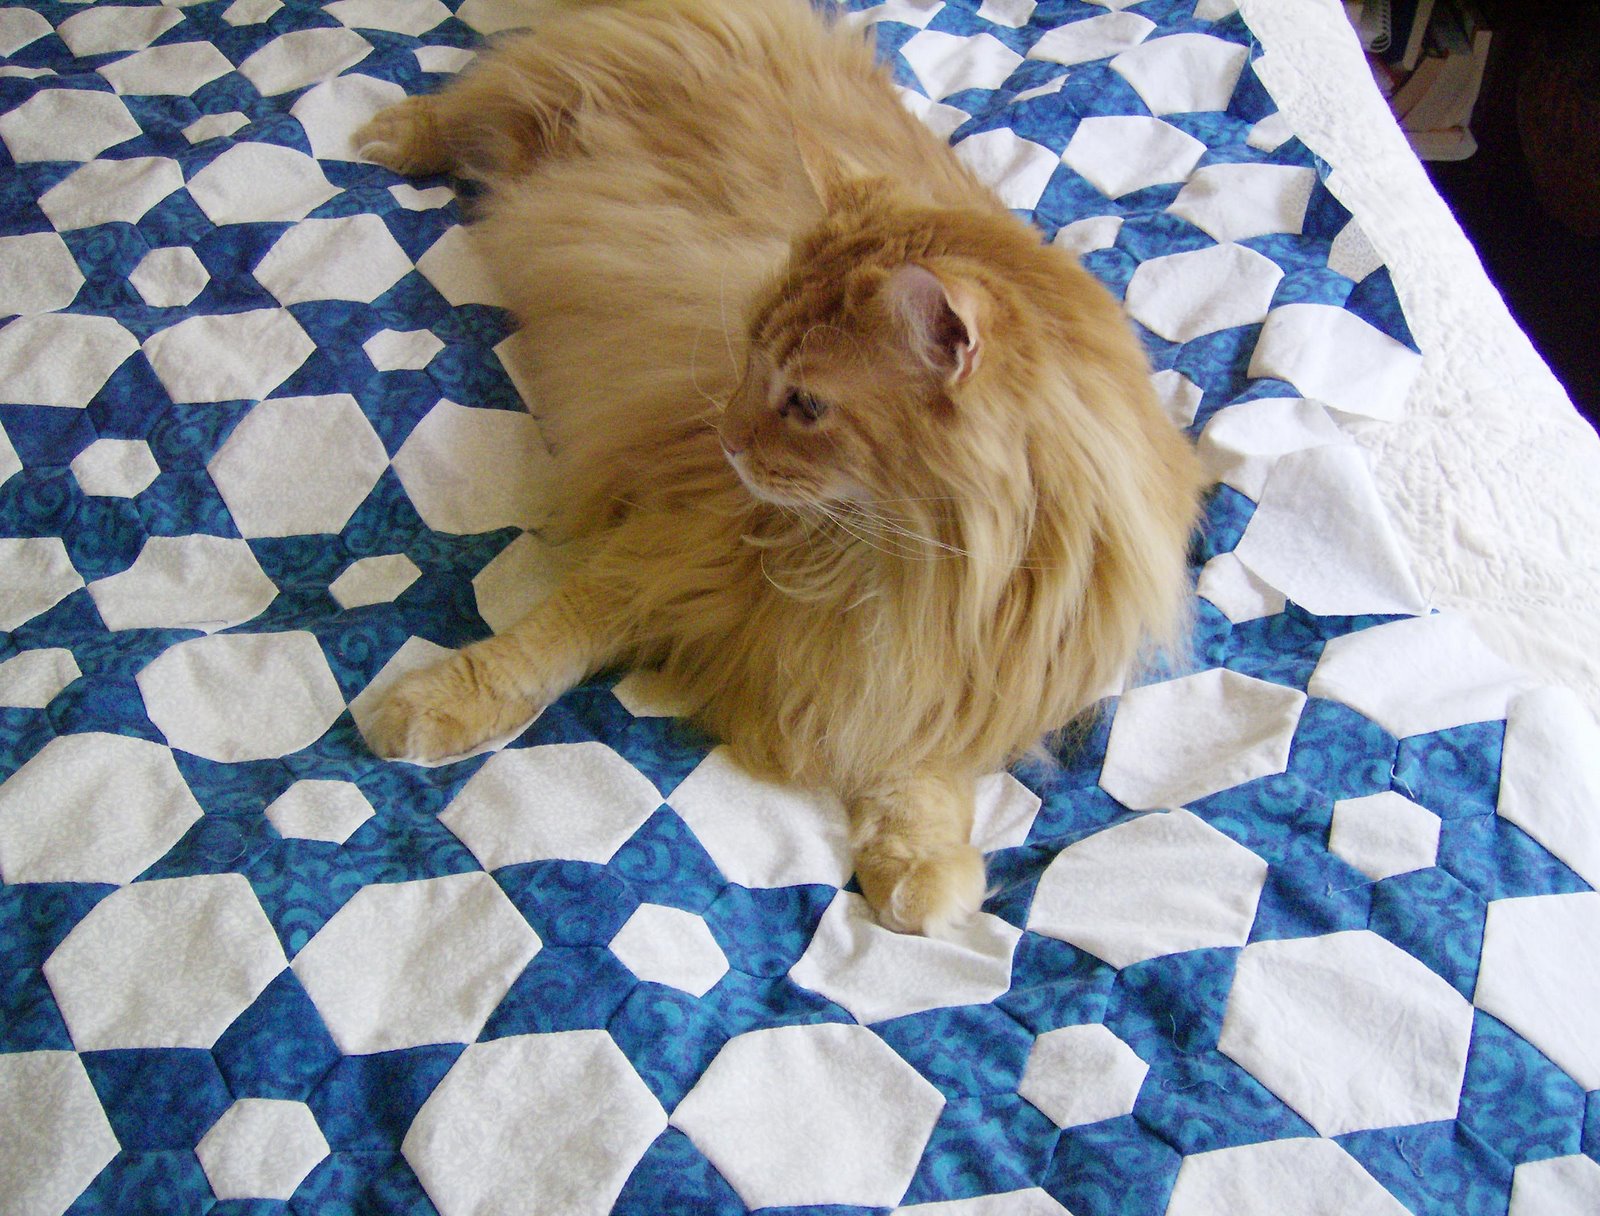
Now, Lester wants to know — was this a calming experience?


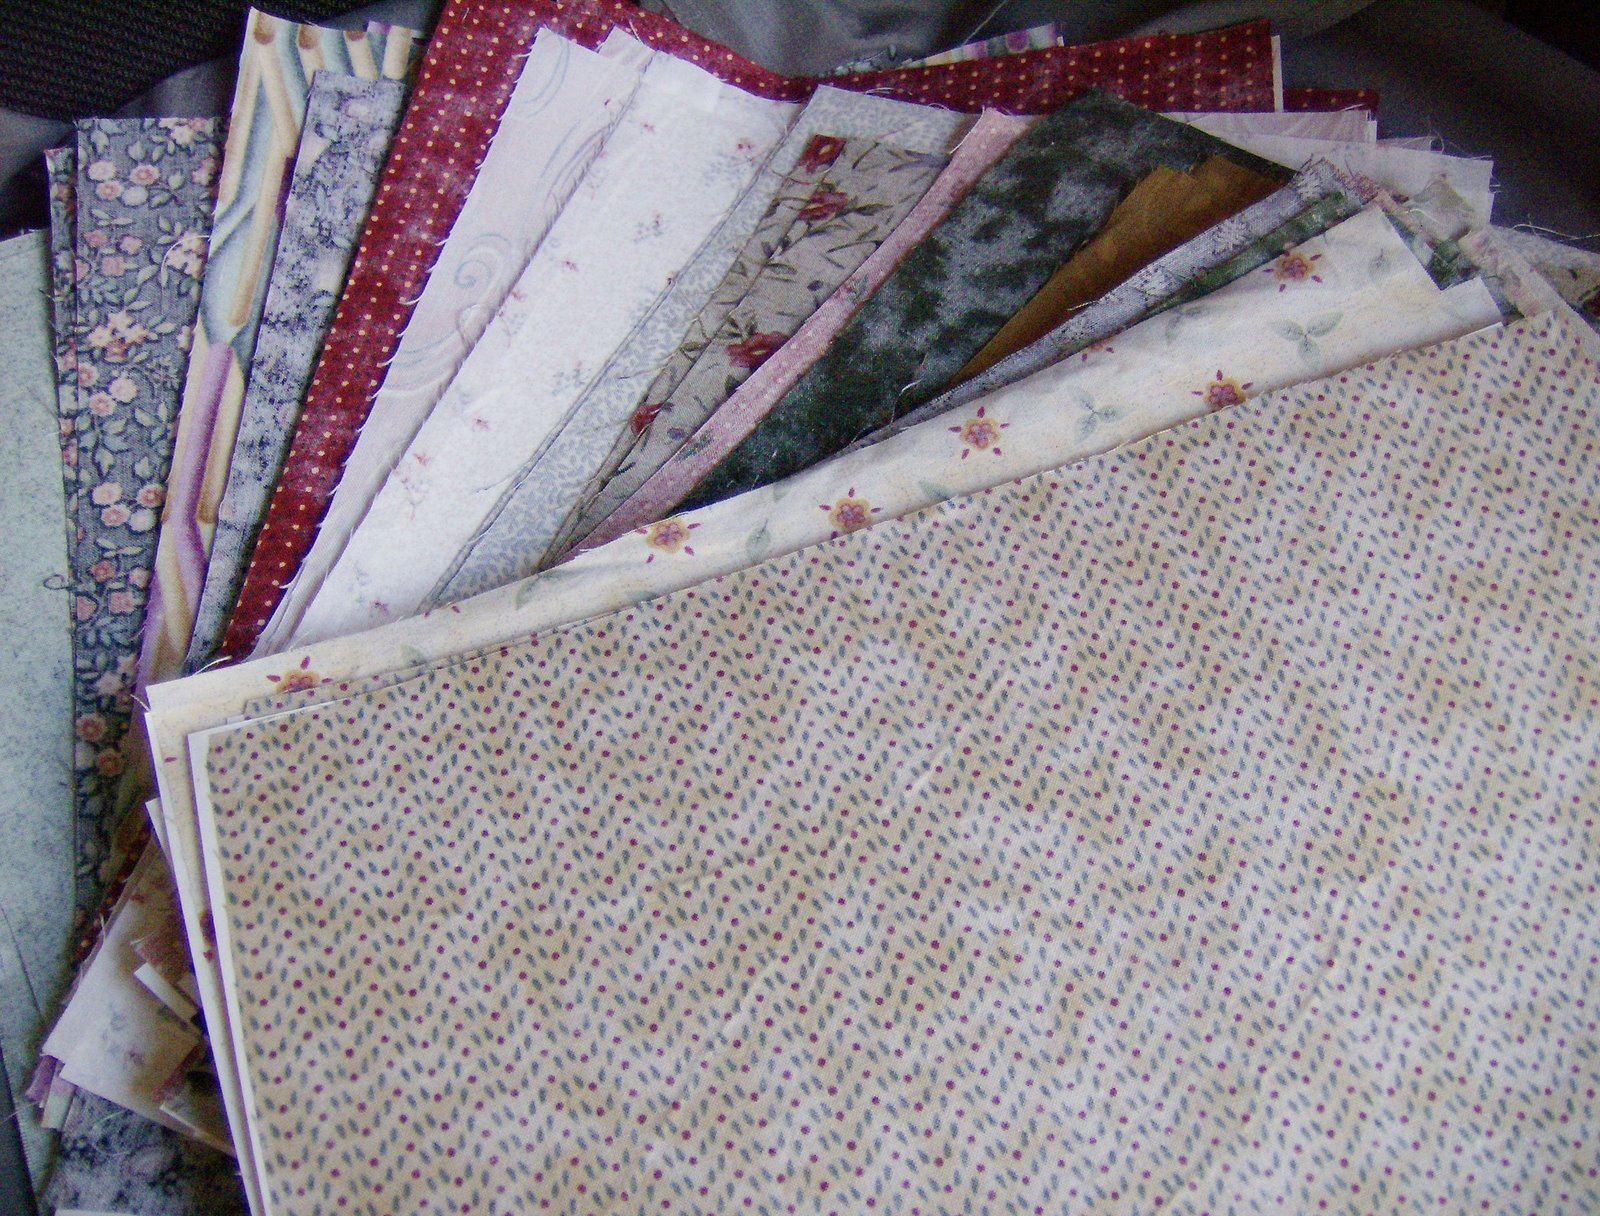
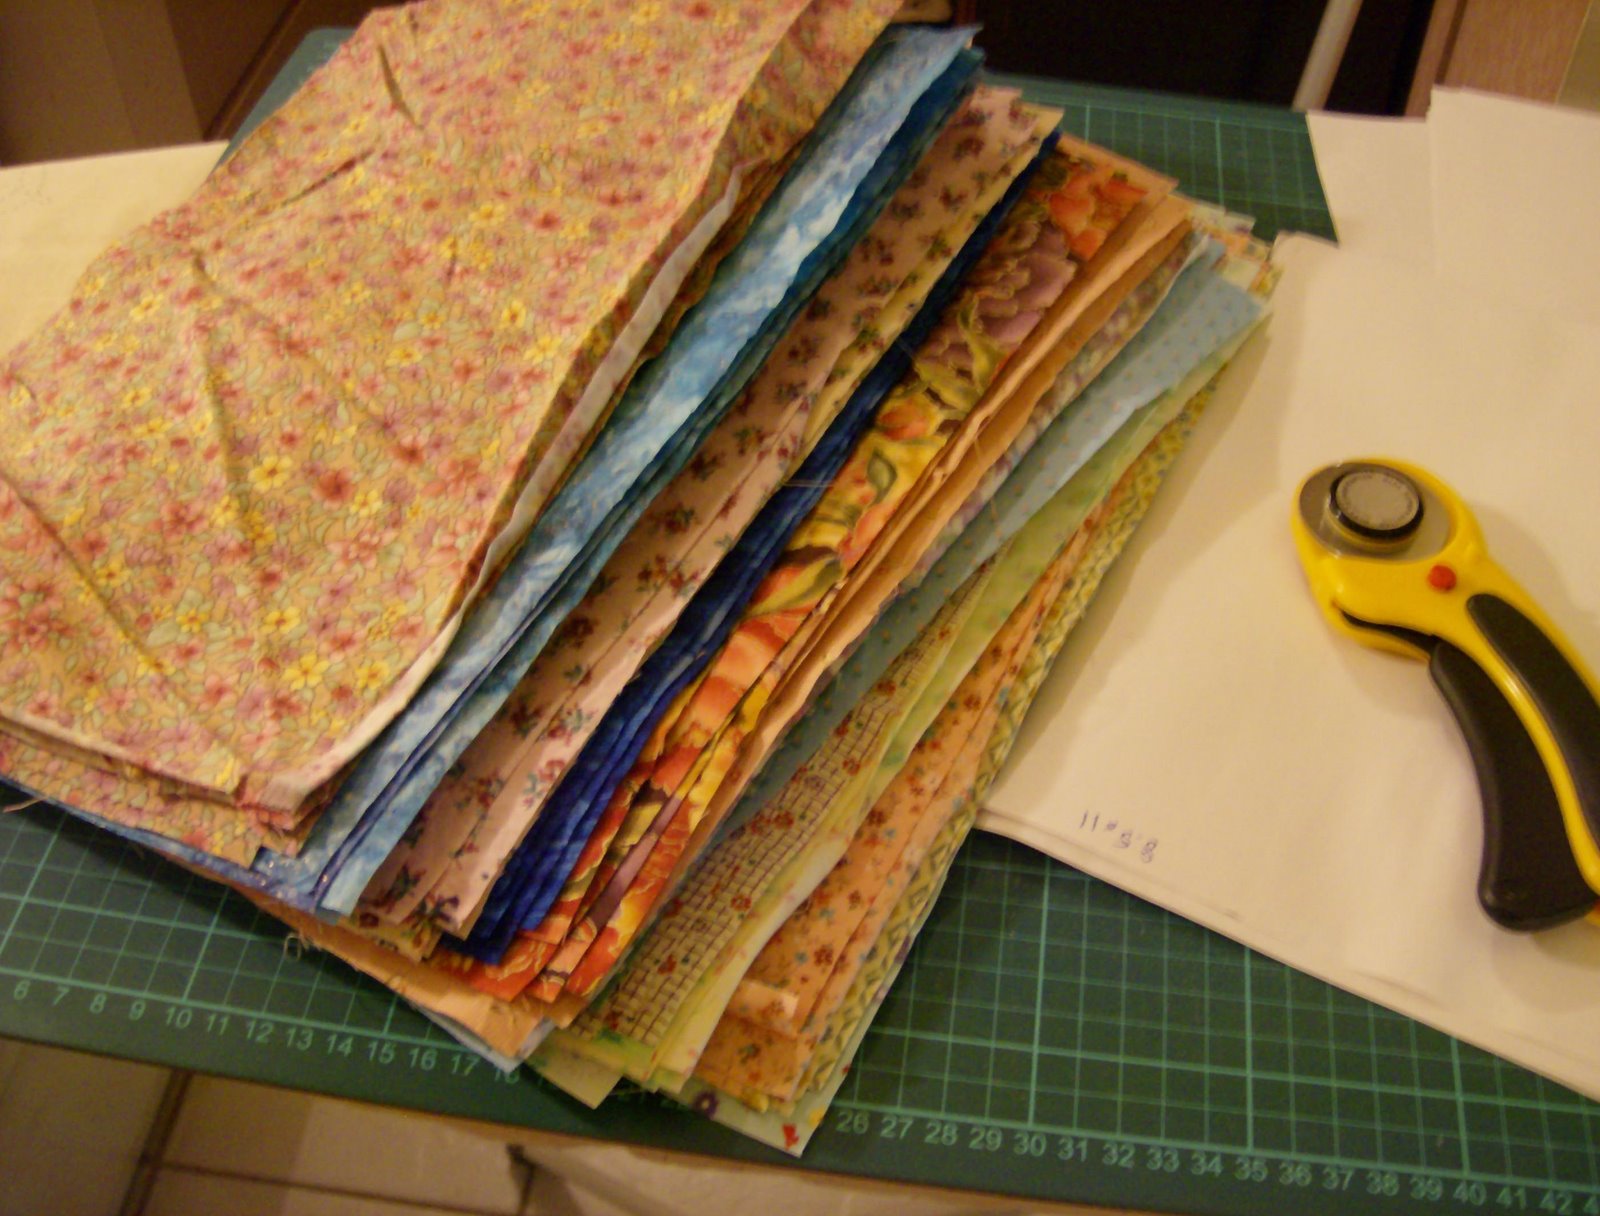 Then printed hexagons on the back of them all and started cutting them out. We’re having a swap of hexagons on the Inklingo list and I needed to print approximately 1,200 hexagons. I’ve started cutting them out — what you can see cut out in the bag are hexagons from 2 of the 20 fabrics I’m using for the swap.
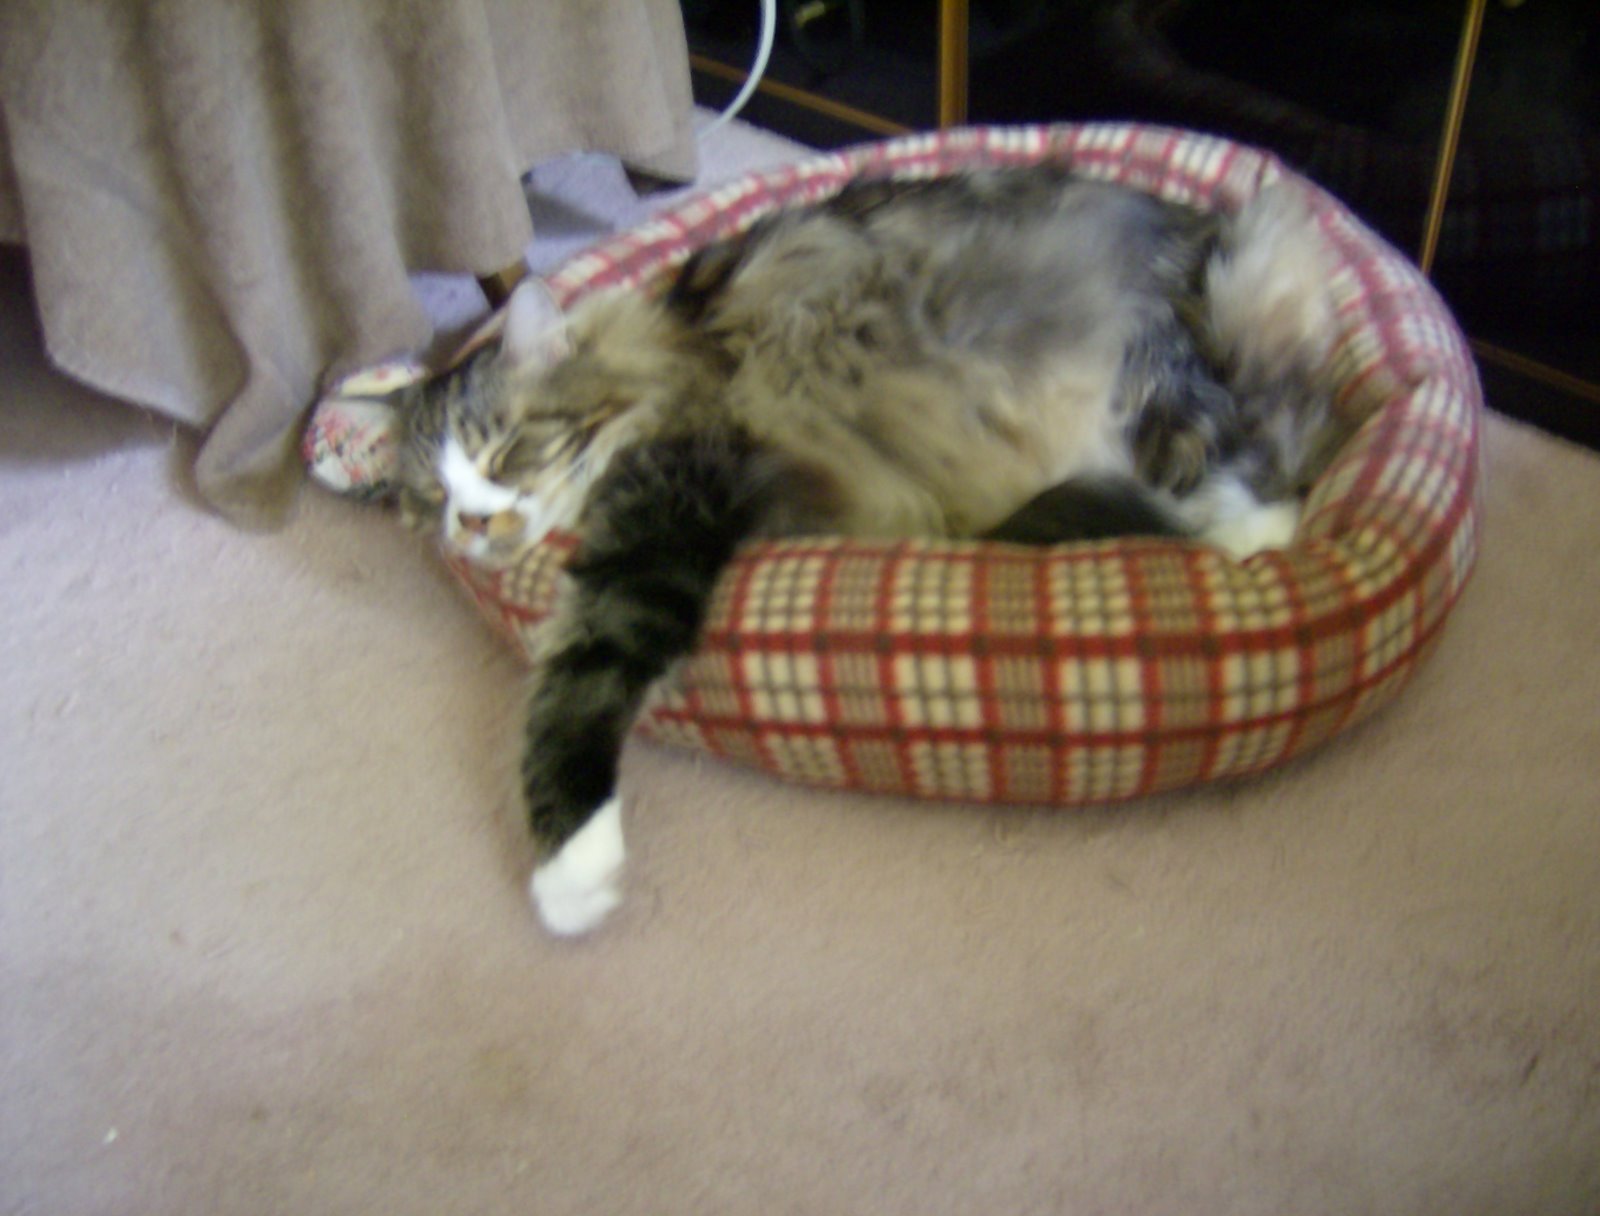
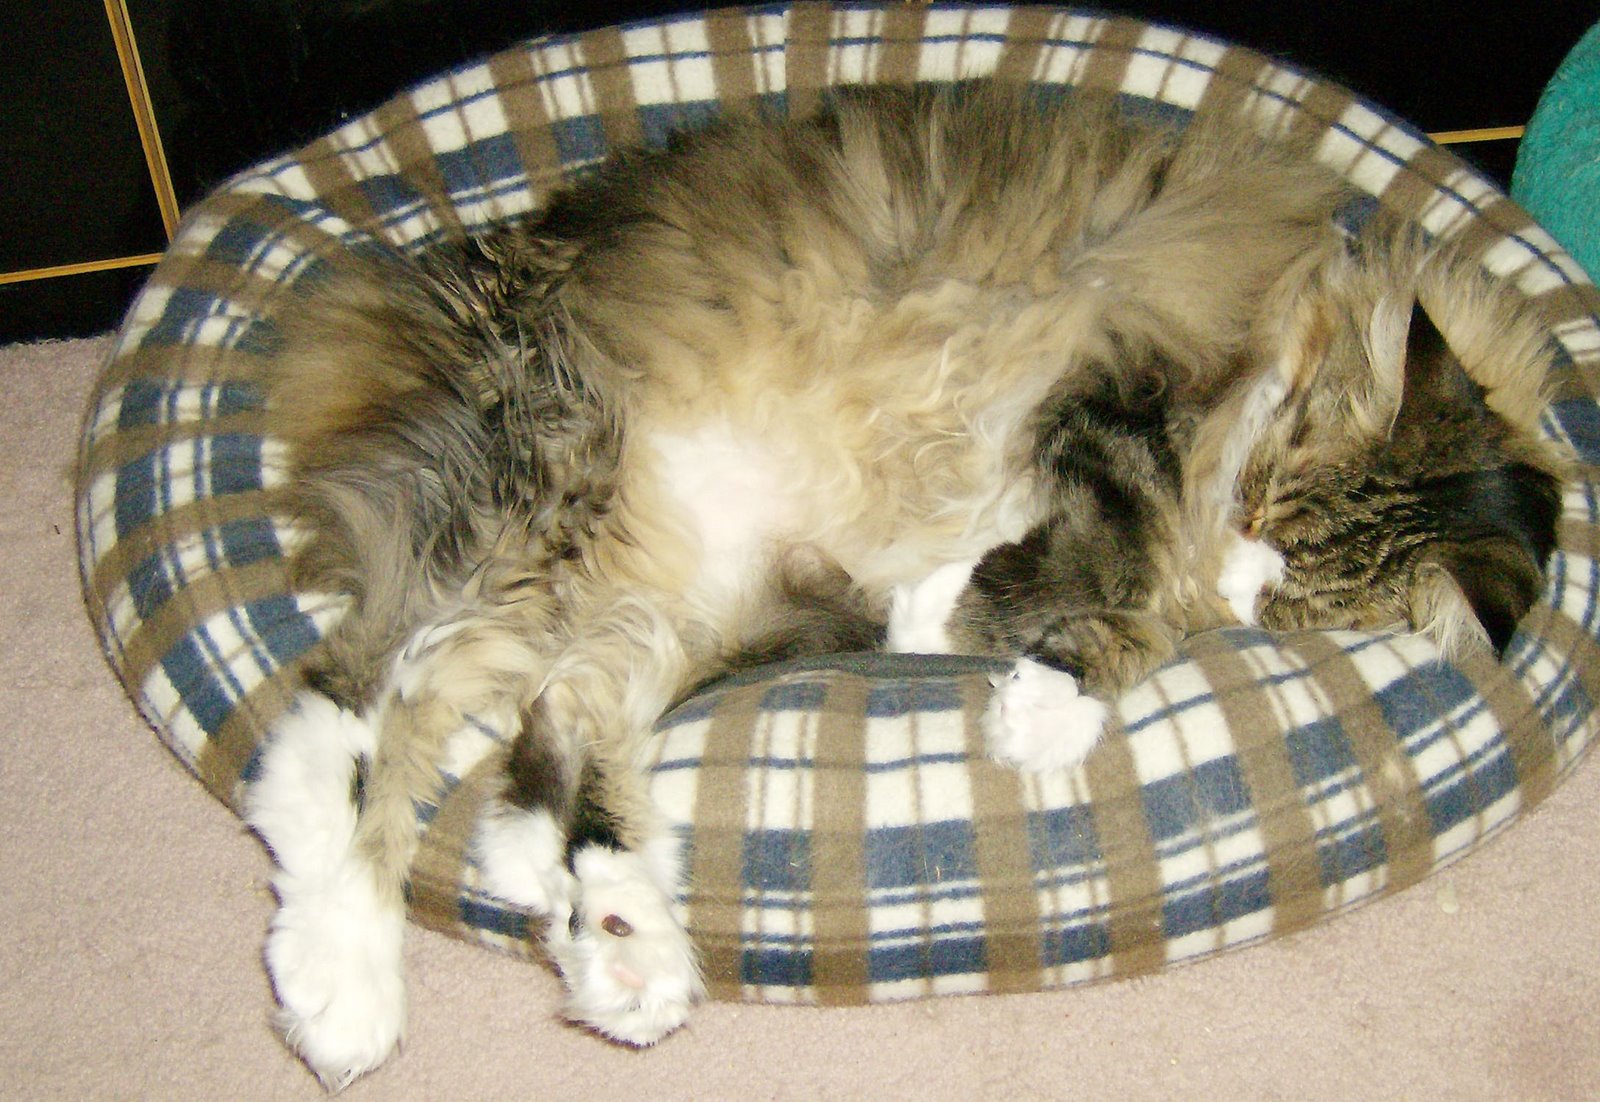
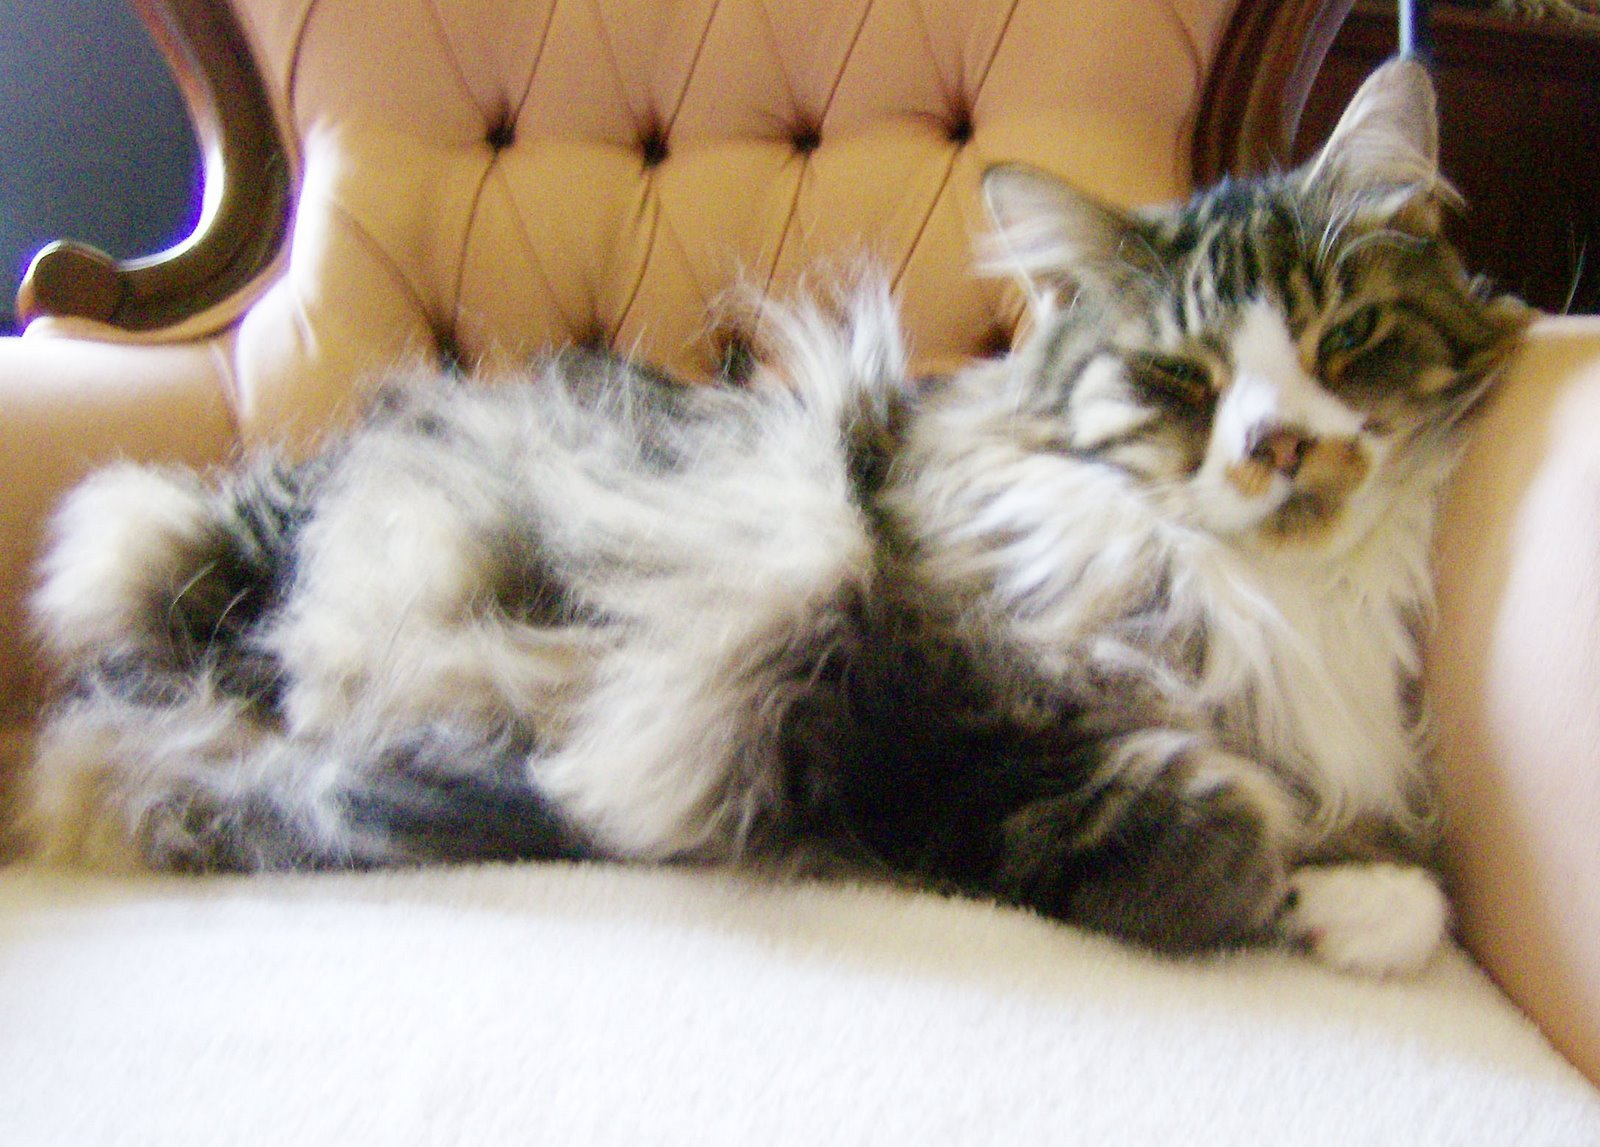
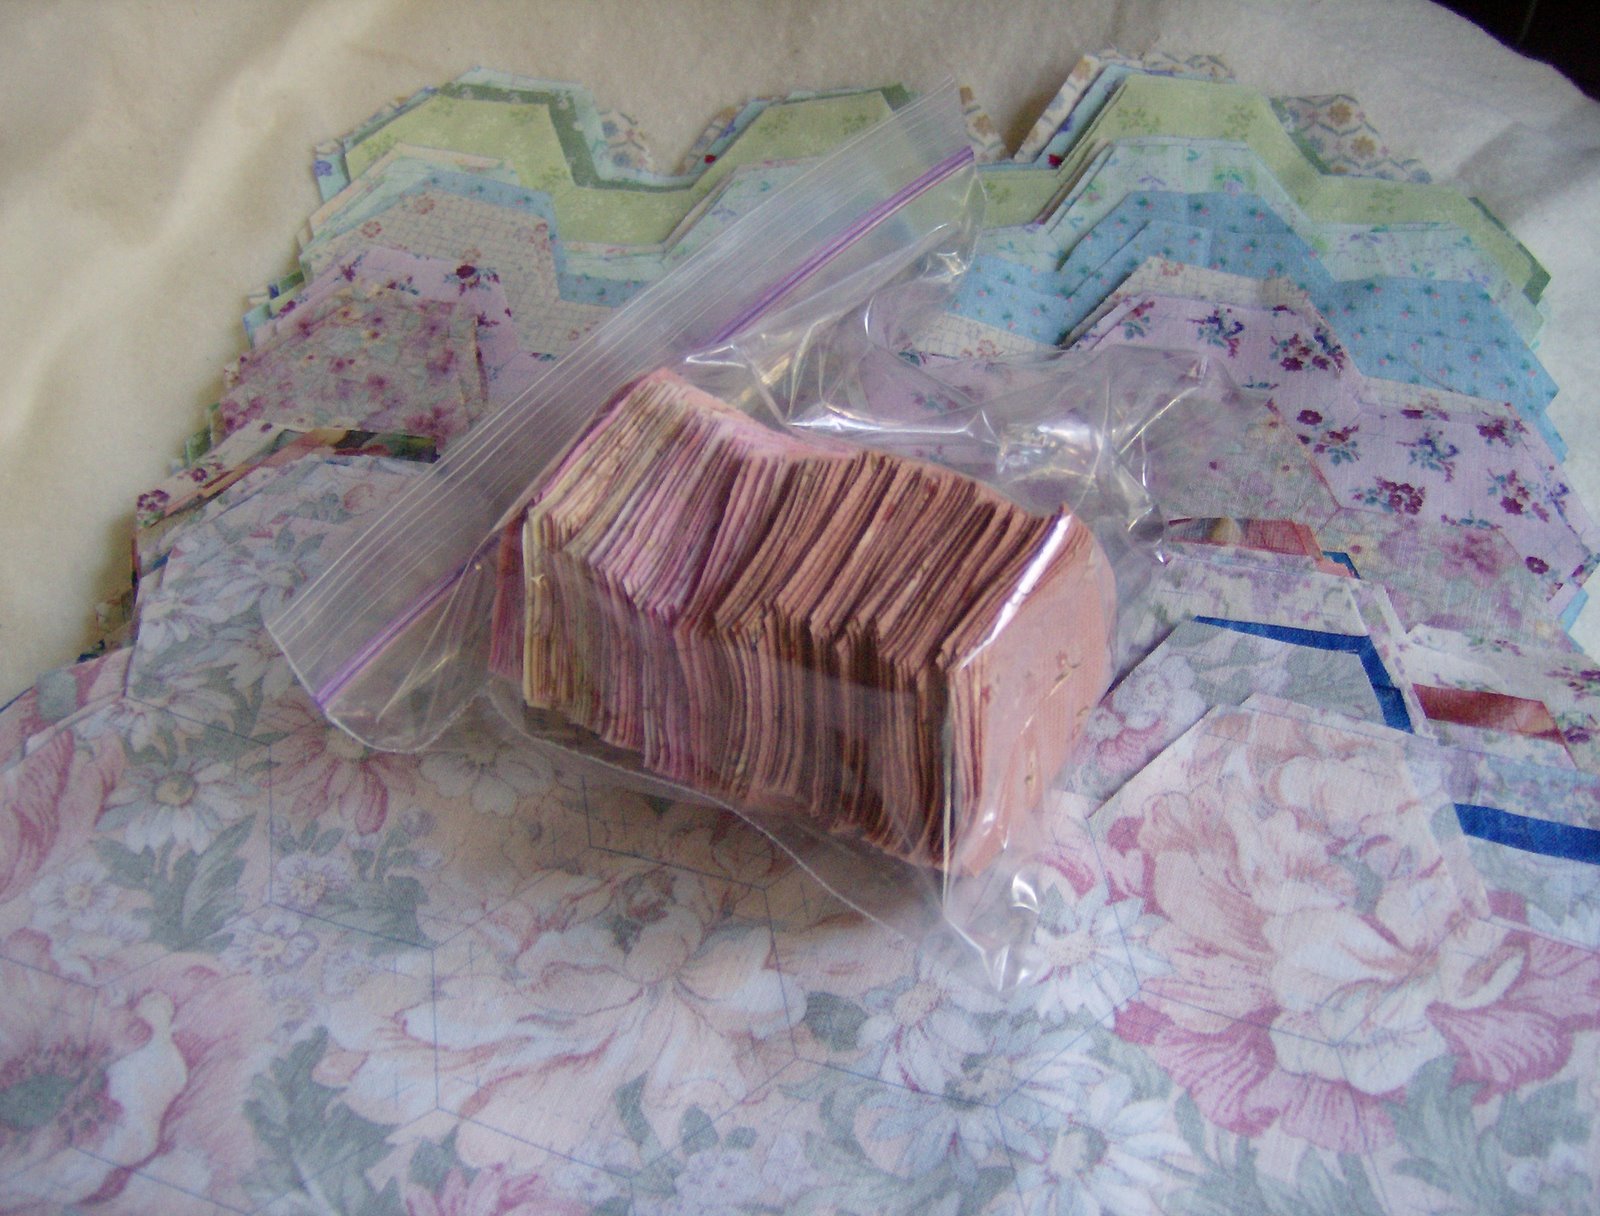 Smudge being — well, Smudge. I think he was either waking up or about to have a nap.