
A question was asked re how I stabilized my little charms to print the hexagons for the Insanity quilt. There is a great video at the Inklingo Web site that is free to download and watch.
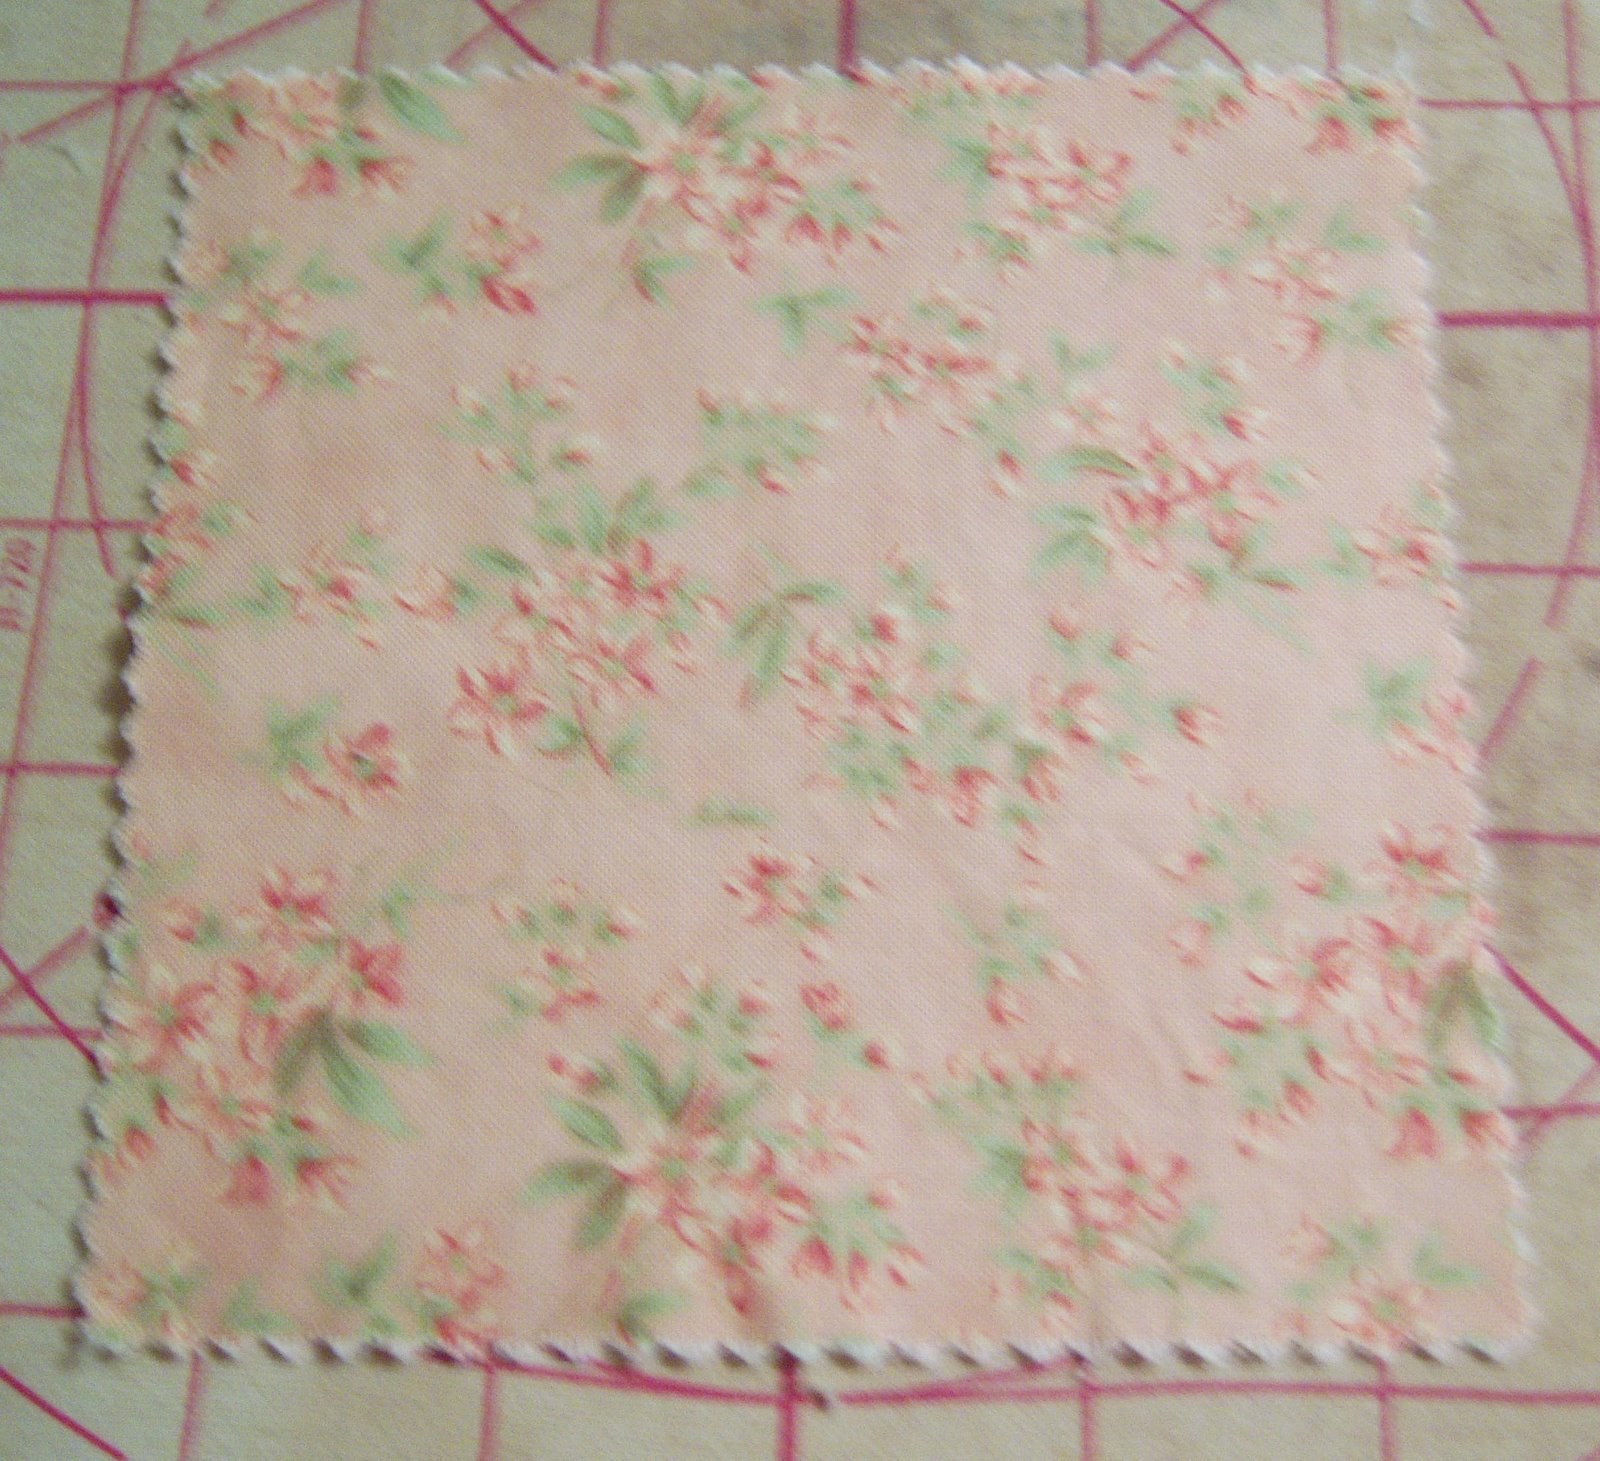
To give a really short explanation of how to stabilize fabric for printing — first I iron the charm. This is the charm, right side up.
 Iron a piece of freezer paper to the right side of the fabric so that the wrong (back) side is what will be printed on.
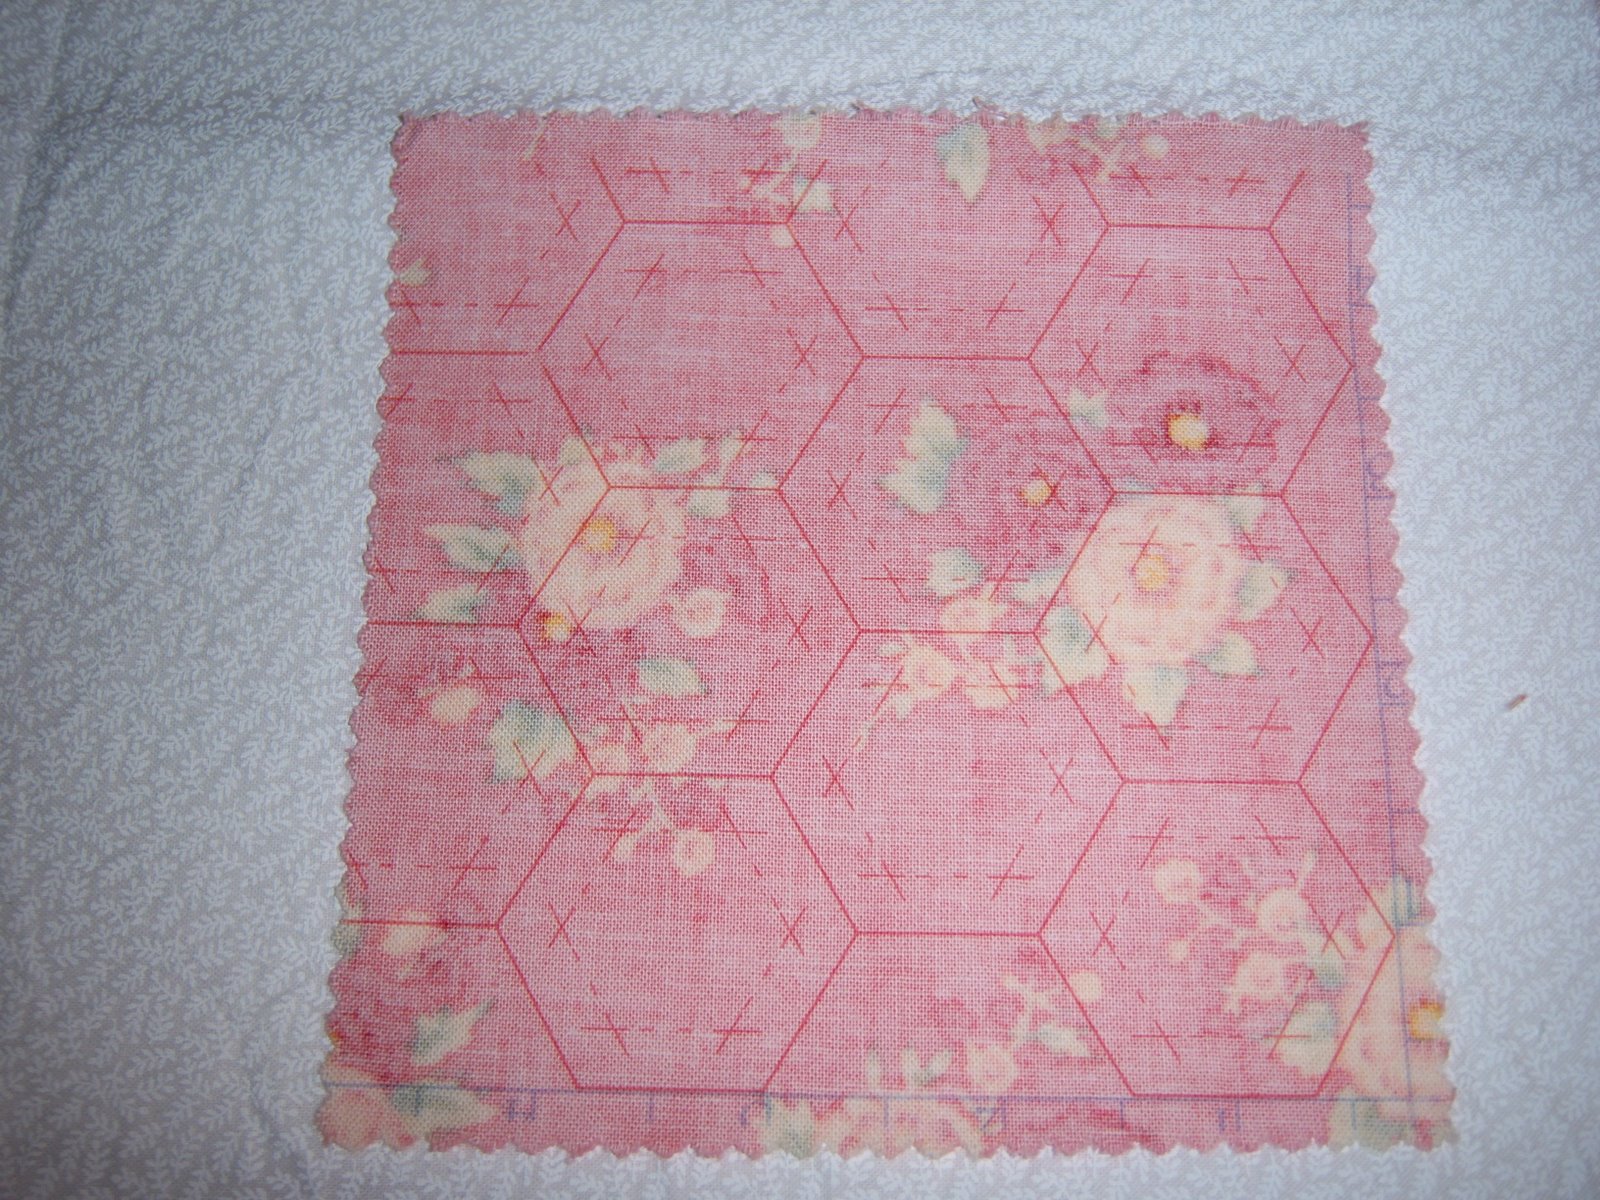
 Feed it through the printer, peel off the freezer paper — and you have perfect hexagons printed and ready to cut apart and stitch. I printed using a darker colour than I would normally on this charm so that it would show up well in a photograph. If you click on and enlarge it, you will easily see the cutting lines (solid lines), the stitching lines (dotted lines) and crosshairs where seams intersect.
 If you’re curious about using Inklingo, right now there is a free collection available at the Inklingo Web site for download here (scroll down to the downloadable collections and you will see the free one) with all the shapes necessary to make a 4.5″ LeMoyne Star block. It also includes the first chapter of the new handbook, which gives you all the information you need to start printing and using Inklingo. Be warned — it is truly addictive!! LOL
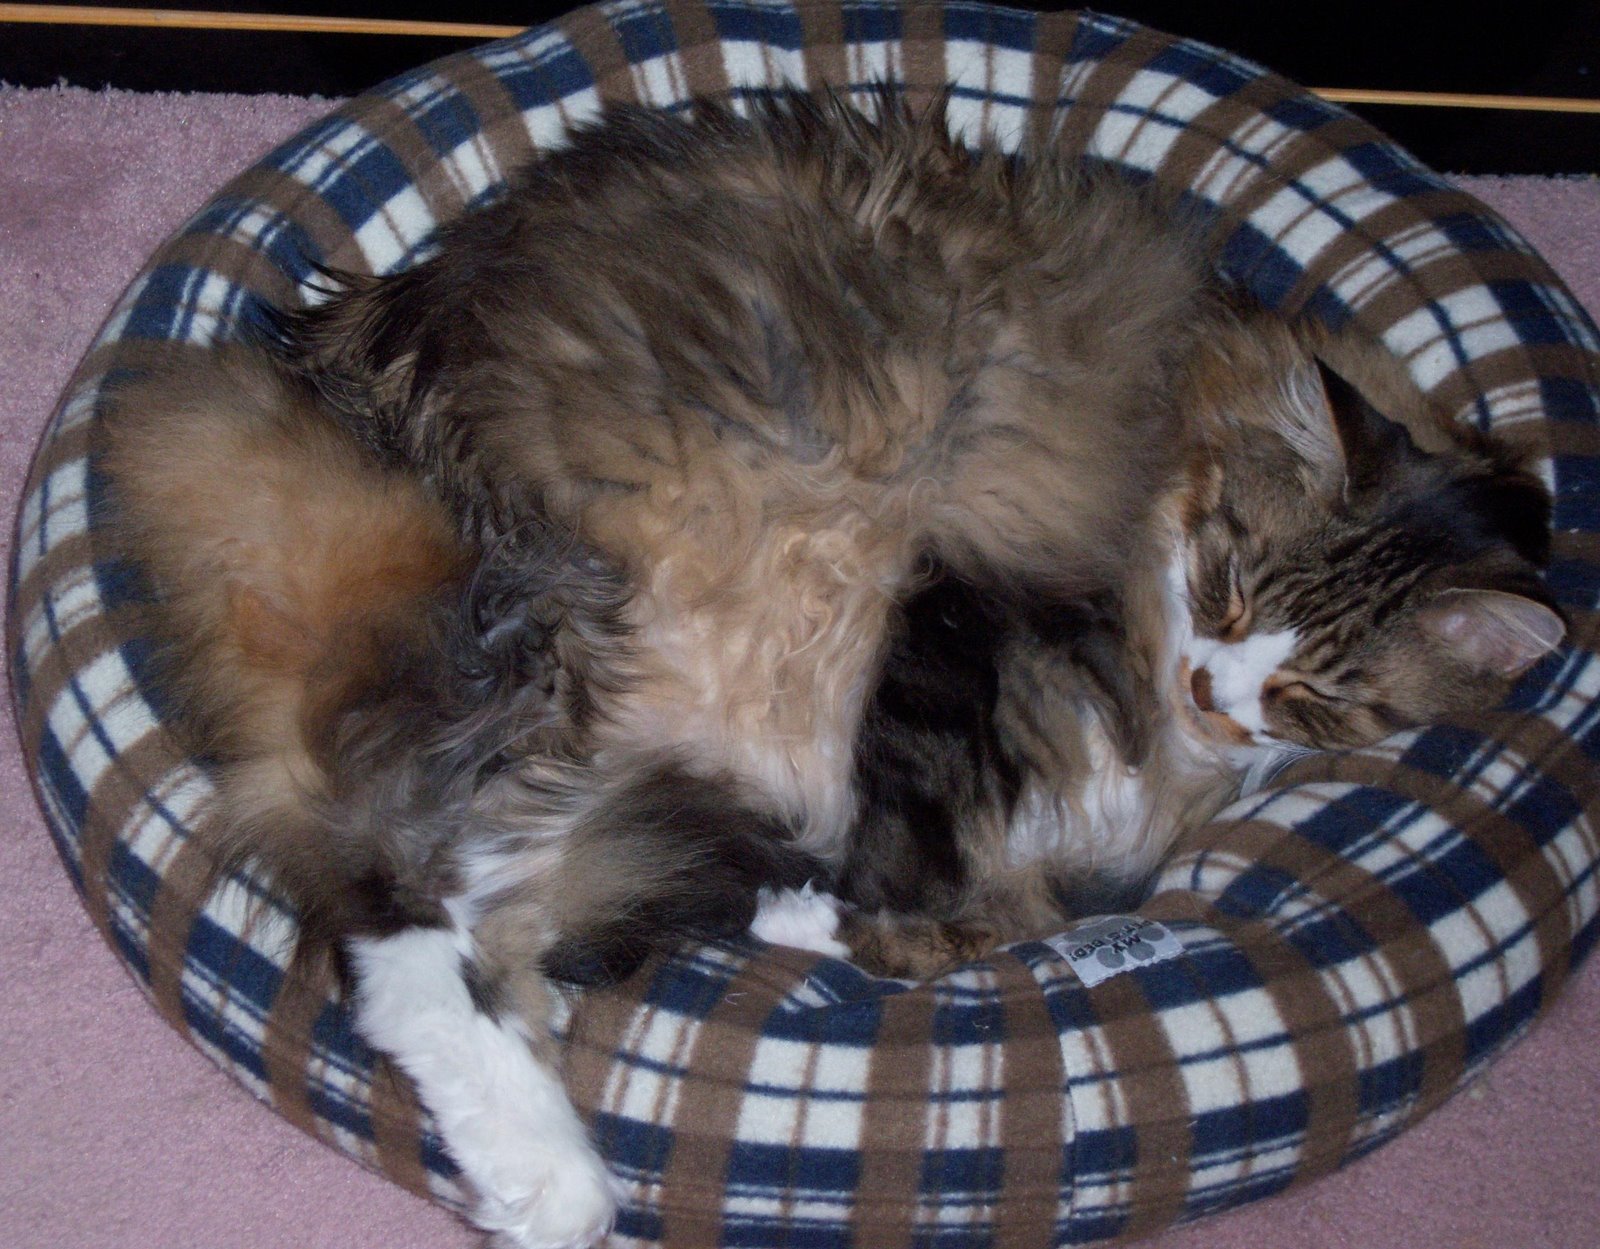
Smudge with one paw hanging out of the kitty bed — temperature control maybe?


Great tip! I like the visual. And ummm…you’re funny with Smudge and the commentary on this photo. “Temperature Control.”Hilarity.
LikeLike
Wonderful tip! Smudge is cooling down after some exercise!
LikeLike
Thank you so much for taking the trouble to make things clearer!! I’ll have a look at the download.Fran
LikeLike
Smudge looks exhausted has he been helping his mummy…..they just look so small on that charm square…Cathi I just love the ones done on the previous post…
LikeLike
Smudge and I think (or nap) alike *s* I like to be covered, but sometimes it’s just too much.
LikeLike
What a great idea to use the freezer paper to stabilize the charm fabric! Thanks for the headsup, Cathi!
LikeLike
Now I really am confused. So you don’t have anything left in the hex while you baste the individual hexigons? I’ll have to watch the video. Thanks
LikeLike
Very nice short and sweet photo tutorial..wish I had some time to play with my new Inklingo that arrived while I was gone but other stuff has to come first right now!I do the same as Smudge when I get too hot in the bed…stick my foot out from under the covers! Ha!
LikeLike
Smude sure looks cozy. I like the fabric you are using, it also makes me think of spring.
LikeLike
Me and Smudge must be twins, as I sleep with one foot out of the bed covers……..Thanks for the link…Gill
LikeLike