
I’ve been meaning to do this for ages and have run into all sorts of roadblocks. The biggest one was the fact I had made very detailed notes and taken loads of photos – all of which are on a hard drive from at least one or two computers and hard disks ago. After wasting far too many hours trying to find them, I finally made the decision to re-do the basic first steps and take lots of photos as I did so as I’ve been asked a few times for a tutorial on sewing these stars.
Ages ago I started a second two-colour lap quilt using the same fabrics as seen in these photos. A lot of that top is done, including all sorts of notes on the layout of the rows, etc. All in a project box which project box is well and truly tucked away safely. So safely that I couldn’t easily put my hands on it. I think I know where it may be but, once I found enough of the printed star points and hexagons to make a trio of stars and join them, I stopped looking. So here goes – and it is very basic, as that’s what I’ve been asked for!
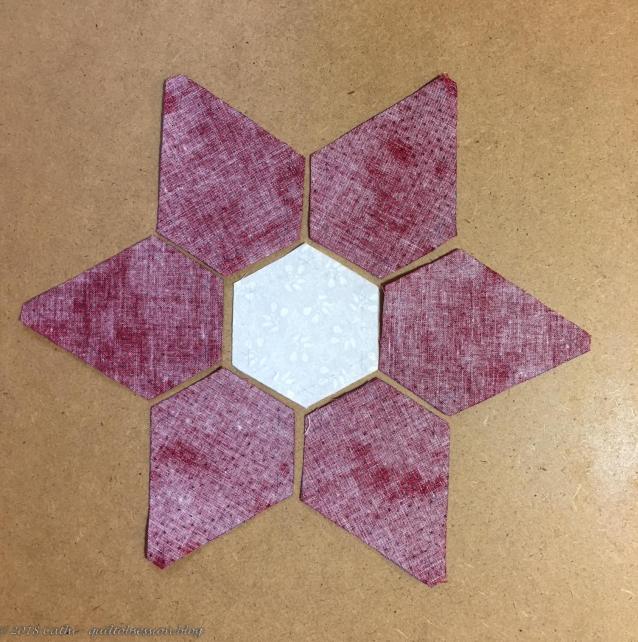
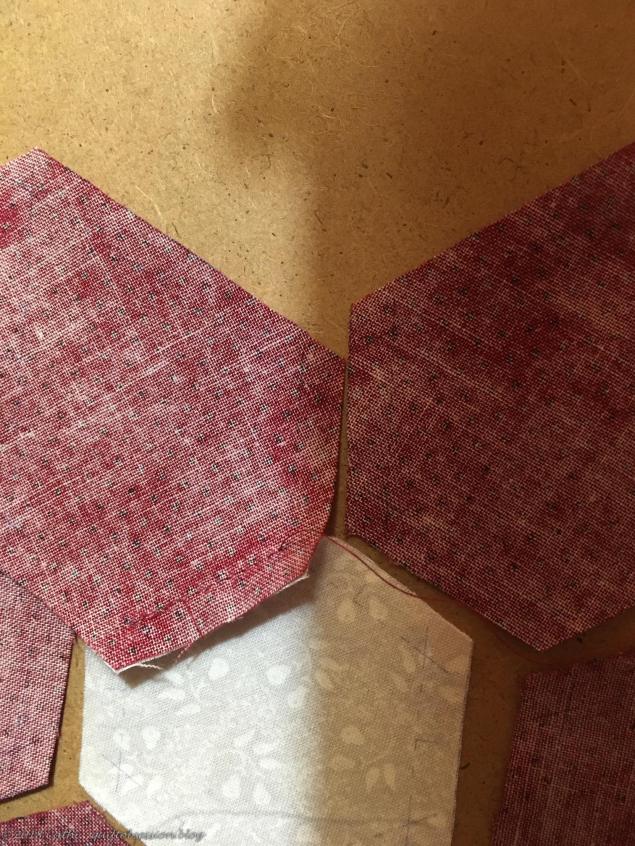
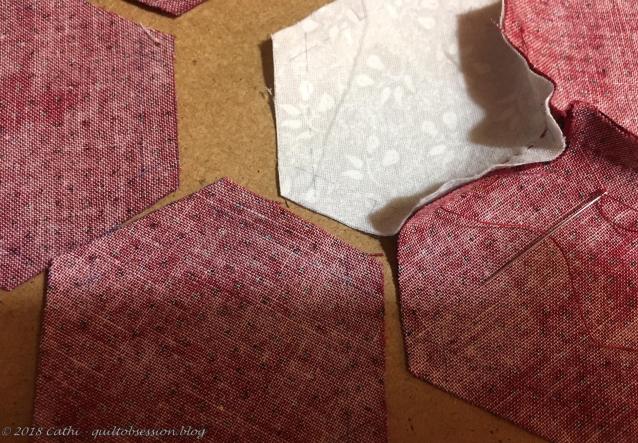
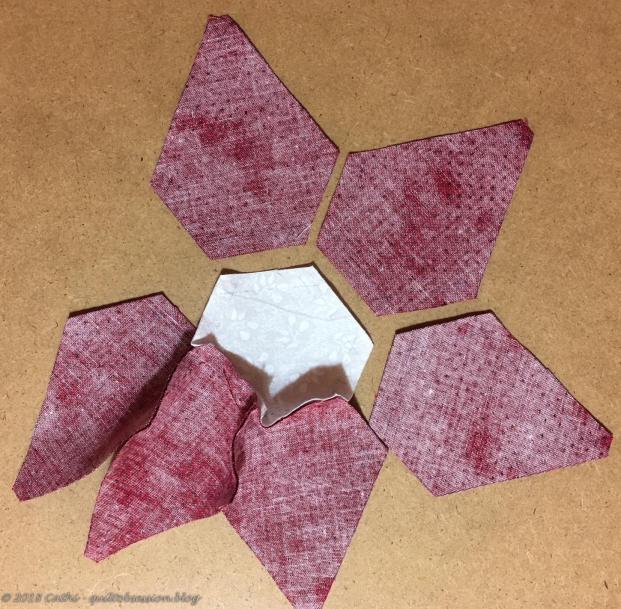
The first step is to lay out the centre hexagon surrounded by six star points, with the wrong side face up.
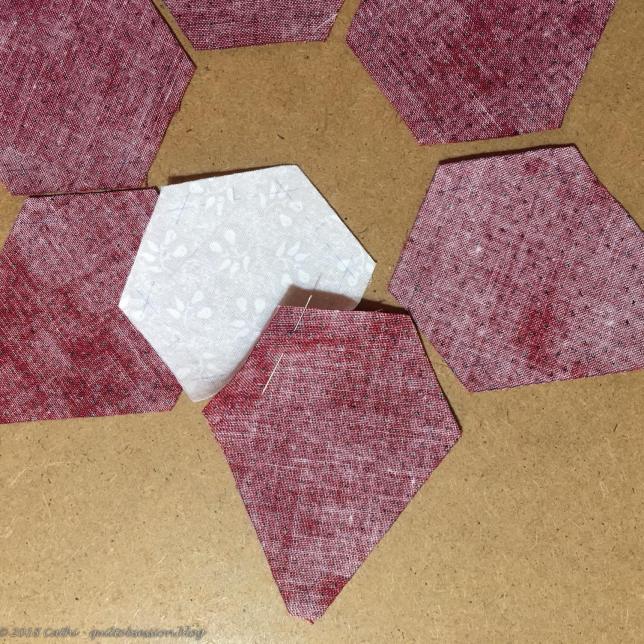
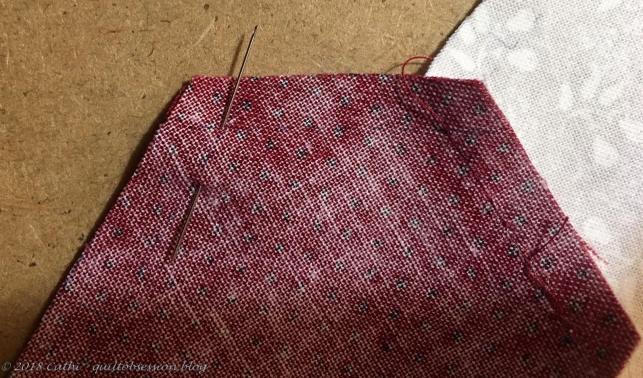
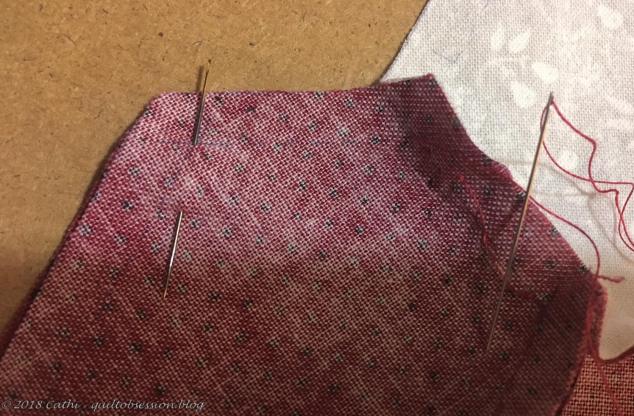
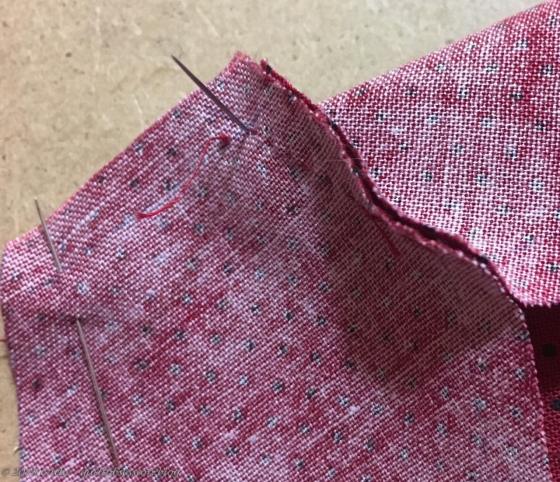
I always use two #12 sharps – one to use as my needle and one to use as a pin. They’re finer than any pin I’ve got. The second step is to pick up the first star point with the centre hexagon and pin them as shown.
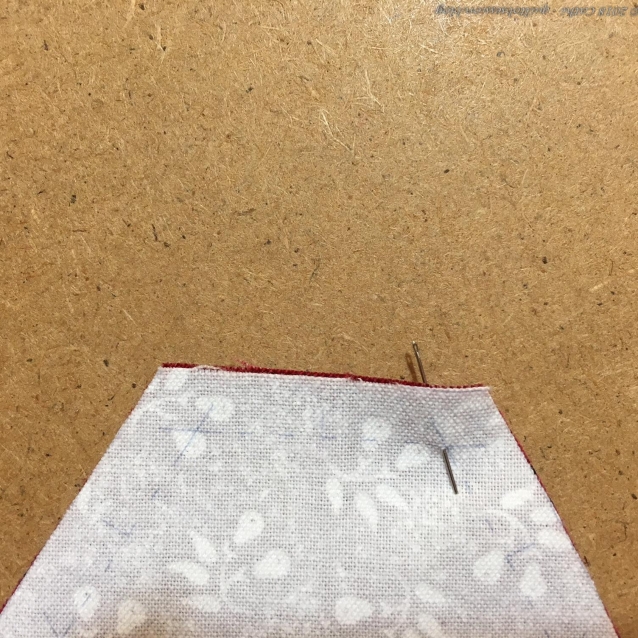
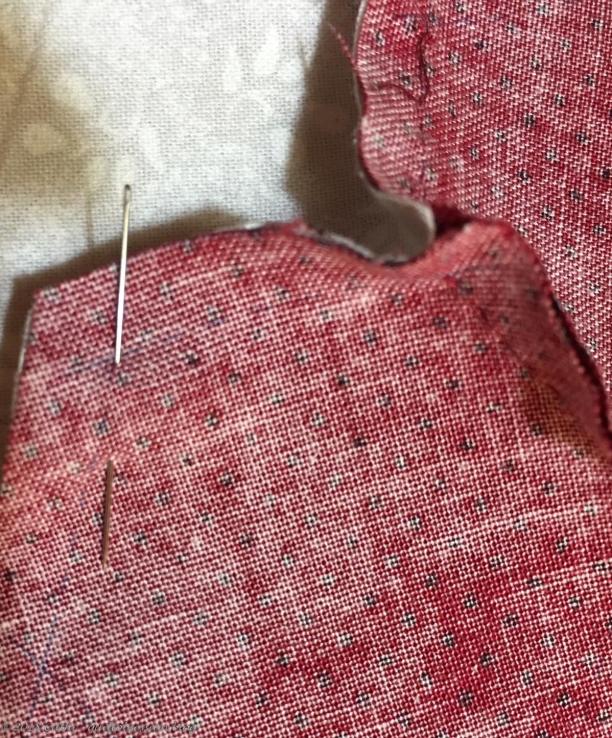
The first pin as seen from the back.
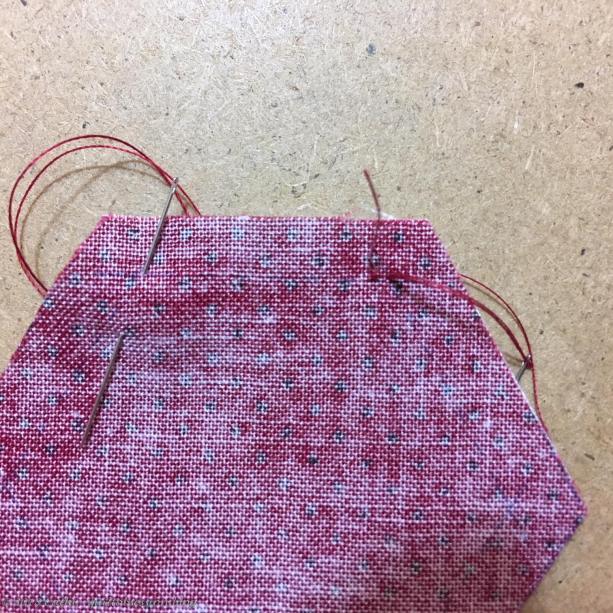
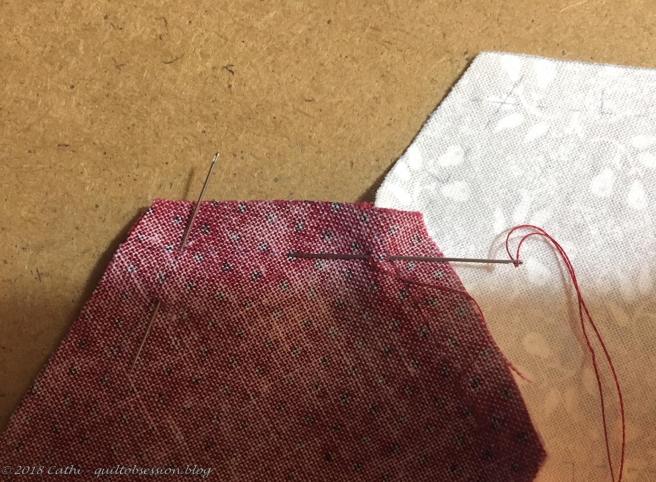
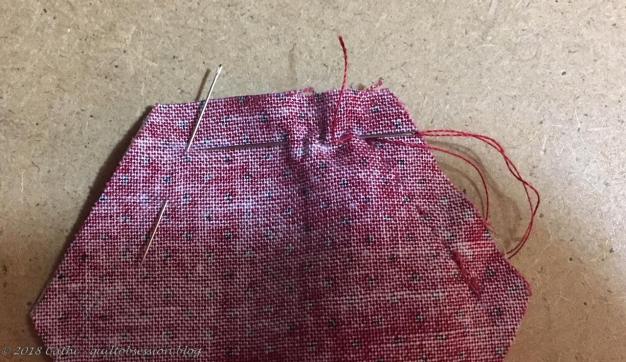
Make a quilter’s knot and begin by taking the first stitch. I now always start by taking my first stitch just a few threads in from the beginning of the seam so that my quilter’s knot won’t be at an intersection where I may want to join other pieces. Now that I’m in that habit I find it easy to do that all the time.
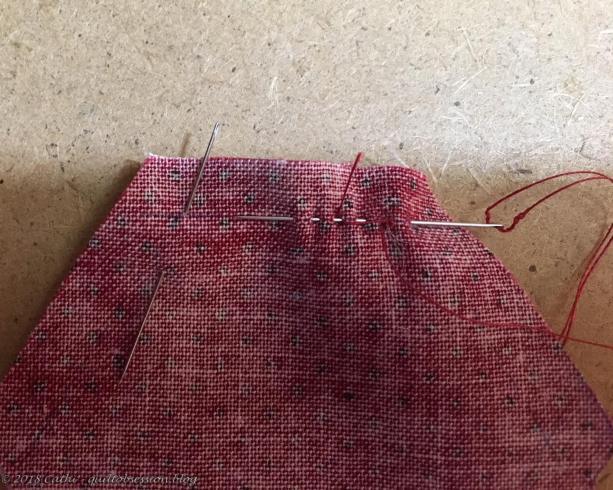
Take a quick backstitch and load the first load of stitches on the needle.
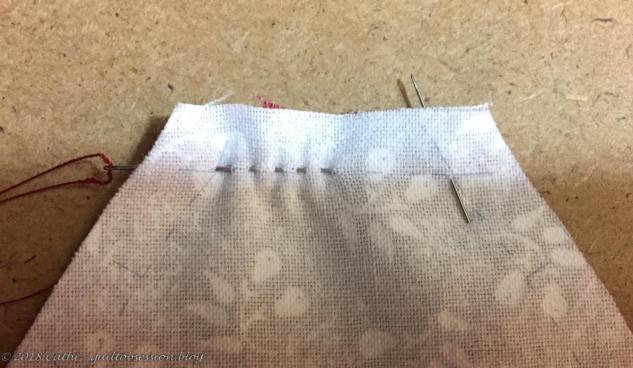
I turn it over to check I’m on the piecing line before pulling the needle through.
After I pull the needle through wtih that first load of stitches, it’s time to start the second load of stitches.
Again, I turn it over to check on the back before pulling the needle through.
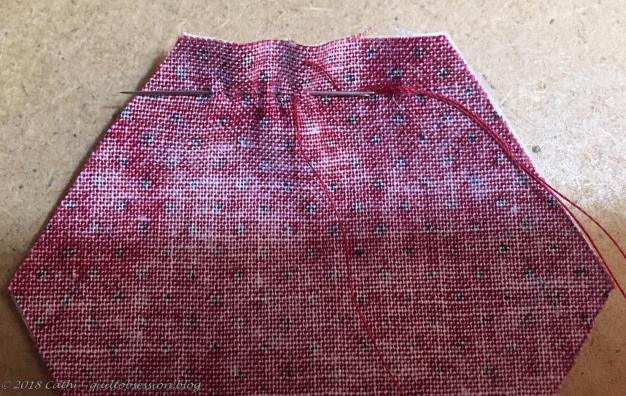
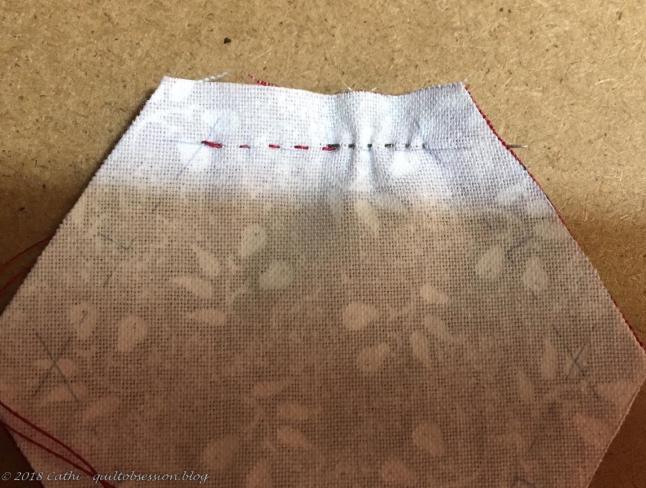
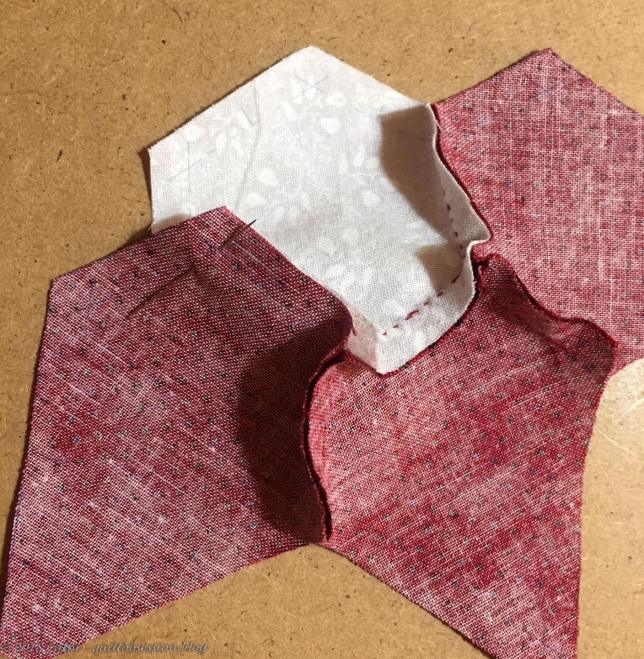
Pull the needle with the second load of stitches through and take a quick backstitch, but don’t break off the thread. Instead, lay the pieced hexagon/star point unit back down with the wrong side up and pick up the second star point.
Pin the first and second star points together.
Begin sewing the first star point to its adjoining second star point. Once again, a quick backstitch and then it takes just a couple of loads of stitches on the needle, checking on the back before pulling through. When the end of that second seam is reached, take a backstitch and this time break off the thread. Two seams are done before the thread needs to be broken off.
Next step – pin the base of that second star point to the centre hexagon.
Starting with a new thread, begin loading stitches to add the second star point to the centre hexagon. Check on the back before pulling through and then add the second load of stitches.
When the end of that seam is reached, take a backstitch but don’t break the thread off. Instead, lay the partially finished star back down and pick up the third star point to add to the second.
Pin the third star point to the second and repeat the same steps taken when adding the second star point to the first one.
When the end of that seam is reached, take a backstitch and knot off before breaking the thread. Now three star points are joined to one another and two are joined to the centre hexagon.
The next step is to pin the third star point to the centre hexagon.
Then start the third thread and sew. Again, I’ve started with my quilter’s knot just a little bit over from the intersection. Take a quick backstitch, then load stitches on to the needle, check on the back to ensure you’re on the line and then pull through. Repeat to the end of the seam. When the end of the seam is reached, pick up the fourth star point and add it. Repeat these steps until all six star points are added.
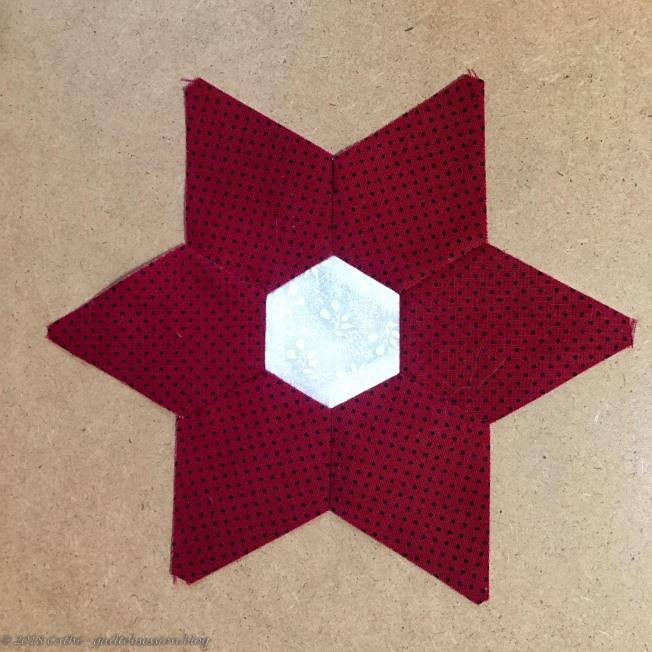
The finished star after pressing.
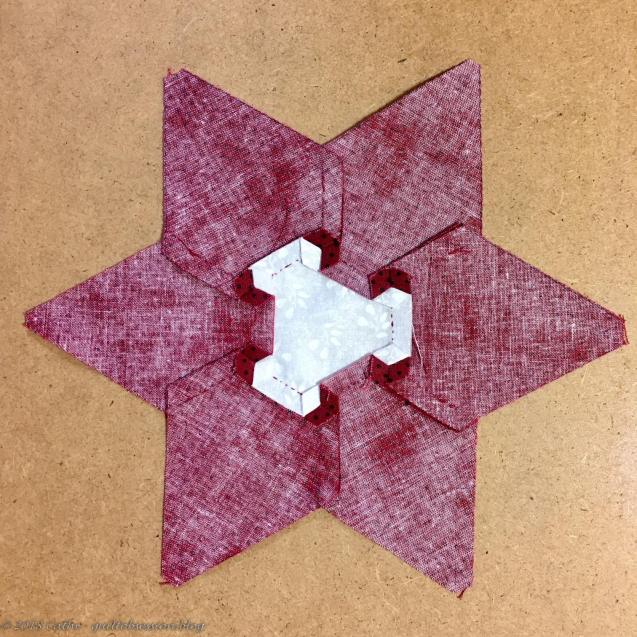
The back after pressing. This star was made using two Inklingo collections – the 1″/2″ Star Points and the 1″ 60-degree hexagon.
Then I added the 2″ 60-degree hexagon which is the third Inklingo collection needed for the layout I used for blue and white Texas Star quilt in my blog header.
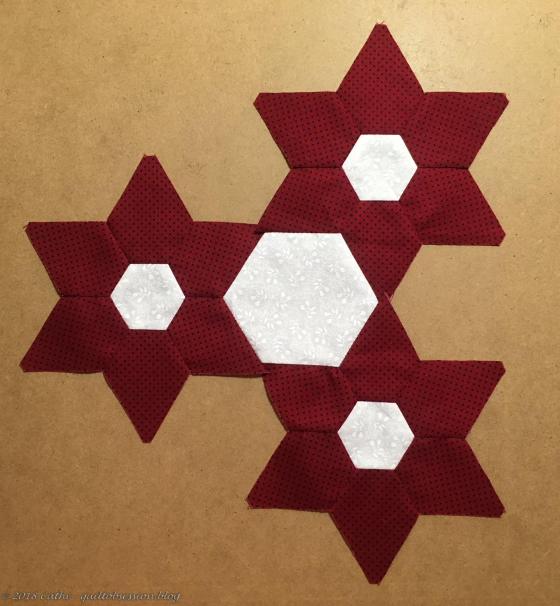
Three stars sewn together with a 2″ hexagon. I followed the same steps of laying the three stars out face down with the centre hexagon and then used two threads to sew all three stars to that larger 2″ centre hexagon.
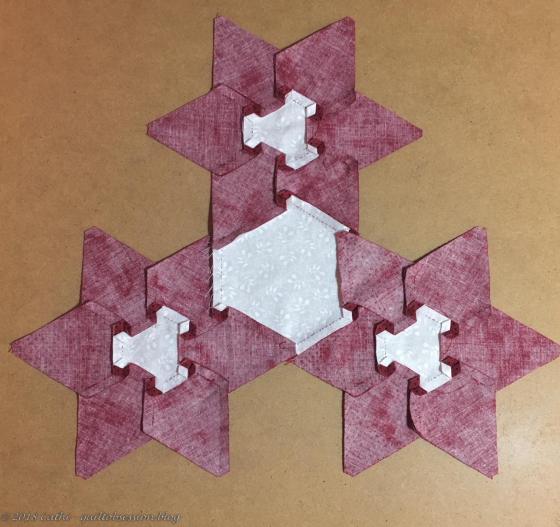
The back, after sewing but before pressing. I finger pressed as I sewed but haven’t pressed with the iron yet.
All the best hand piecing lessons I’ve learned are from Linda Franz’ Quilted Diamonds 2 book. Even if making a pieced diamond is not something in which you have any interest, Quilted Diamonds 2 is a book that I believe should be on every quilters’ bookshelf as the best possible reference about hand piecing. The lessons learned translate to any hand piecing- they’re not just for pieced diamonds. Every page has photos, including photos of the back of the pieced diamonds. It was from studying those photos of backs of the pieced diamonds that I learned to press blocks to distribute bulk so that my blocks look as good as possible on the front and back. There’s also a two-hour DVD lesson that comes free with Quilted Diamonds 2 and it is absolutely fantastic. Professional production values make what is basically a one-on-one two-hour lesson with Linda an absolute delight to watch. I still remember the day I received my book and DVD. I immediately put the DVD on and was immediately engrossed. Mr. Q.O. came in partway through and he sat and watched quite a bit as well.
I’m going to hopefully finish the three Stormy Seas blocks with the dark, dark batik this weekend. Then it’s back to the Silent Gardens and Harpsichord blocks for me!
“Cat Toyz ‘R Us”
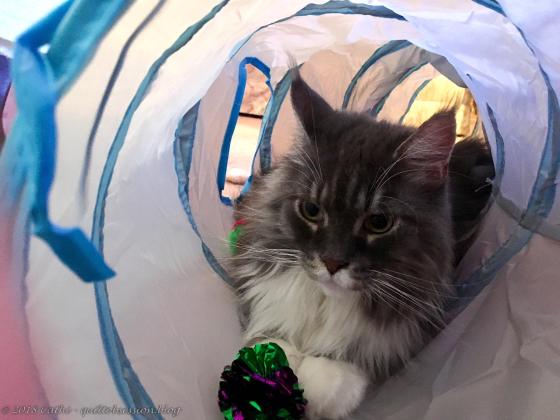
Baxter in his new toy – a tunnel. It’s so funny to hear him with his toys in there. He wasn’t quite sure what to make of it at first until I threw one of his favourite toys in there. As soon as that happened, he immediately went in and now has a number of his toys in there. It’s fun to look every morning to see what toys may have found their way in or out of the tunnel.


Texas stars are so pretty! Nice tutorial 🙂 happy sewing!
LikeLiked by 1 person
Thank you. Texas Stars are fun – and now I’ve got a mini one in mind that I’d love to make if I ever get to the end of current projects, that is!
Cathi
>
LikeLiked by 1 person
Good tutorial, Cathi! I love the tip about putting the knot slightly away from the starting point and then taking a backstitch. I am going to develop that habit!
LikeLike
It took only a few times of starting that knot slightly away from the starting point to make it a habit. Now I don’t even think about it. The very first few times I did use that method I pinned the very starting point as well so that I knew everything was lining up perfectly, but I quickly stopped doing that as I found it wasn’t really necessary.
Cathi
>
LikeLiked by 1 person
Great tutorial!!!
Baxter’s looking happy in his tunnel!
LikeLike
Baxter loves his tunnel – it’s so funny to look in and see him in there. Sometimes he even has a nap in there.
Cathi
>
LikeLike
Thanks CathI! I have always been meaning to make this quilt! I need to start printing!
Teresa
>
LikeLike
It’s a fun quilt to make with all those opportunities for loads of continuous piecing. I want to make a VERY colourful mini Texas Star quilt but not for a while. I have so many other projects on the go I daren’t start that mini!
Cathi
>
LikeLike
Thanks for a great tutorial. I have always liked this pattern and now must put it on my Inkling o To Do list! Do I understand correctly that you stitch ON the printed line? I had sewn about 300 hexagon stars that way, then saw Linda’s instructions about sewing a scant 1/4 inch seam, stitching beside the printed line. I can tell you, that shook me up! Would love your input for the sake of future projects.
LikeLike
I do tend to sew right on the line when I hand piece. I don’t think it really makes a difference so long as you’re consistent with the approach you take throughout a project. The few times I have machine pieced, I have sewn just beside the line for that scant quarter inch as I think the amount of thread in a machine-sewn seam may be slightly thicker than in a hand-sewn seam. I do use a very fine thread for hand piecing as well, the DMC machine embroidery thread which is a 50/2 thread and incredibly strong, which I think also helps. So I wouldn’t worry about your hexagon stars so long as you continue and complete that project using the same method of sewing.
I think, but am not 100 per cent sure, that Linda said at one point – maybe in one of the live videos – that either method is fine so long as one is consistent.
LikeLike
Truly amazing. Everything fits so beautifully together! Baxter seems to love his tunnel.
LikeLike
Everything fits so well thanks to Inklingo, the brilliant invention of a Canadian quilter. The perfect sewing lines and matching points are what make it easy to sew perfect blocks!
Baxter loves his tunnel – he even has afternoon naps in there.
Cathi
>
LikeLike
Ah, you too have a kitty day care! Good to know I’m not alone, and it does keep those furry paws off of your project too.
Now I know what to do about the knot at the ‘major’ intersection. Will try a new technique. Thanks.
LikeLike
There are more toys on the floor and in the tunnel than I dare count. Baxter’s toy basket overflows when everything is picked up and put in there. But he still thinks little pieces of fabric look very interesting!
It only takes a few times of starting with the knot a tiny bit away from the starting point to get used to doing it that way. Once you’re in the habit of doing so, it becomes second nature and you won’t even think twice about it.
Cathi
>
LikeLike